These Cookie Dough Cups are like Reese’s, but with edible cookie dough instead of peanut butter, topped with melted chocolate in a mini muffin tin.


author’s note
Move Over Reese’s, There’s a New Cup in Town!
My entire family loves Reese’s Peanut Butter Cups, but if they had to choose, they’d pick cookie dough over Reese’s any day. So I thought, why not combine their two favorites? And now I’m definitely the favorite in the family for making these.
Cookie Dough Cups are pure magic. A soft, chewy center of flavorful cookie dough wrapped in a rich chocolate shell? Yes, yes, and yes!
And the best part? You don’t need any special candy-making equipment. Just grab a mini muffin tin and some liners!

Tools Needed
As mentioned, there’s no special candy-making equipment required, but here’s what you will need:
- Mini muffin pan
- Miniature muffin liners

How To Make Cookie Dough Cups
- Prep dough. Whip butter, brown sugar, and vanilla; fold in heat-treated flour and mini chips.
- Melt chocolate. Microwave chips in 30-second bursts, stirring well each time.
- Layer. Spoon 1 tsp chocolate into lined mini-muffin wells, tap pan to level, then chill 5 minutes.
- Fill & cap. Press 1 teaspoon dough on top, cover with another teaspoon chocolate, tap again, sprinkle flaky salt, and chill until firm.
What Is Heat Treating Flour?
Most people don’t realize it’s the flour, not just the eggs, that can make unbaked cookie dough unsafe. Flour is raw and can carry harmful bacteria.
You can:
- Buy preheat-treated flour
- Microwave it
- Bake it in the oven
I walk through each method in the recipe card, but here are a few quick tips:
- Let flour cool before using. You can speed this up by chilling it in the fridge.
- Toss any clumps or burnt bits. They can affect flavor.
- Heat-treat a little extra to account for any loss.

My Top Cookie Dough Cups Tips
- Keep it cool. Cold pans make thicker shells. I pop the empty muffin tin in the freezer while I mix the dough.
- Shiny finish hack. Stir ½ teaspoon neutral oil into the melted chocolate for candy-shop gloss.
- Batch & freeze. Freeze finished cookie dough cups on a sheet, then bag them. They thaw in a lunchbox by noon, instant treat.

[/storage]
Leftover Edible Cookie Dough
- Fridge: Best texture; cookie dough cups keep 10 days in an airtight box.
- Freezer: Up to 3 months. Let sit 10 minutes before biting in, unless you love rock-hard chocolate.
- Leftover dough: Roll into mini balls, freeze, and stir into ice cream (my daughter’s favorite sundae trick).[/storage]
More Chocolate Desserts:
Desserts
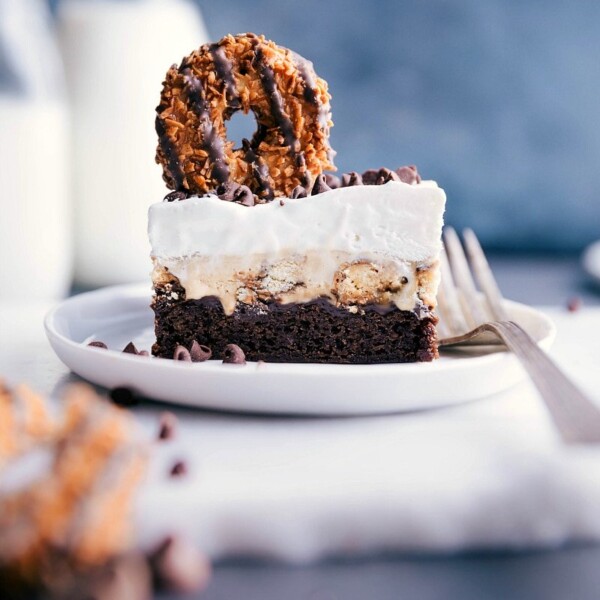
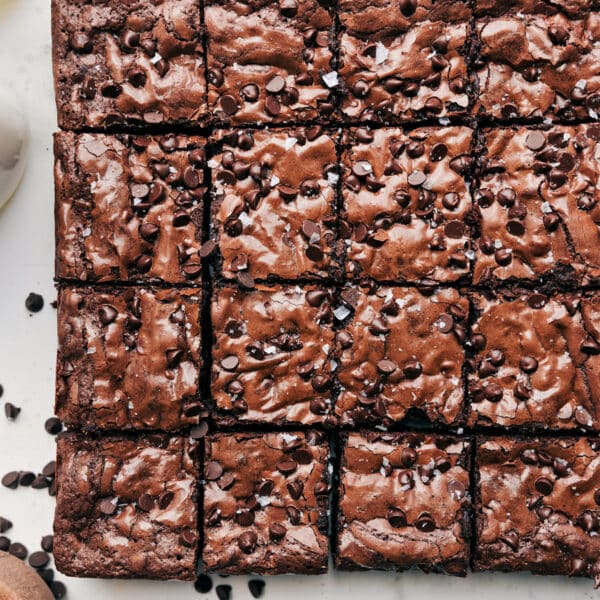
Brownie Ice Cream Bars
Desserts
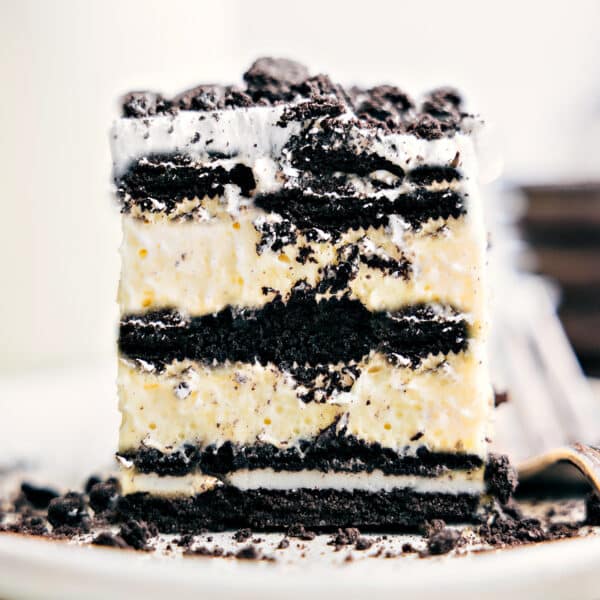
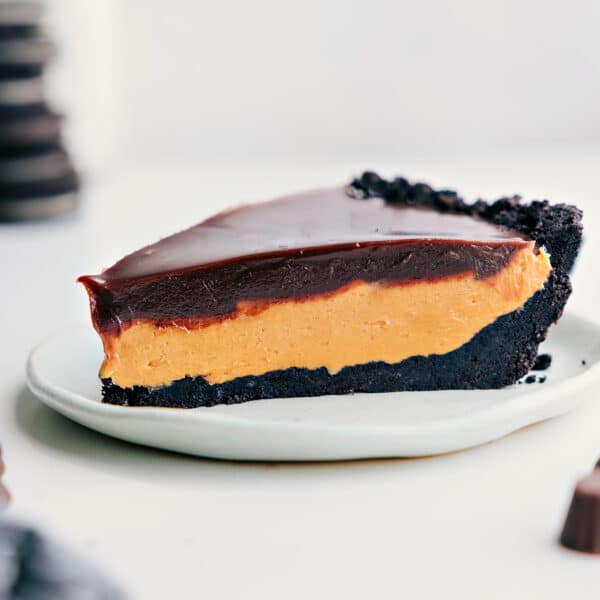
Oreo Icebox Cake
Desserts
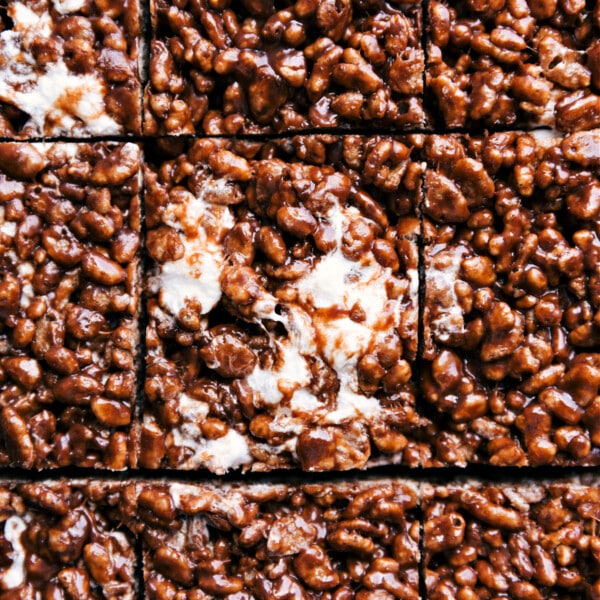
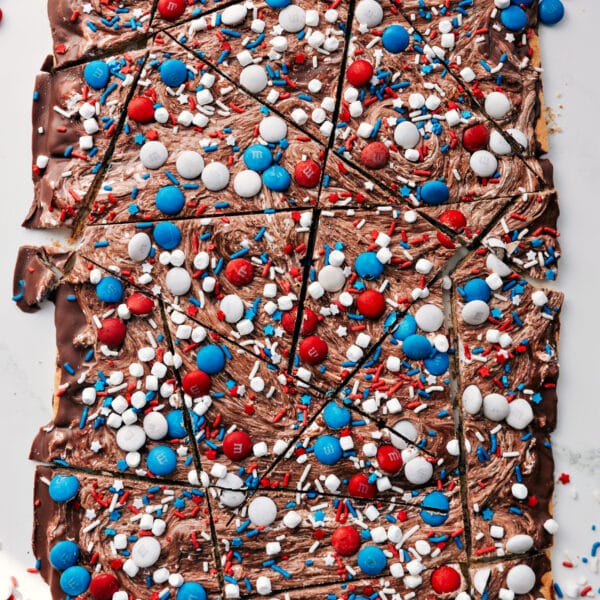
Chocolate Rice Krispie Treats
Breakfast
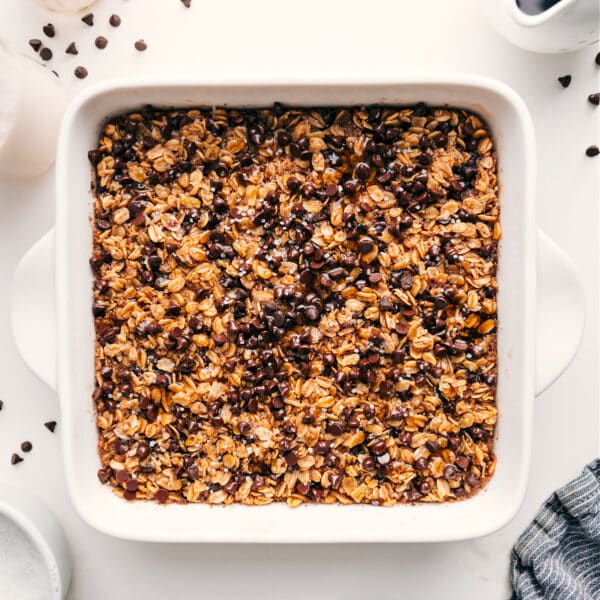
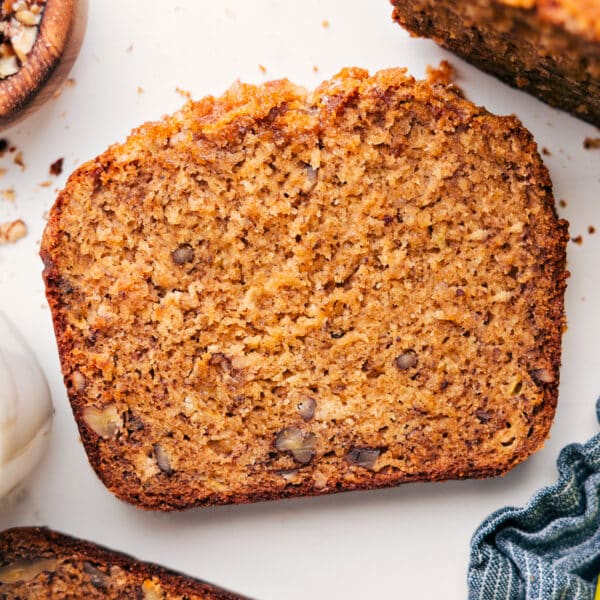
Chocolate Chip Baked Oatmeal

Cookie Dough Cups
Equipment
- Mini muffin pan with liners
- Small bowl microwave-safe
Ingredients
- 3/4 cup flour
- 1/3 cup unsalted butter melted
- 1/3 cup dark brown sugar firmly packed
- 3 tablespoons granulated sugar
- 1/4 teaspoon salt
- 1 teaspoon vanilla extract
- 1 tablespoon whole milk or heavy cream
- 1/3 cup mini chocolate chips
- 2 cups chocolate chips divided, see note 1
- 1-1/2 teaspoons coconut oil divided
Instructions
- Heat treat flour in the microwave or oven (see note 2). Let flour cool to room temperature before using. The flour should be light, white, and fluffy. If it’s off colored or clumpy, it’s burnt and shouldn’t be used. Spoon the flour into a 3/4 measuring cup and level the top with a table knife. Set aside.
- Melt butter and set it aside to cool back to room temperature—hot butter will melt the sugar and cause greasy or grainy cookie dough. In a medium bowl, whisk together butter and both sugars until the mixture is fully integrated and smooth.
- Add in salt, vanilla, and milk or cream and stir until integrated. Stir in the flour and mini chocolate chips. Mix until combined and smooth. Place the cookie dough in the fridge for 10 minutes.
- Roll the cookie dough into small balls (1/2 tablespoon). Slightly flatten the balls into thick disks. You should get about 36 cookie dough disks, but you only need 24 for this recipe, so either eat the rest or enjoy them as a topping for another treat.
- Line a miniature muffin pan; we need a total of 24 cups lined.
- In a small microwave-safe bowl, melt 3/4 cup chocolate chips with 1/2 teaspoon coconut oil (see note 3). Spoon an even amount of the melted chocolate mixture into the bottom of each muffin cup, using it all among the 24 cups. Gently tap the miniature muffin pan a few times to get the chocolate in an even layer on the bottom.
- Place the disks of cookie dough on top of the melted chocolate mixture in each cup. In the same bowl melt another 1-1/4 cup of chocolate and 1 teaspoon coconut oil.
- Pour an even amount of chocolate over each of the cookie dough cups. Be sure that all the chocolate is used, and fill the cookie dough cups most of the way to the top. Gently tap the muffin pan on the counter a few times to get an even chocolate coating.
- Chill in the fridge for at least 30 minutes or until set, then enjoy!
Recipe Notes
Nutrition
Nutrition information is automatically calculated, so should only be used as an approximation.
Fun Add-In Ideas
| Add-in | How much | Why it works |
|---|---|---|
| Crushed pretzels | 2 Tbsp | Salty crunch hits different |
| Rainbow sprinkles | 1 Tbsp | Birthday-party vibes |
| Toasted coconut | 2 Tbsp | Almond-Joy energy |
| Mini M\&M’s | 3 Tbsp | Color pop, extra chocolate |


I’m Chelseas’ sister and I first tried these cookie dough cups at her house and legit they were life changing. I make her edible cookie dough all the time and now when I have extras I make them into these cookie dough cups. They’re always a hit.