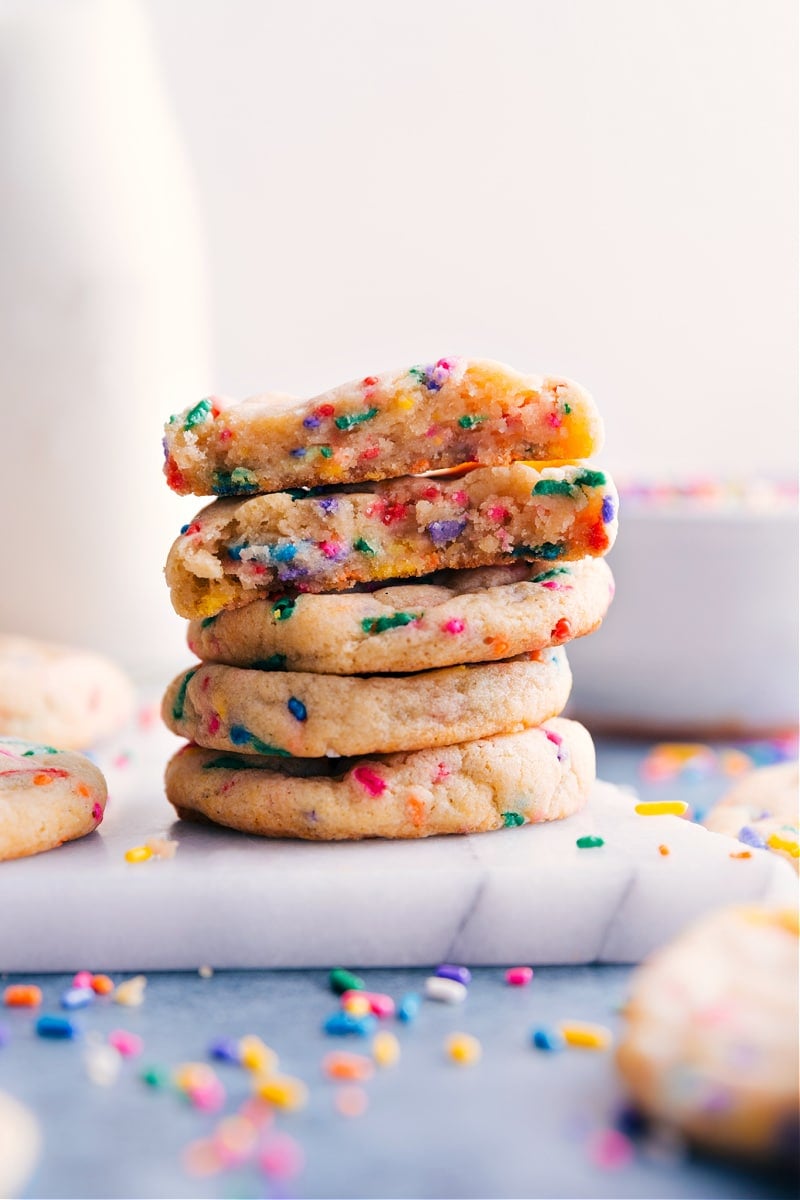
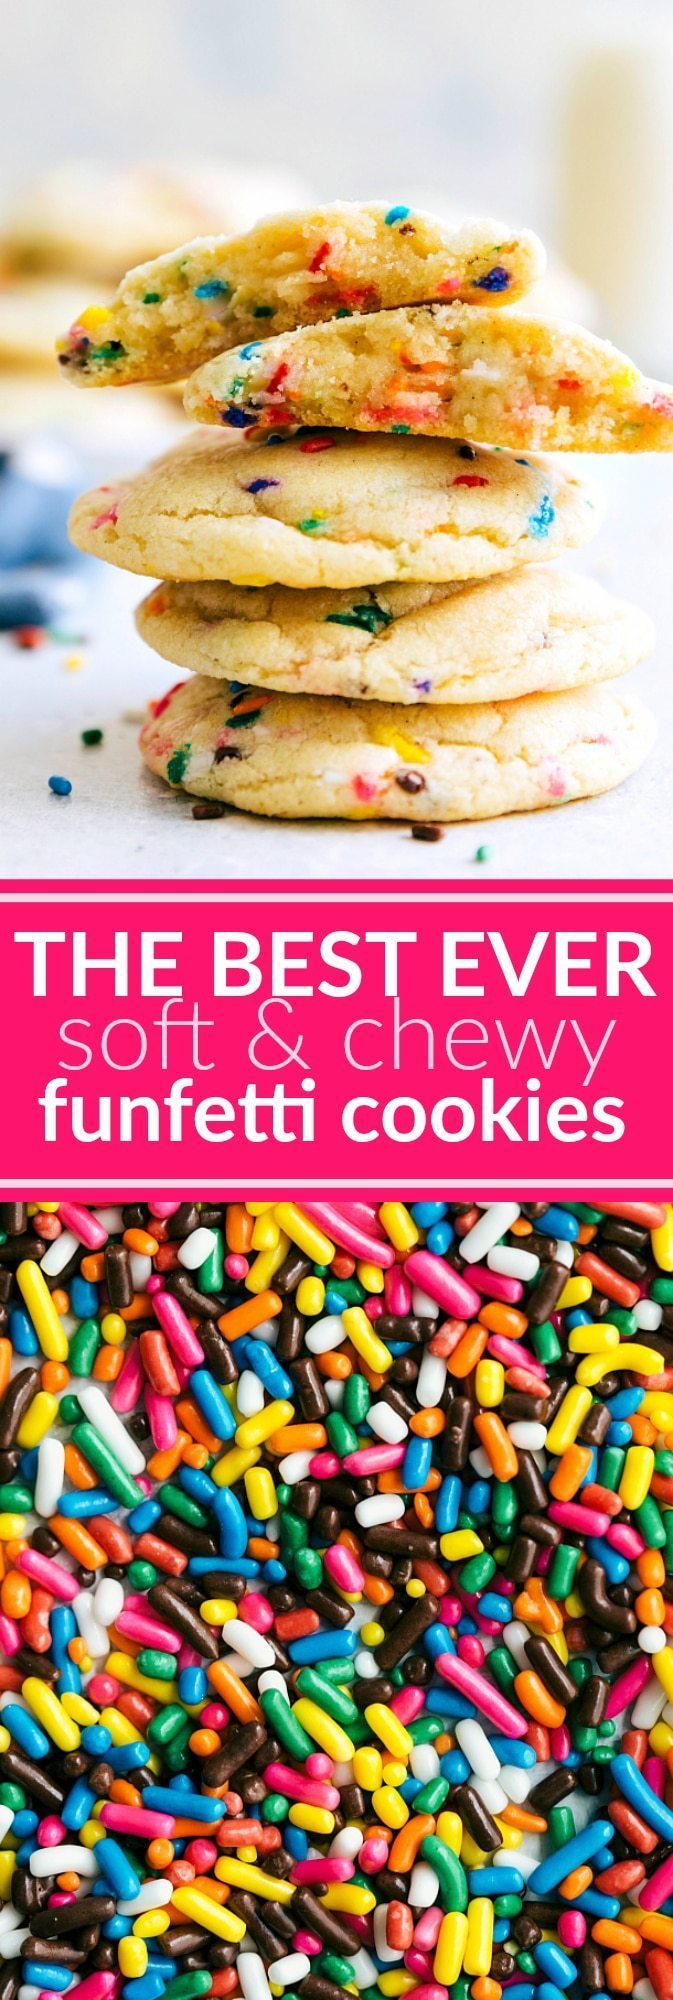
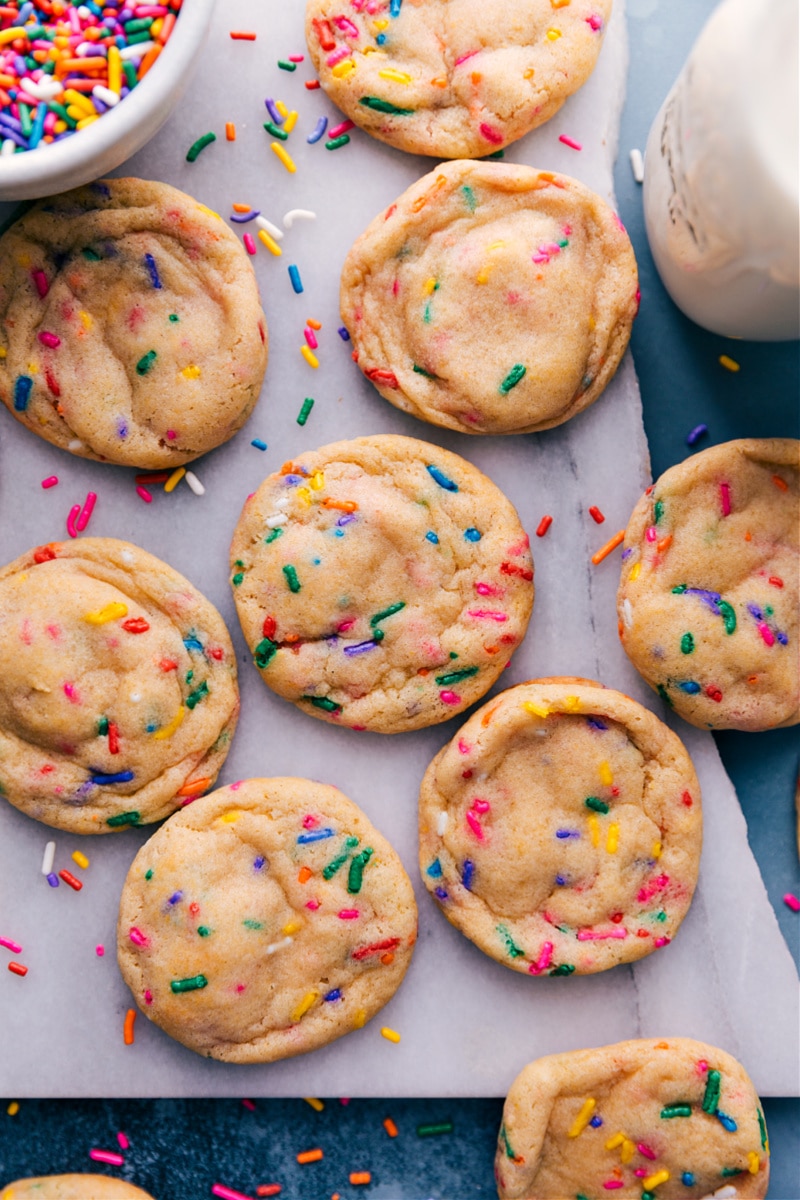
Soft and chewy Funfetti Cookies loaded-up with rainbow sprinkles! These cookies are the perfect mash-up of classically soft sugar cookies and Funfetti cake flavors.
Quick Tip
In 1989, Pillsbury introduced Funfetti, a white cake mix filled with colorful sprinkles, and it quickly became a favorite in America. Many people, including myself, grew up loving Funfetti cakes. While there are recipes using Pillsbury’s Funfetti mix, this recipe is different. We’re making Funfetti-inspired cookies with our own ingredients, adding sprinkles to a white base. It’s easy! For recipes using the boxed mix, check out Cake Batter Cookies or Edible Cake Batter.
Funfetti Cookies Recipe
These cookies are soft, chewy, buttery, and stuffed to the brim with sprinkles! I love sprinkles — I mean does it get more fun than all the colors of the rainbow packed into a thick sugar cookie-esque treat?!
Making these cookies is quick and easy; you just need a bowl and a spoon, no mixer! The only extra step is chilling the dough, which doesn’t require your attention. I think the best cookies need some chill time. It makes them taste better and gives them a great texture. The flavors also get better as they sit together. More details on this below.
Why chill the cookie dough?
These cookies (like many cookies) benefit from chilling time. Here’s why:
- For texture reasons, we melt the butter for this recipe. However, baking cookie dough with melted butter in it makes the cookies spread and become thin, hard, and crispy. This is because the fat (butter) hasn’t had a chance to re-solidify. The longer the fat stays solid, the less the cookies will spread.
- The sugar in the dough gradually absorbs liquid, so when you chill the dough, the sugar more time to absorb liquid–which further prevents spreading.
- The dough flavor develops as it sits. Maybe it’s not quite like a fine wine that needs to age for years, but chilling time allows the flavors to strengthen in this cookie dough.
Rolling out the perfect Funfetti Cookies
- While it’s not necessary to use a food scale to make these cookies, you’ll be surprised at what a difference it makes. It might sound like extra work, but I find the process goes even faster than using measuring spoons to create each cookie dough ball. With a spoon, scoop out the cookie dough, place it on the food scale and remove or add more dough (to reach the desired weight), roll it up, and repeat! The more even the sizes of cookies, the more perfectly they will all bake. Plus, they’ll all look so nice — like straight out of a bakery!
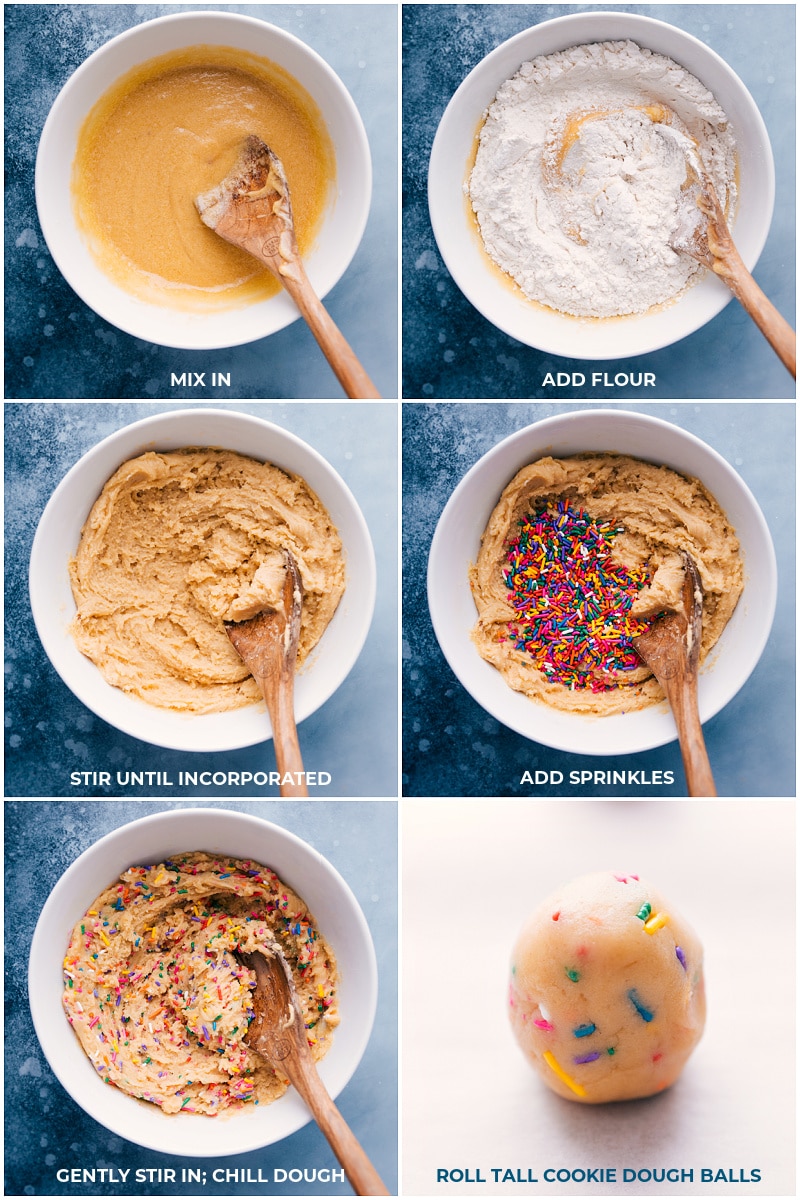
- Instead of rolling a perfectly round ball, try shaping the dough so it’s taller and skinnier. When the cookies bake, you’ll get that perfectly thick and chewy center as well as the crisp edges. Using this technique, the bottom of the cookie ball bakes first, which will push out and become the crisp edge. The top of that tall cookie dough ball then becomes the thick and chewy center. Perfect texture every time!
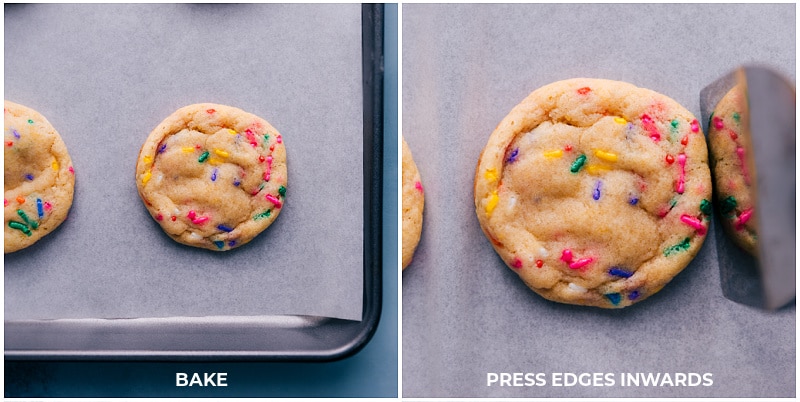
- Press the edges inwards. Working quickly, right out of the oven, use the back of a large spoon or metal spatula to press the edges of the cookies in towards the center. This creates really great crispy edges and ensures the cookie has a nice chewy center. It also makes the cookies prettier. You’ll need to work quickly, as the cookies set up fast and resist being pressed inwards after sitting out for more than a minute or two.
Let’s chat sprinkles
- Mix gently. When stirring the jimmies into the dough, stir gently with a wooden spoon to get even dispersion and avoid mashing and breaking up sprinkles or dying the dough.
- Use sprinkle jimmies, not nonpareils. Here’s a breakdown of different types of sprinkles, but essentially the jimmies won’t dye the cookie dough and they bake up nicely. Nonpareils will bleed color into the cookie dough and may leave you with some funky-colored Funfetti Cookies.
- Change up the colors. This is a fun recipe to play around with during holidays or for specific special events — swap out the rainbow jimmies for a color suited to the event.
Funfetti Cookie Tips
- Start with room-temperature ingredients. Using room-temperature eggs ensures that the eggs disperse more evenly into the batter. That gives these cookies a better texture (the eggs trap air). Soaking refrigerated eggs in a bowl of warm (not hot) water for about 10 minutes warms the eggs easily. Otherwise, pull the eggs out of the refrigerator about 30 minutes before use.
- Measure the flour correctly. If you pack in too much flour, these cookies will puff up and end up cakier, rather than soft and chewy. Spoon flour into the measuring cup and level with the back of a butter knife. If you press a measuring cup into a bag/container of flour you’ll pack in a lot more than intended.
- Leave ample room on the baking sheet. These cookies are large and spread a good amount on a cookie sheet! I only bake 6-8 cookies at a time on a standard size cookie sheet.
- Ever so slightly underbake. If you overbake these cookies, the taste and texture is off. Slightly underbaking these cookies keeps them soft, chewy, and flavorful. Remember, the residual heat on the pan continues to bake the cookies for a couple of minutes even after they’re pulled out of the oven.
- Let them cool completely: Most cookies are the best right out of the oven, but I think these Funfetti Cookies taste even better after they’re completely cooled! These also taste great the second day when the flavors have gotten more of a chance to meld.
Cookie Storage
- Store the cookies in an airtight container at room temperature. They’re best enjoyed within 3-4 days. Freeze cookie dough as opposed to baked cookies (see next bullet point).
- Instead of freezing already-baked cookies, freeze the dough! Drop the cookie dough balls on a large sheet pan and freeze until solid. Once solid, transfer the frozen cookie dough balls to an airtight container or bag and freeze for up to three months. To bake: You can bake these Funfetti Cookies straight from the freezer. There is no need to thaw, but you may need to add a few extra minutes to the baking time. Bake until the edges are lightly browned, and the center is still soft.
More dessert recipes
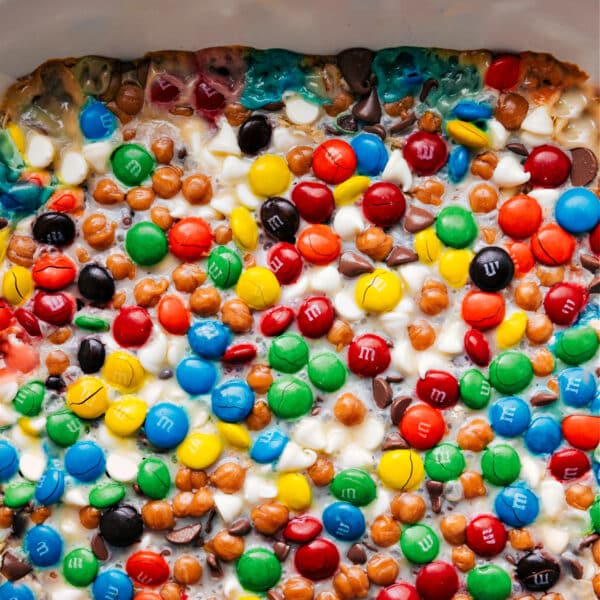
- Magic Cookie Bars with M&M’s candies
- Dessert Cheese Ball brownie-batter flavored
- Gingersnap Cookies with an amazing spice blend
- Chewy Granola Bars with miniature chocolate chips
- Sugar Cookie Snack Mix with powder sugar-coated cereal

Funfetti Cookies
Equipment
- Sheet pan
- Parchment paper or silicone baking mat
Ingredients
- 8 tablespoons unsalted butter
- 1/3 cup light brown sugar firmly packed
- 1/3 cup granulated sugar
- 1 large egg
- 1/2 teaspoon vanilla extract
- 1 tablespoon honey
- 3/4 teaspoon salt
- 1/2 teaspoon baking soda
- 1/2 teaspoon baking powder
- 1-3/4 cups all-purpose flour see note 1
- 1/3 cup jimmies-style sprinkles see note 2
Instructions
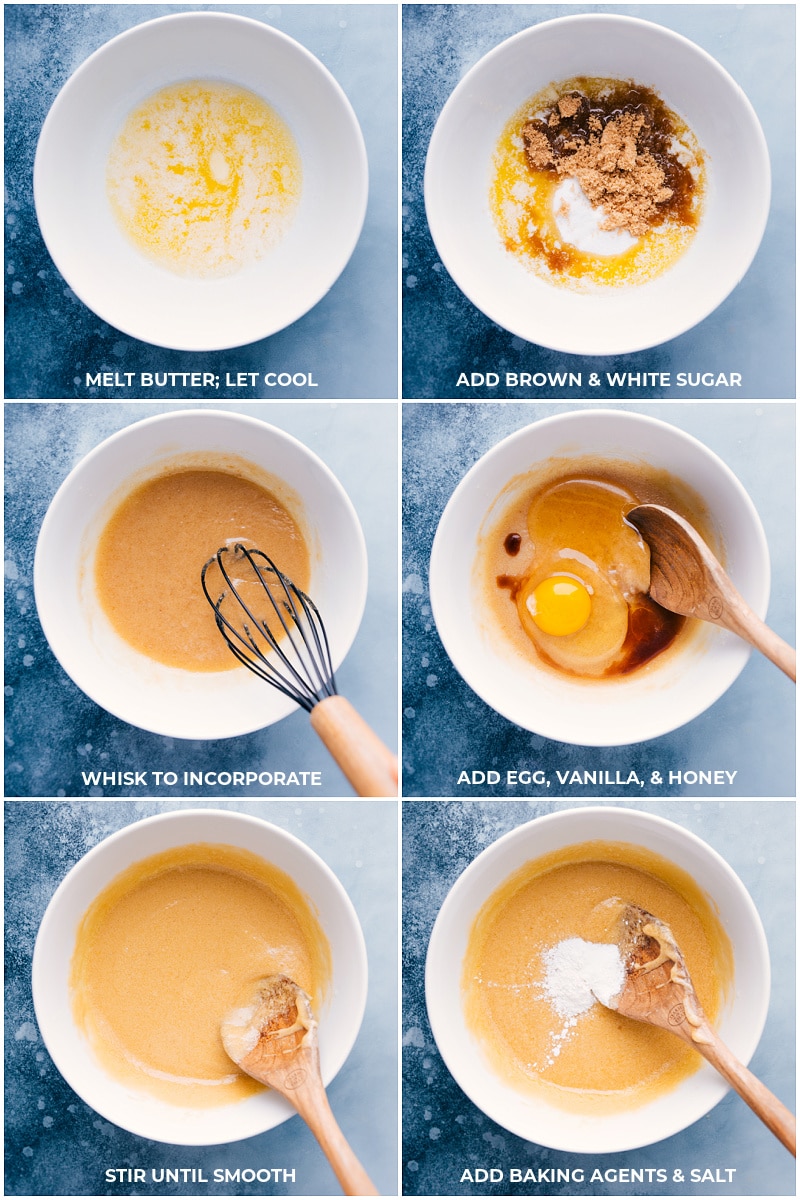
- Melt the butter in a very large, microwave-safe bowl. Once melted, set aside for 5–10 minutes to cool to room temperature. Hot butter will melt the sugar and make the cookies greasy.
- Once butter is cooled to room temperature, stir in the light brown sugar and granulated sugar. Whisk until smooth, about 1–2 minutes (the butter and sugars should fully incorporate). Take your time; it may seem like they won’t come together, but keep mixing until completely integrated. Stir in the egg, vanilla extract, and honey. Mix until smooth.
- Add the salt, baking soda, and baking powder. Stir to integrate. Add the correctly measured flour (see note 1) and mix until just combined (don’t overmix). Gently stir in the sprinkles. Cover the bowl tightly and chill for 90 minutes.
- Preheat oven to 350°F. Line a sheet pan with parchment paper or use a nonstick liner. Roll dough balls (1.5 tablespoons (30g) in size) into tall, cylindrical balls (see picture above for shape and size). Place 6 cookie balls on the pan to give the cookies plenty of room to spread. Place the pan with the cookie balls in the freezer for 10 minutes (dough gets warm from being handled). Repeat with the rest of the cookie dough—you should get around 20–21 cookies from this dough.
- After 10 minutes in the freezer, bake for 8–12 minutes, erring on the side of underbaking to keep them soft and chewy. (I like them right at 10 minutes.) The cookies will bake a little more out of the oven, so take them out as soon as the edges start to lightly brown. Remove from oven and immediately press any edges that have strayed out a bit inward with the back of a metal spatula. Let cool on the pan for 5 minutes before transferring to a cooling rack. Repeat with the remaining dough until all the cookies are baked—or freeze some of the dough if you prefer (see below).
Video
Recipe Notes
Nutrition
Nutrition information is automatically calculated, so should only be used as an approximation.




This is a great recipe. However I have a critical question, I may have misread the amount of flour needed. I wanted to know for the 22 cookie recipe if there should be 1 and 3/4 cup of flour. Or it’s actually 3/4 cup of flour for the cookies. It really seemed like I had way too much flour when I tried these for the first time. Was way closer to a biscuit than just cookie.
1 and 3/4 cup. Did you spoon the flour into the measuring cup and level off the top?
Ah I Think I definitely didnt! I’ll have to try that. One thing that would be nice for the flour is having the amount of grams as well, Ill try spooning til get to around that amount in my measuring cup! Thank you! I was looking for a cookie that’s closer to this consistency and its right about where I need it to be!
Yes there are grams! Toggle over on the recipe card to metric 💗