4 Simple Easter Treat Ideas that require little effort & time and few ingredients — Bunny Bum Cookies, Easter Bunny Cinnamon Rolls, Easter Egg Nests, and Mini Egg Petit Fours.
We’re skipping right past St. Patrick’s Day and April Fools, but I couldn’t wait any longer to share these Easter treat ideas. Easter is one of my favorite holidays and the boys & I had so much fun making these Easter treats. Above this text is a quick video overview of each of these treats and below is an individual recipe for each one. More Easter treats with free printables here!
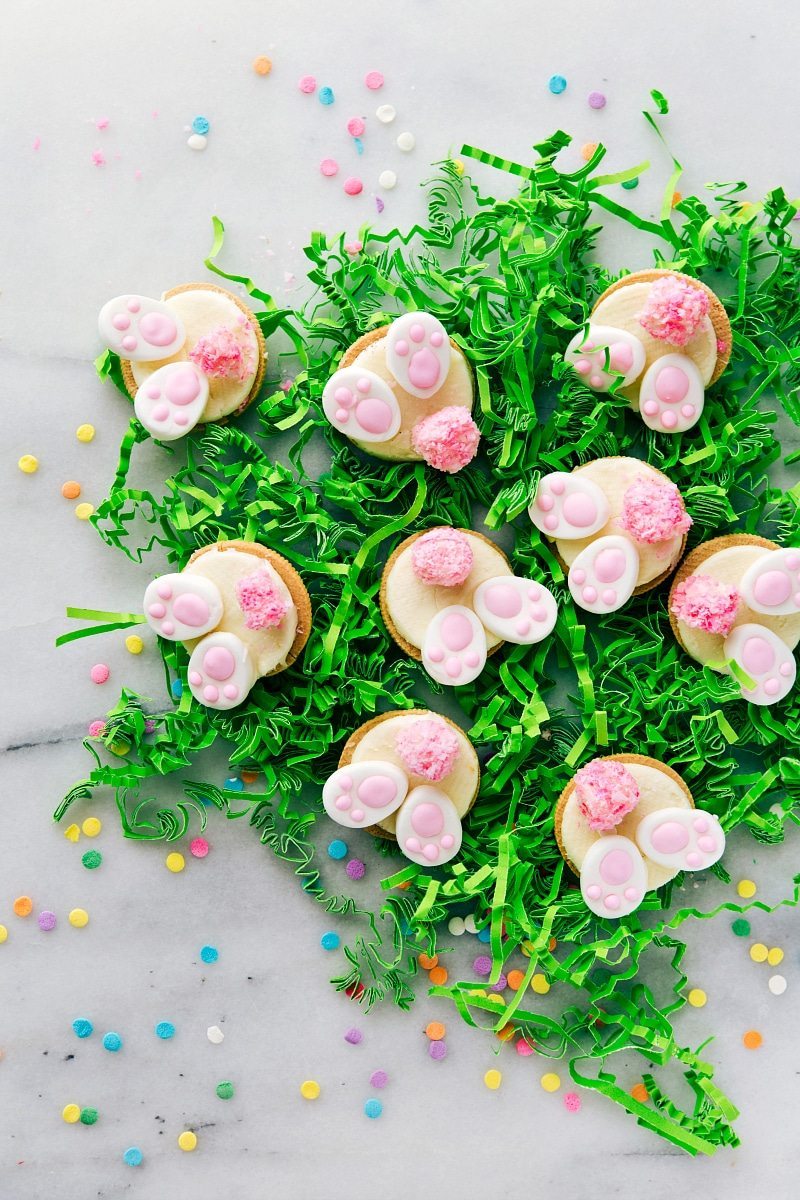
First, up BUNNY BUM COOKIES.
For a couple of years now, bunny bum cookies, cupcakes, or other similar treats have been super popular all over the internet, and I thought it was time to add my little twist to them — making them SUPER simple. These require literally no more than 10 minutes to make!
The best part is; because “bunny bum” treats are so popular, Wilton has made “bunny feet” you can buy at the store. In fact, I found mine at Wal-Mart in the Easter aisles by all of the decorating products (sprinkles, cookie cutters, etc.)
To simplify these even more you can just use pink miniature marshmallows and not even cover them in coconut. The only catch there is making them right before eating so the marshmallows don’t get too hard.
In case you can’t find the bunny feet (or prefer the convenience of shopping online), you can purchase them here:
Bunny Bum Cookies
Ingredients
- 1 package Golden Oreos
- 1 cup shredded sweetened coconut
- Pink food coloring
- 1 cup white chocolate chips
- 1 package pastel colored or white mini marshmallows
- 1 package (24 total) bunny feet decorations
Instructions
- Un-wrap the Oreos and gently twist to separate one cookie top from the other cookie + icing. It's okay if some don't come off perfectly; that's normal; enough will separate well.
- In a food processor or blender, add in 1 cup coconut and a swirl of pink food coloring. Pulse until the coconut is in smaller pieces (but still has good texture -- you don't want it in complete crumbs) and dyed pink. Transfer to a shallow dish.
- In a microwave-safe bowl, melt the white chocolate chips in bursts of 15 seconds, stirring in between each "burst" until completely melted and smooth.
- Roll a miniature marshmallow in the melted white chocolate and then roll the chocolate-coated marshmallow in the coconut mixture until completely covered.
- Use the white chocolate to "paint" on the back of the feet and adhere them to the cookie. Use the white chocolate to attach the "tail." Allow the chocolate to firm up.
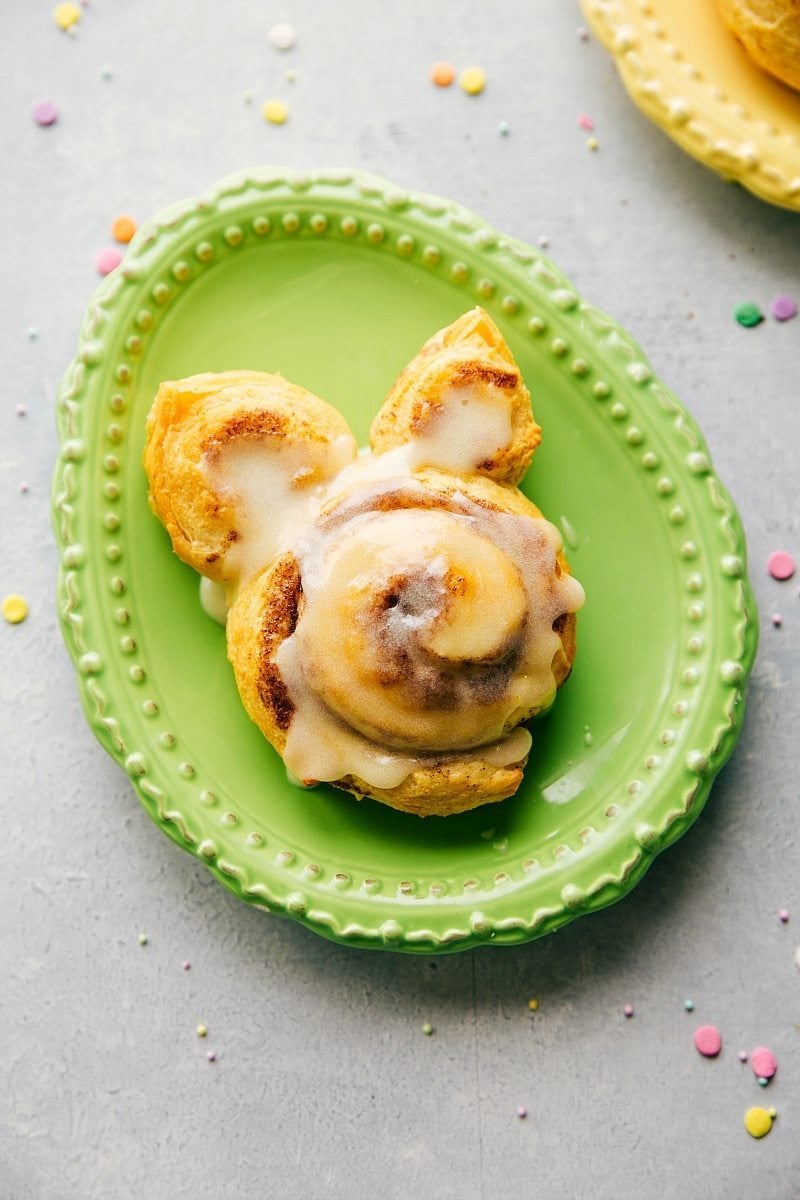
Next, BUNNY CINNAMON ROLLS.
These seriously couldn’t be any easier! This isn’t really a recipe, but more of a “hack” for packaged cinnamon rolls. All you need is your favorite regular-sized canned cinnamon rolls and a baking tray!
After these are baked, I slightly pinch the ears to give them more of a tip, but you can leave them rounded if you like that look better.

Bunny Cinnamon Rolls
Ingredients
- 1 container (12.4 ounces or 8 packaged) pre-made cinnamon rolls
Instructions
- Preheat the oven according to cinnamon roll packaging instruction.
- Place 5-6 cinnamon rolls on a large baking sheet. Take the remaining 2-3 and un-roll them. Slice the un-rolled cinnamon roll into 2-inch pieces. Take the pieces and fold each of them to form "ears."
- Attach the "ears" to the cinnamon rolls on the tray and press to adhere.
- Bake according to package instructions. Remove and, if desired, slightly pinch the top of the ears to give them more of a point. Frost using the included frosting package.
Inspired by Pillsbury.
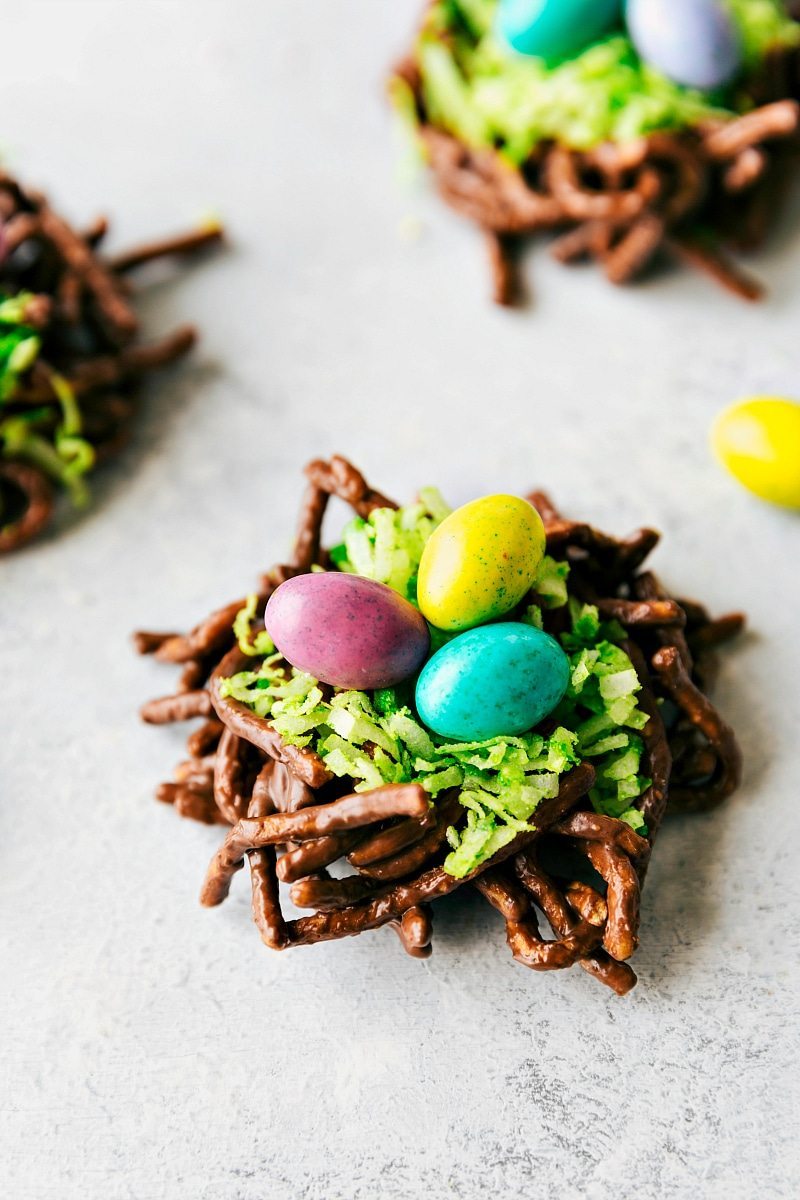
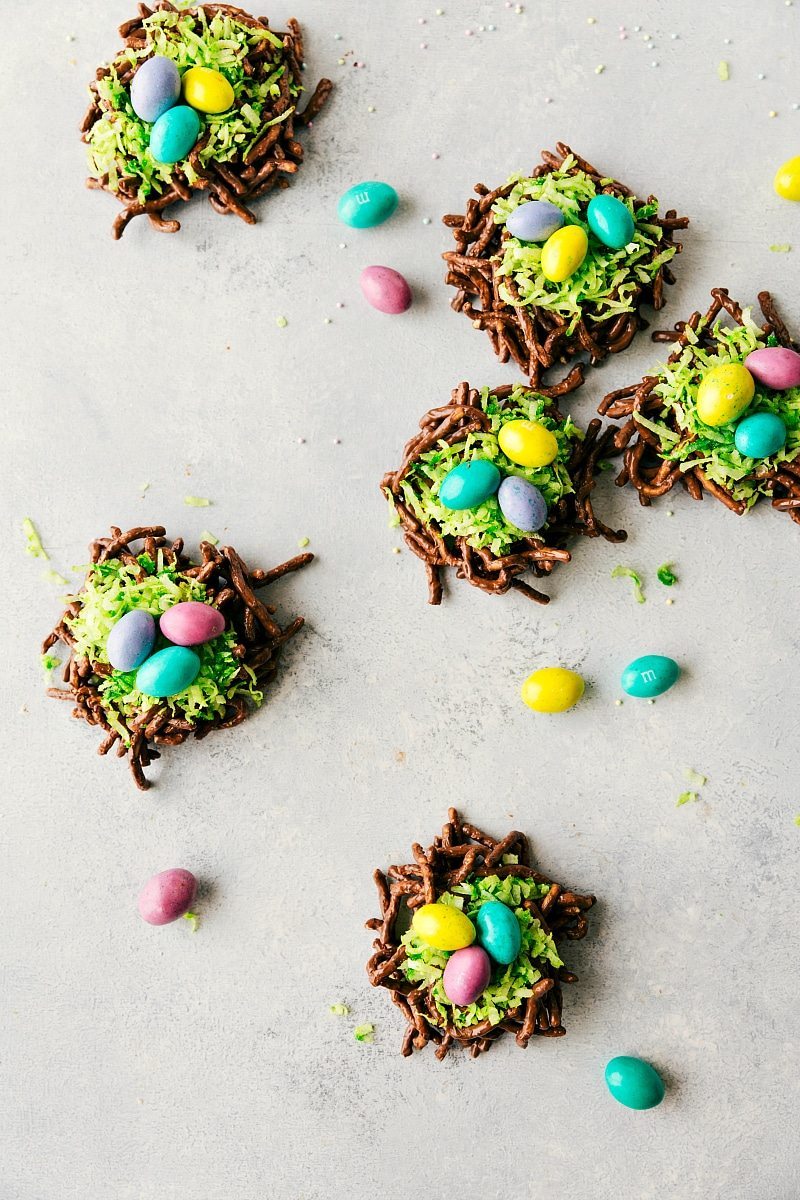
Third, EASTER EGG NESTS.
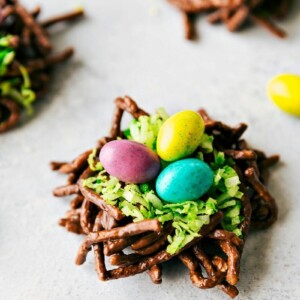
These are the treats my mom made EVERY single Easter for us growing up (and she still does)! It’s not Easter without these little egg nests and we all love them. Of course, I had to keep the tradition up with my own family! (Although, my boys just picked the candies off, so we’ll have to work on that.)
If you can’t find chow mein noodles or want to try something different, my mom sometimes used the “Fiber 1″cereal that has a similar shape to the chow mein noodles. You can use dark chocolate, milk chocolate, or even white chocolate — whichever you like best.
Easter Egg Nests
Ingredients
- 1 cup milk, dark, semi-sweet, or white chocolate chips
- 2 tablespoons creamy peanut butter
- 1 can (5 ounces) chow mein noodles
- 1 cup shredded sweetened coconut
- Green food coloring
- 1 bag (10 ounces) robin egg M&Ms
Instructions
- Prepare a large sheet pan by lining it with parchment paper and set aside.
- In a microwave safe bowl, add the chocolate chips and peanut butter. Microwave in bursts of 15 seconds, stirring in between each burst for 10-15 seconds until the chocolate is melted and smooth.
- Stir in the chow mein noodles and mix until the noodles are completely coated.
- Scoop and drop about 2-3 tablespoons (total yield depends on how big or small your nests are) of the mixture onto the prepared sheet pan. Form with your hands to make a nest shape.
- Before the chocolate hardens, add the coconut and green food coloring to a bowl. Mix until the coconut is completely dyed. Scoop an even amount of the green coconut on each nest.
- Press 2-4 M&M eggs onto each nest. Allow to harden.
Video
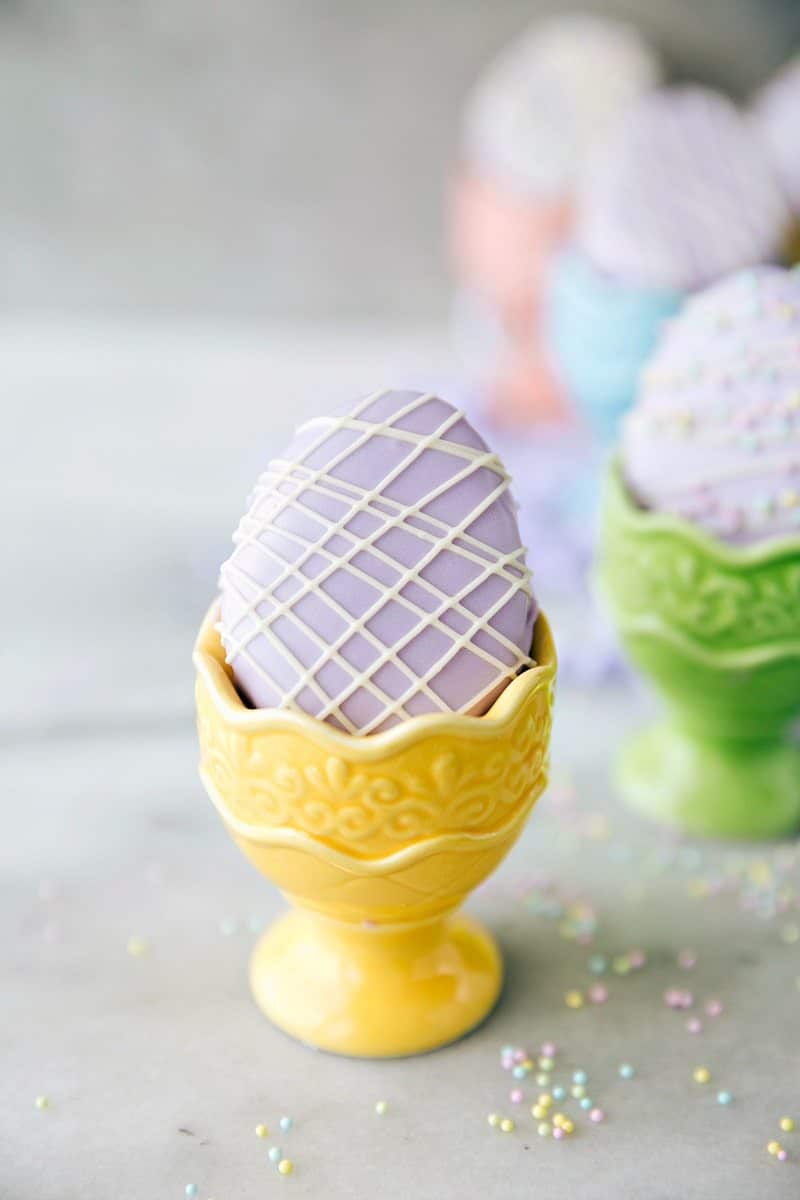
And last, MINI EGG PETIT FOURS.
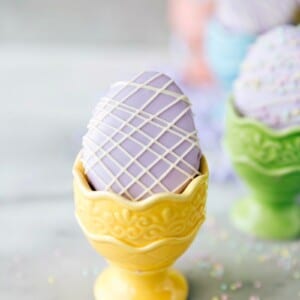
At a restaurant I used to work at, we had a “famous” Easter Brunch every year. One of my favorite desserts the pastry chefs always made were mini Easter Petit Fours. While these are obviously super simplified, they still look very impressive & taste delicious!
The trick to get the smooth pretty cake (without the work or stress of using fondant) is melting frosting and pouring it over the miniature cakes. It gives it a beautiful and smooth look with very little work.
I found the egg cookie cutter at Wal-Mart for super cheap, but I have also seen them at Hobby Lobby.
In case you can’t find an egg cookie cutter (or prefer the convenience of shopping online), you can purchase them here:
Mini "Egg" Petit Fours
Ingredients
- 1 (10.75 ounces) packaged frozen pound cake
- 1 container (16 ounces) creamy supreme white frosting (not whipped, not cream cheese, not fluffy)
- Food coloring
- 1/3 cup white chocolate chips
- Optional: Easter sprinkles
Instructions
- Place a large cooling rack on top of a large sheet pan. Set aside.
- Allow the pound cake to thaw for about 5 minutes. Using an extremely sharp serrated knife, thinly slice off the very top rounded part. Evenly slice the cake into two pieces.
- Using an egg cookie cutter, cut out 12 egg cakes. (Use the leftover pound cake and eat it with strawberries + whipped cream!) Place the mini egg cakes on the prepared sheet pan and then in the freezer while you prepare the frosting.
- Open a package of frosting and add food coloring. Stir until the color is even throughout all the frosting. Transfer 1/4 of the frosting to a small microwave safe container and microwave for 10 seconds.
- Pour the melted frosting evenly over as many cakes as you can cover. Repeat the steps (microwave frosting & pouring it over cakes) until all the cakes are evenly covered.
- Place the eggs in the fridge for 15 minutes to set.
Decorate
- Place the white chocolate in a microwave-safe bowl and melt in bursts of 15 seconds until it is completely melted and smooth. Transfer the melted chocolate into a small plastic bag and cut off the very tip.
- Pipe the melted chocolate over the cakes however you like! (See the video for a few variation ideas). Immediately cover in sprinkles if desired.
- Store loosely covered at room temperature. Best enjoyed within 1-2 days of making. (Very best on the first day).
Adapted from The Cake Blog
More Easter Treats:
Some of the links above are affiliate links which means if you were to buy through that link, I would receive a small commission at no extra cost to you! Thanks for supporting Chelsea’s Messy Apron ?







hey girl- love the treats! So cute!
These all look so pretty and cute. and so yummy! x
Izzy | Pinch of delight