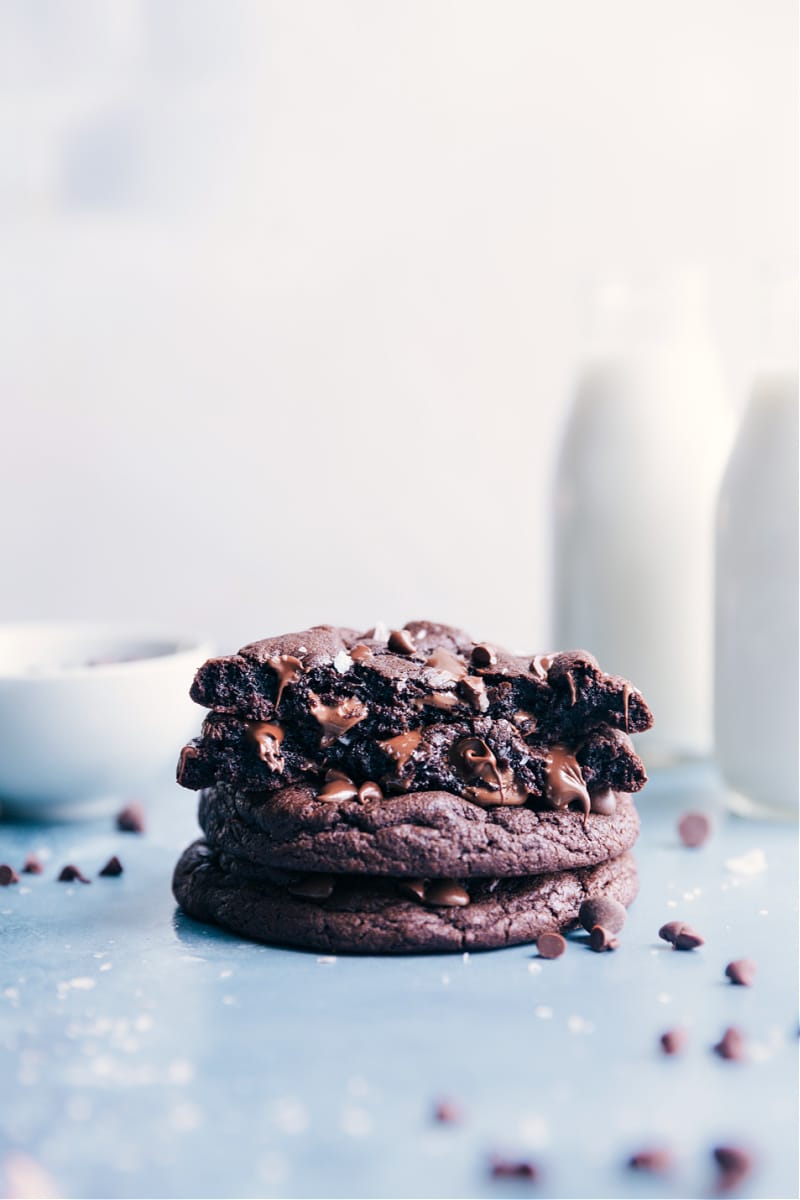
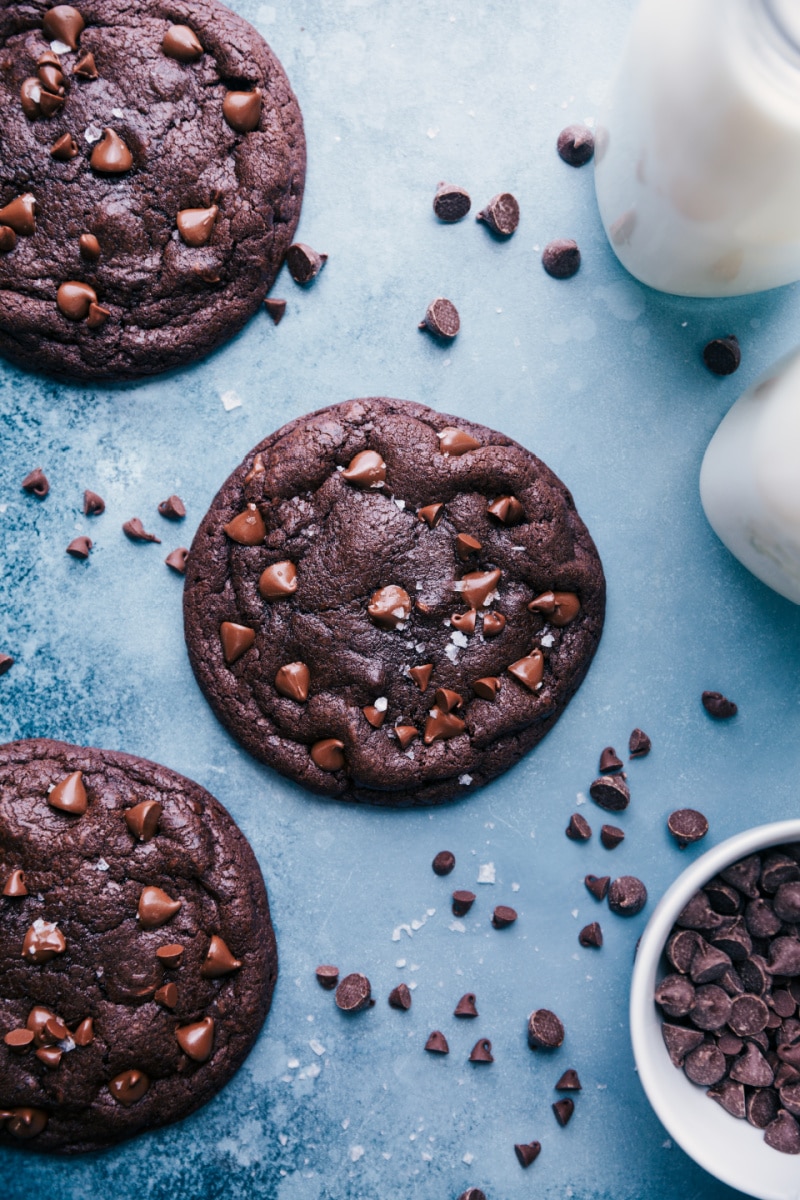
Bakery Style Chocolate Cookies are big, soft, chewy, and ridiculously rich! These chocolate-loaded cookies have gooey, thick centers and slightly crisp edges.
Bakery Style Chocolate Cookies
After years of being disappointed with fairly lackluster chocolate cookies (that weren’t rich/flavorful enough or too dry), I worked on and published my favorite Chocolate Cookies recipe. Those cookies are a total chocolate lover’s dream and a huge favorite at my home.
Unfortunately, though, that recipe doesn’t translate well to large bakery-style sized cookies; in fact, they work best when rolled into fairly small (1 tablespoon-sized) cookies. And since bakery-style and bakery-sized cookies are all the rage these days, I knew it was time to get back to the drawing board!
After a few months of testing, I’m so excited and thrilled to share this recipe — big, bakery-style chocolate cookies that are moist, rich, and loaded with chocolate. And when I say big, I mean, big. Each cookie is 4 ounces in size!
Quick Tip
If you’ve had any Crumbl® cookies, you’ll be excited to find these cookies are the exact same size! Crumbl measures each cookie to be 4 ounces before baking!
We highly recommend using the exact ingredients called for to achieve the best results in re-creating these cookies. So wait for a grocery store run if you don’t have the right cocoa powder or flour; the wait will be worth it so you don’t end up with lackluster cookies — or worse, cookies that don’t bake up properly.
Bakery Style Chocolate Cookies: Special Ingredients
There are two ingredients in particular that aren’t super common in cookie recipes that you’ll want to pay close attention to for this recipe: cake flour and Dutch-process cocoa powder. Depending on how often you bake, you may already have these ingredients in your pantry. But if not, you can readily find both ingredients in most grocery stores.
Special Ingredient #1: Dutch-process Cocoa Powder
- The cocoa powder really sets these cookies apart; Dutch-process cocoa powder offers a more robust and intensely deep chocolate flavor and adds a darker color to the cookie. It also produces a softer and more moist cookie. Regular cocoa powder will create a less flavorful and drier texture.
- Hershey’s® “Special Dark” cocoa powder is a Dutch-process cocoa powder that is delicious in these cookies and is readily found at most grocery stores.
- We’ve also had a lot of luck finding Dutched cocoa powder made by Ghiradelli® in local grocery stores. You’ll know you have a Dutch-process cocoa powder because the container will say either “Dutch process” or “Dutched” cocoa. The cocoa powder shouldn’t be sweetened.
Special Ingredient #2: Cake Flour
- The other special ingredient in Bakery Style Chocolate Cookies is cake flour which isn’t a typical ingredient in cookies but is integral to the structure and flavor in this recipe.
- Cake flour has been milled to a fine consistency. It’s a low-protein flour which essentially means less gluten is formed when mixing together the cookie batter. Less gluten is going to produce a softer, gooier cookie texture. For reference, cake flour has about 7-9% protein while all-purpose flour clocks in at about 10-12% and bread flour has an even higher protein content.
Quick Tip
There are loads of tutorials and ways to make your own cake flour, but we did not find these DIY cake flours to have consistent results in these cookies. For best results, use store-bought cake flour which can be found near all-purpose and other types of flours in the grocery store.
Bakery Style Chocolate Cookies: Tools
- Silicone liner. We recommend baking these cookies on a silicone liner — they bake evenly and the bottoms won’t get overly crispy when baking on a mat.
- Food scale. A food scale ensures even-sized cookie dough balls ensuring evenly baked cookies. If simply eyeballing portions, you may end up with some slightly over-baked cookies while other cookies aren’t fully baked through because of inconsistent cookie dough ball sizes. And, since they’ll all be measured to the same size, the presentation will look nicer — truly, even-sized cookies give that perfect “bakery-style” appearance.
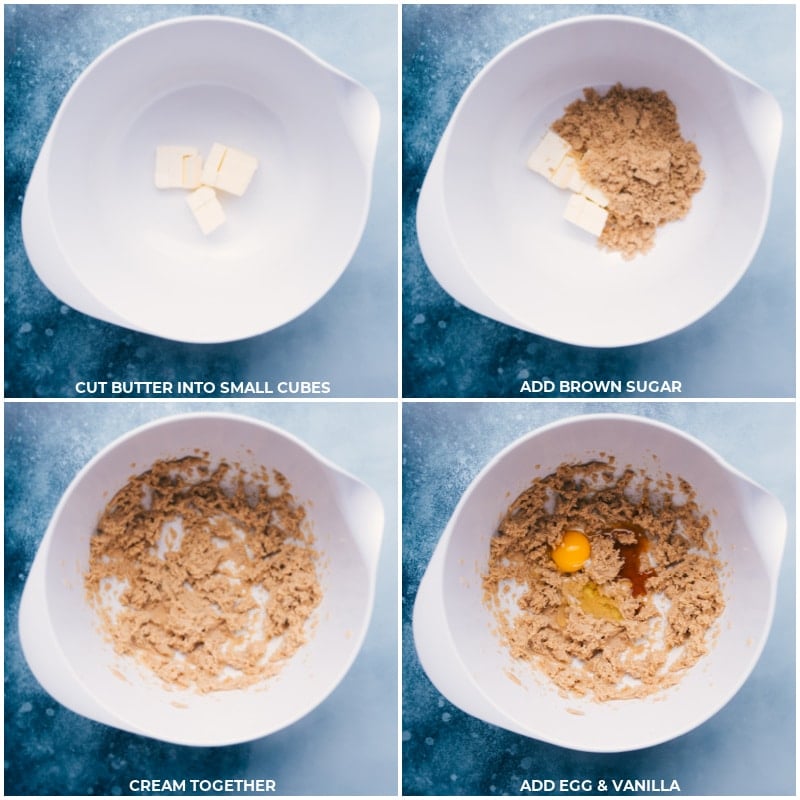
- Hand mixer or a stand mixer. To get the right dough consistency you’ll need to use a mixer. When creaming together the butter and brown sugar, we’re looking for a thick and creamy mixture similar in consistency to peanut butter. This consistency can’t be replicated with a wooden spoon.
Bakery Style Chocolate Cookie Tips
- Don’t substitute ingredients. This cookie recipe has been tested (and re-tested some more!). For best results, follow the recipe carefully using the right ingredients. I know there are some unique ingredients called for, but I recommend using those ingredients instead of trying random substitutes. Baking is finicky — it’s hard to say what will and won’t work out in place of what has been tested.
- Use your favorite chocolate chips. We love a combination of semi-sweet and milk chocolate chips in these cookies, but use your favorite — semi-sweet, dark, or even white would all work great.
- Add a sprinkle of sea salt. For the perfect salty-sweet treat and contrast against the richness of the chocolate cookie, add a sprinkle of sea salt flakes — yum! If you aren’t a fan of salted cookies, these are still plenty delicious without the salt!
- Don’t skip or shorten the chilling time. Not only does the dough become more flavorful as it sits, but the chill time is also important for the texture and structure of the cookies. The chilling time ensures these cookies bake up nice and thick instead of spreading too much.
More cookie recipes
- Salted Caramel Cookies graham cracker cookies with a cream cheese frosting
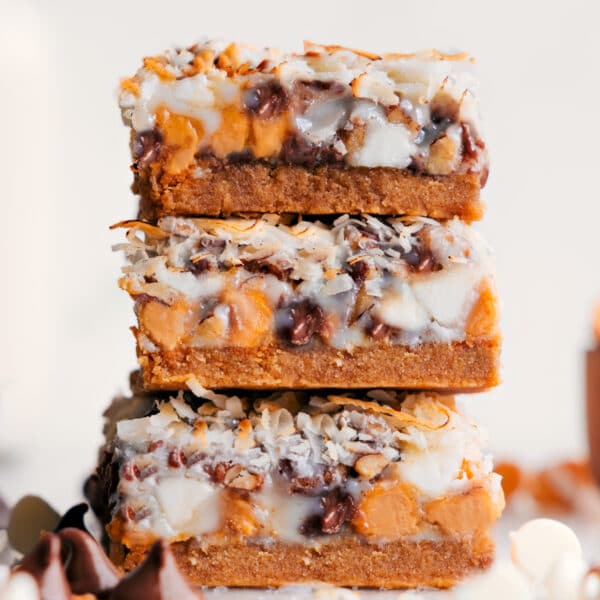
- Magic Cookie Bars with a graham cracker crust
- Gideon’s Bakehouse Cookie Recipe famous bakery copycat recipe
- Chocolate Chip Pudding Cookies with pudding mix in the dough
- Animal Circus Cookies Funfetti cookies with cream cheese frosting
Bakery Style Chocolate Cookies
Equipment
- Hand mixer or stand mixer
- Silicone baking mat or parchment paper
Ingredients
- 1/2 cup unsalted butter
- 3/4 cup light brown sugar firmly packed
- 1 large egg
- 1 teaspoon vanilla extract
- 1/2 teaspoon cornstarch
- 1/2 teaspoon baking soda
- 1/2 teaspoon salt
- 1/4 cup Dutch process cocoa powder see note 1
- 1/2 cup cake flour see note 2
- 3/4 cup all-purpose flour see note 3
- 1/2 cup miniature chocolate chips
- 1 cup milk chocolate chips or semi-sweet chocolate chips, see note 4
Instructions
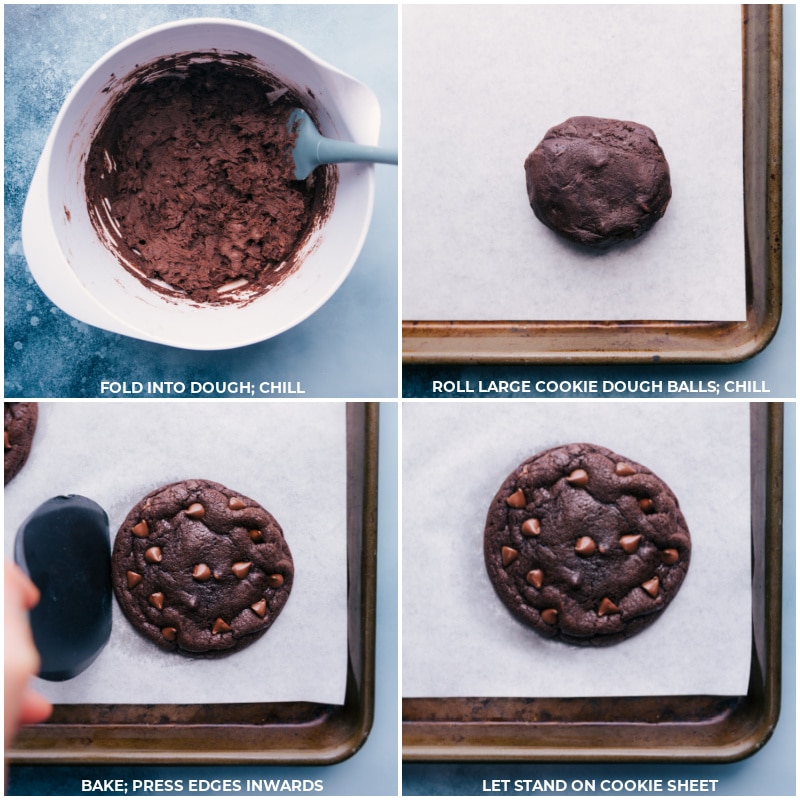
- Cut butter straight from the fridge into small cubes. In a large bowl (or stand mixer fitted with whisk attachment), add cubed butter and brown sugar. Beat until completely combined and creamy, about 3–4 minutes, until consistency resembles peanut butter.
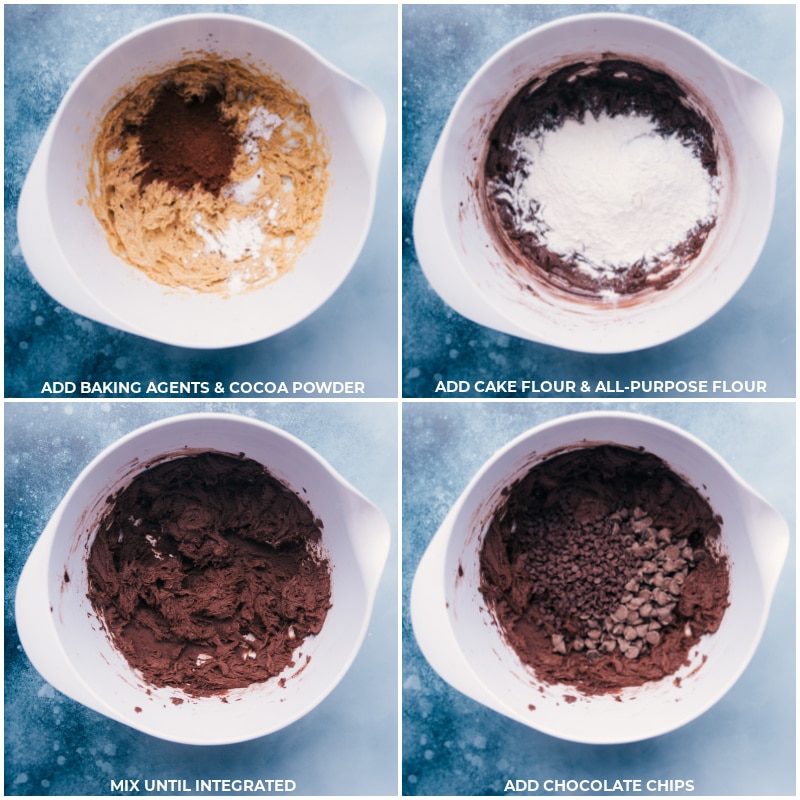
- Beat in egg and vanilla until combined. Add cornstarch, baking soda, salt, and cocoa powder, and beat again until just incorporated. Scrape down the sides as needed. Mix in cake flour and regular flour (see note 3) until just combined, then fold in mini and regular-sized chocolate chips with a spatula. Cover bowl tightly and refrigerate for 45 minutes to 2 hours.
- Once chilled, remove dough from fridge and form 6 cookie balls, about 4 ounces (117 grams) each. Roll into large balls and place on a parchment-lined sheet or plate. Chill in the fridge or freezer for 15 minutes (see note 5). Want smaller cookies? See note 7.
- Meanwhile, preheat oven to 325°F. Line a large sheet pan with a silicone baking mat (or parchment paper). Place 3 cookie balls on the pan, leaving plenty of space between them. Bake for 13–18 minutes (I think they’re perfect at 15–16 minutes). Err on the side of underbaking for a fudgy, chewy cookie (see note 6). Right out of the oven, press the cookie edges inward with a metal spatula to get the perfect round bakery-style cookie. Add extra chocolate chips on top if desired. Let cookies cool on the pan 10–15 minutes before transferring to a cooling rack. Repeat with remaining dough.
Video
Recipe Notes
Nutrition
Nutrition information is automatically calculated, so should only be used as an approximation.






Me and my wife made these cookies and they were life changing. Already whipping up another batch!
So happy to hear that! Thanks Cody!