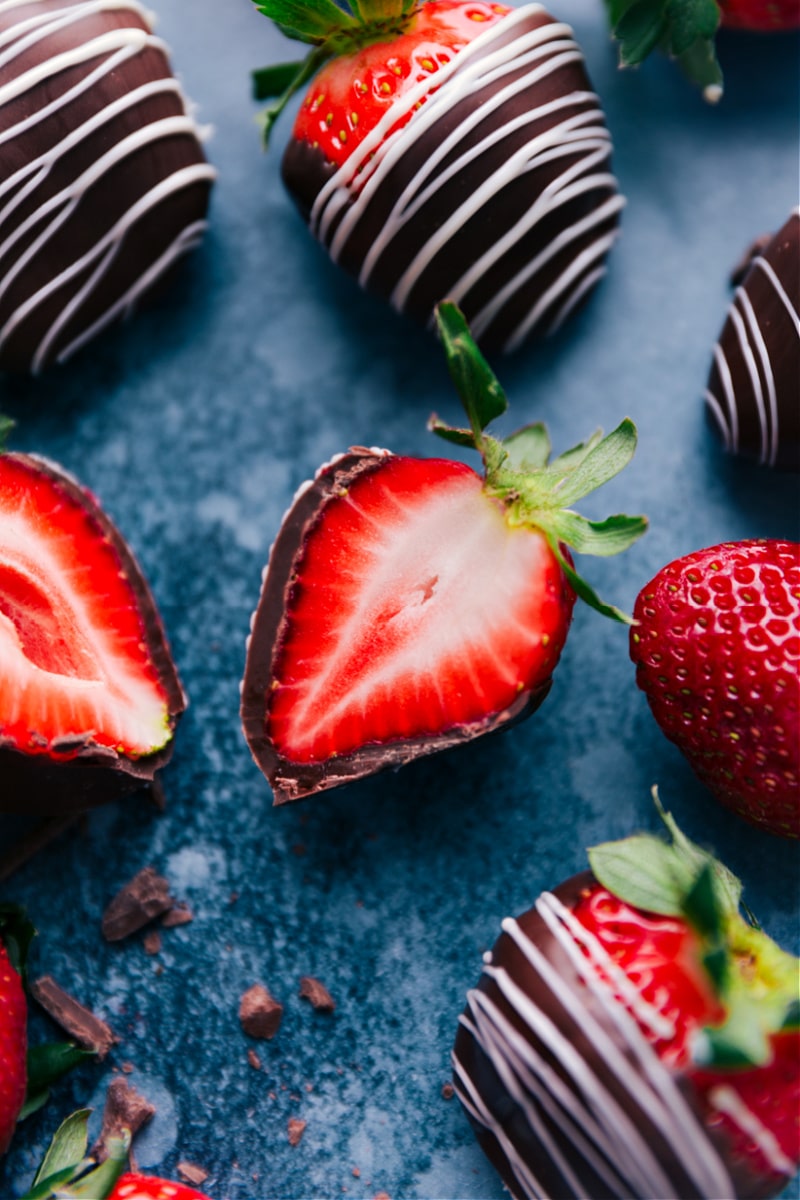
Chocolate Covered Strawberries look so elegant, but couldn’t be easier to make! These sweet treats are rich and chocolatey with a bright, sweet strawberry center. Decorate the strawberries with an extra chocolate drizzle for an even fancier-looking dessert.
Love chocolate-dipped desserts? Try our Chocolate- Covered Oreos, Chocolate-Covered Raspberries, or Oreo Balls next! Hosting? Try this Chocolate-Covered Strawberry Dessert Bar.
Homemade Chocolate-Covered Strawberries Are The Best!
Skip asking Siri to “find chocolate-covered strawberries near me,” because I guarantee, homemade chocolate-covered strawberries are always going to be tastier! Plus, they’re fairly easy to make, especially with all the tips we’re sharing today!
Why homemade? For one, you can pick the exact strawberries you use, meaning you’ll get fresher, riper berries. Another reason is you pick the type of chocolate(s) that go on your strawberries. And third — it’s fun! Decorating Chocolate-Covered Strawberries is such a great project and especially if you have some kiddos that want in on the process (mine love decorating their own!).
Not to mention, it’s far more economical — chocolate-covered strawberries delivery can be extremely costly and you’ll end up paying a premium for someone else to make ’em.
Chocolate-Covered Strawberry Ingredients
- Strawberries. Use the freshest, best strawberries you can find. Look for plump and firm berries that are red all over and avoid any berries with soft spots or discolorations.
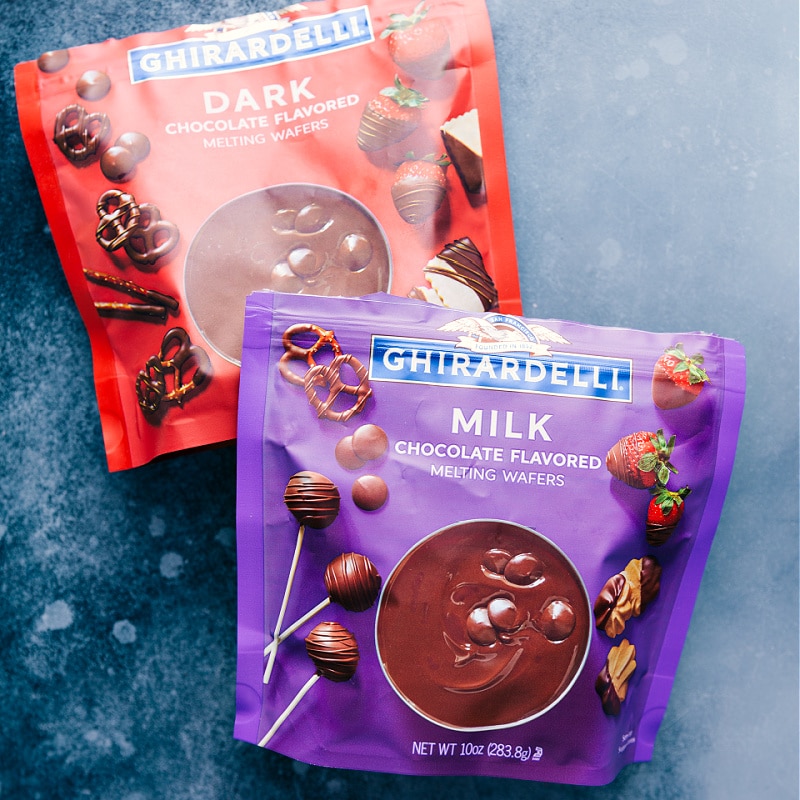
- Melting wafers or high-quality baking bars. We recommend chocolate made for melting like good quality baking bars (such as Baker’s, Lindt, or Ghiradelli) or good quality melting wafers (such as Ghiradelli) for best results. (Both bars and melts are found in the baking aisle of the store.) Melting wafers are much easier to work with and won’t seize up like chocolate chips might.
- Oil. A little coconut or vegetable oil helps thin the chocolate to make dipping easier and for the chocolate to go on smoother.
Quick Tip
Chocolate chips and baking morsels have stabilizers that keep them from melting smoothly. This is great for cookies but not for coating strawberries. Chocolate chips can create a grainy and matte coating, while chocolate bars or melting wafers give a smooth and shiny finish.
How To Prepare Strawberries For Dipping In Chocolate
- Start with ripe and fresh strawberries without any soft spots
- Wash very gently in cool water and carefully dry with paper towels
- Let stand at room temperature for about 30 minutes to ensure the strawberries are completely dry and the berries aren’t cold from being in the fridge.
How To Make Chocolate-Covered Strawberries
Once the strawberries are prepped, it’s time to melt the chocolate and dip. Below are our top chocolate melting tips.
- Microwave the chocolate in sturdy, heat-safe bowls instead of using plastic or melamine.
- To avoid scorched chocolate, microwave for 15 seconds at a time, and stir for at least 15 seconds between each microwave burst. Remember, the chocolate is still melting from residual heat even after it has been removed from the microwave. To avoid streaky Chocolate-Covered Strawberries, it’s important the chocolate never gets too hot!
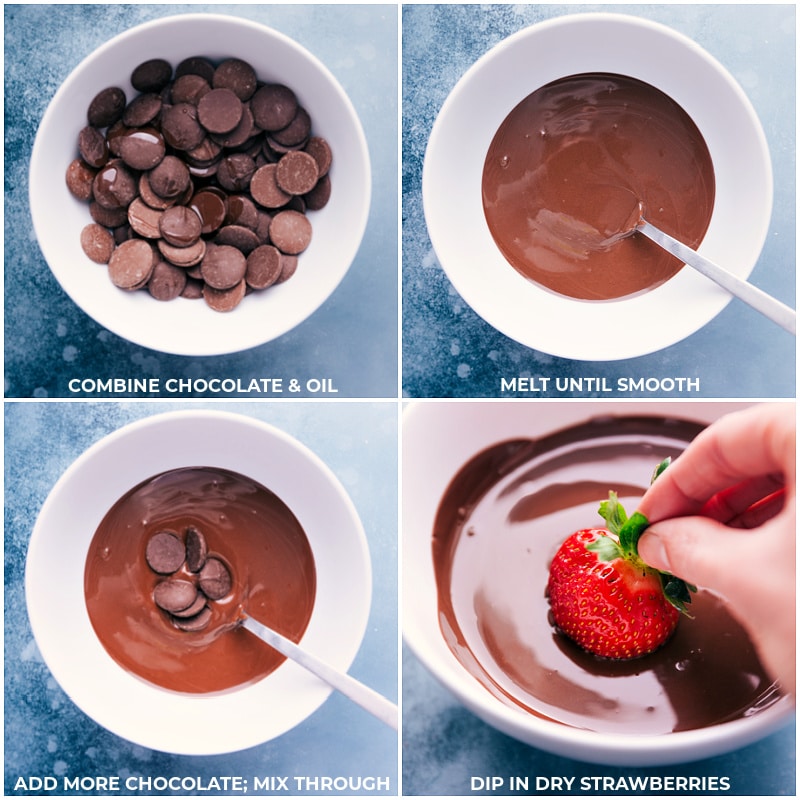
- Manage the temperature of the chocolate: Once most of the chocolate in the bowl is melted, add in some unmelted chocolate. The heat from the melted chocolate will then melt this added chocolate while also lowering the heat of the chocolate all together. Why is this important? It helps to ensure the chocolate is stabilized–and it also gives it a smooth and glossy finish. (For more info, check out the “quick tip” below.)
Quick Tip
Melting the chocolate slowly while stirring often promotes the formation of the most desirable type of crystals. It ensures that the chocolate cools and hardens before the cocoa butter (the natural white fat) can rise to the surface and make the strawberries look streaky. Adding unmelted chocolate to the bowl near the end of mixing not only cools down the overall chocolate temperature but “seeds the batch,” which encourages the chocolate to set with the right crystals that make it smooth and hard at room temperature.
How To Decorate Chocolate-Covered Strawberries
- Salty-sweet: Add a sprinkle of Maldon Sea Salt flakes.
- Topped with more sweets: Add Oreo® cookie crumbs, graham cracker crumbs, sweetened coconut flakes, coarsely chopped candied nuts, crushed toffee, sprinkles, etc.
- Add any of these toppings to the strawberries immediately after dipping them. The chocolate needs to still be wet so the sprinkles or toppings will stick as they dry. Either dip in the topping or sprinkle the topping atop the wet chocolate.
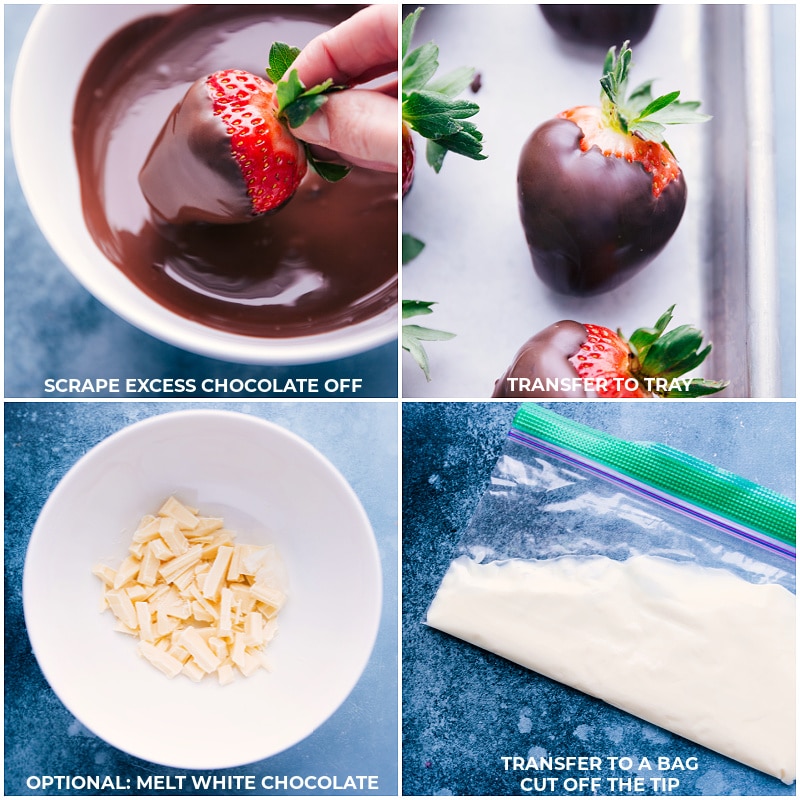
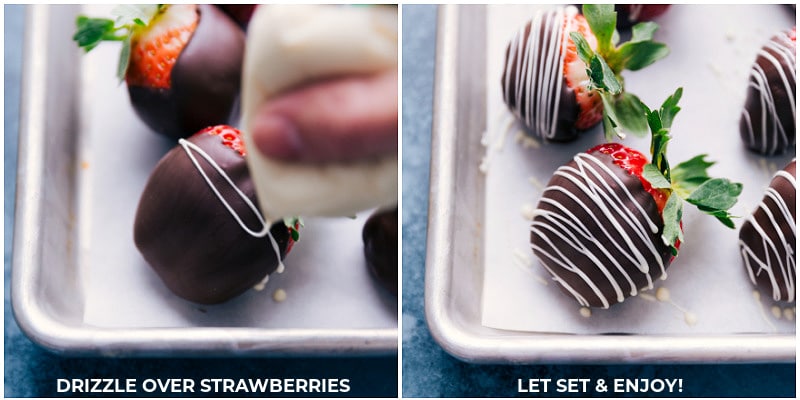
- Add a chocolate drizzle: We love adding a contrasting flavor of chocolate to the dipped strawberries — white chocolate is especially pretty and tasty! Add melted chocolate to a plastic bag and snip off the tip to drizzle!
Quick Tip
Gift Chocolate-Covered Strawberries! Once the chocolate coating the strawberries has hardened, select a few and place them in a small gift bag or box tied with a festive ribbon. This makes a great holiday gift for friends, teachers, coworkers, neighbors, etc.
Chocolate Covered Strawberries FAQs
How do you get chocolate to stick to strawberries?
Use chocolate melting wafers or baking bars, not chocolate chips. Chocolate chips have stabilizers that prevent smooth melting and sticking. Ensure strawberries are completely dry; any moisture can prevent the chocolate from sticking. Avoid adding too much oil to the melted chocolate, as it can cause the chocolate to slide off.
Should strawberries be cold before dipping in chocolate?
No. Keeping the strawberries and melted chocolate at similar temperatures helps the chocolate stick better and look smoother.
How do you make chocolate-covered strawberries not leak?
Use fresh, firm strawberries and make sure they are completely dry before dipping. Avoid quick temperature changes; don’t use hot chocolate or refrigerate/freeze to harden. Let them sit at room temperature in a cool, dry place. Eat them the same day for the best results.
Storage
Can I Make Chocolate-Covered Strawberries The Night Before?
Chocolate-Covered Strawberries are best eaten the same day they’re made. They last about 8-10 hours in a cool, dry place before they’ll begin to break down and start to leak/become sticky. (Strawberries ripen very quickly outside of the fridge!)
We don’t recommend refrigerating the strawberries. That will create condensation on the outside of the chocolate and make it so the chocolate breaks apart when you bite into the strawberry.
Use Leftover Strawberries In One Of These Recipes:
- Jamba Juice Strawberry Wild with vanilla frozen yogurt
- Strawberry Pretzel Salad with a sweet creamy center
- Strawberry Scones with Greek yogurt and fresh strawberries
- Nutella Crepes with fresh strawberries
- Strawberry Milkshake with only four ingredients

Chocolate Covered Strawberries
Equipment
- Sheet pan lined
Ingredients
- 1-1/3 cups melting wafers see note 1
- 1 teaspoon coconut oil
- 2 pounds strawberries see note 2
Instructions
- Wash strawberries very gently in cool water and carefully dry with paper towels. Let stand at room temperature for about 30 minutes to ensure the strawberries are completely dry. Don't dip strawberries unless they are completely dry otherwise chocolate will become cloudy or won't stick to the berries.
- Line a large sheet pan with parchment paper, wax paper, or a silicone baking mat and set it aside. If using baking bars, coarsely chop the chocolate. Be patient when melting the chocolate and avoid rapid temperature changes. Do not microwave for too long or too many times; stir the chocolate frequently as it melts. Allow the coated raspberries to harden at room temperature instead of refrigerating or freezing them.
- Add all but 2 tablespoons of the chocolate melting wafers to a large microwave-safe bowl (see note 3). Add 1 teaspoon oil. Microwave for 15 seconds and then stir vigorously for 15 seconds. Continue to do this until the chocolate is melted. Once the chocolate is melted, add the reserved 2 tablespoons of chocolate and stir until it melts (see note 4). Be patient and resist the urge to microwave unless it isn't melting after stirring for a full minute.
- Once the chocolate is fully melted and smooth, hold a berry by the stem and dip it into the melted chocolate. Gently swirl to cover in the chocolate. Carefully slide the bottom of the strawberry against the edge of the bowl to remove any excess chocolate. Place the strawberry on the lined sheet pan. Repeat with remaining strawberries. If the melted chocolate is getting too hard to dip, heat it in the microwave for another 15 seconds and remix. You may need to add a 1/2 teaspoon or more of oil too.
- To drizzle chocolate on top, melt 2 ounces of white chocolate with 1/2 teaspoon of oil. Transfer the melted chocolate to a small plastic bag, seal it without air, and cut off a tiny tip. Drizzle over the strawberries. For a raised drizzle, wait until the chocolate has hardened; for a melted effect, drizzle right after coating the strawberries. You can also sprinkle on toppings like sprinkles or crushed Oreos before the chocolate sets. Let the strawberries cool at room temperature.
Recipe Notes
Nutrition
Nutrition information is automatically calculated, so should only be used as an approximation.






What a sweet and yummy treat!
Thank you Maribel! 🙂
I think I may make some for my daughter’s Kindergarten Brunch.
Thanks Cindy! I hope you enjoy them!
What a nice recipe
Thanks Loraine!
What a great and cute recipe!
Thank you Camille! 🙂
I’m a huge fan of chocolate covered strawberries. And thanks for the white chocolate melting tips – patience is one thing I struggle with. 🙂
Chelsea, I love chocolate strawberries and these are just the perfect way to make them.
These are super sweet unfortunately I have to admit, I probably don’t have the patience to make them myself. I’m going to have to pay someone to make them for me 🙂
Omg, Chelsea! Usually I’m terrible at dipping things in chocolate, haha, but I would so love to try these!
I love chocolate covered strawberries, and I love this version!
You are so sweet, thanks Kelly!