4 adorable and simple to make Christmas Oreo Pops: a penguin, snowflake, reindeer, and a candy cane. Video tutorial included!
Penguins, Snowflake, Rudolph, and a Candy Cane!! Each with only FIVE ingredients or less.
Also, if you’re looking for the cake pop holder (used in the video) I love and highly recommend this Nordic Ware one! (<– click on text). You’ll also want to have parchment paper to lay all of these pops on (after making them) so they can harden, but be pulled up easily. Enjoy!
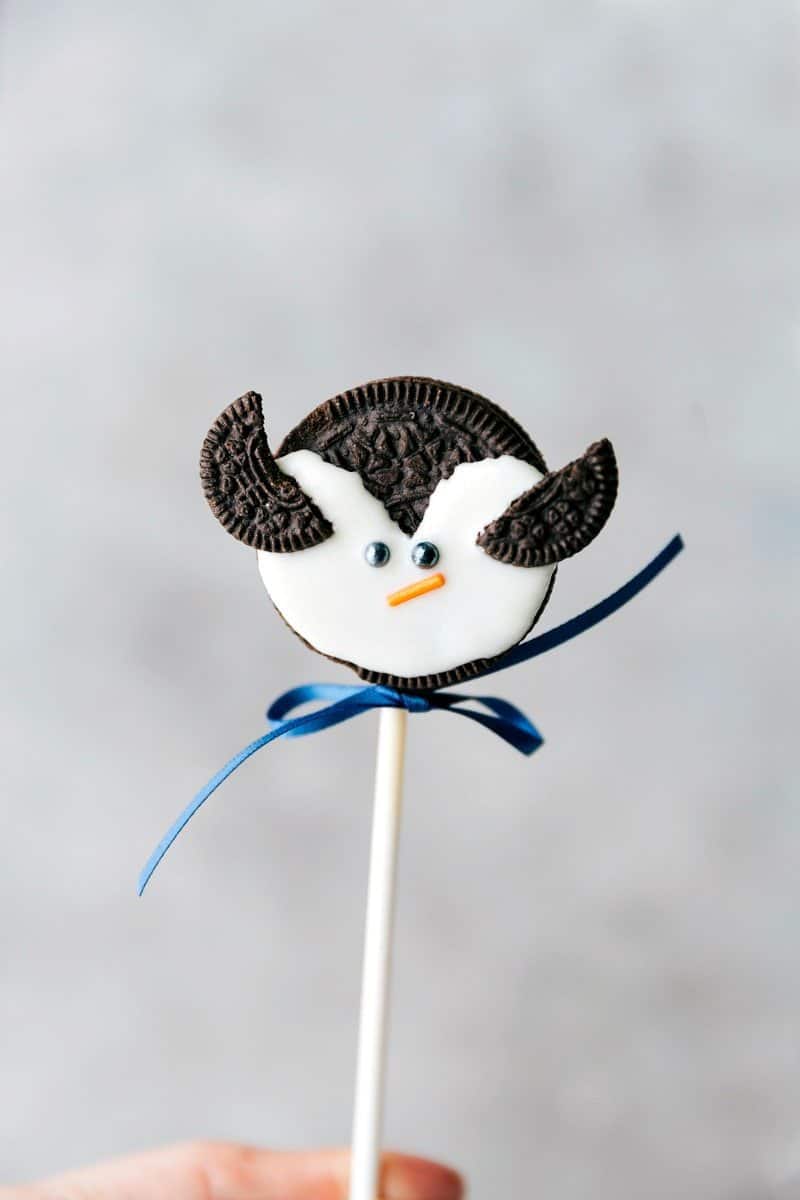
First: the PENGUIN
In case you can’t find the ingredients in the store, or prefer the convenience of shopping online, here are links to the ingredients I used (click on the words below):
- Black Sugar Pearls
- Rainbow Jimmies Sprinkles
(pick out the orange ones)
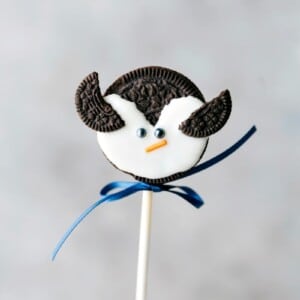
Penguin Pops
Ingredients
- 1 package of your favorite Oreos
- 1 bag (12 ounces) white chocolate
- 48 black pearl sprinkles
- 24 orange jimmie sprinkles I just pick them out of funfetti sprinkles
- 3-4 bags miniature oreos
- Optional: vegetable oil makes the white chocolate easier to work with
- Lollipop sticks
Instructions
- Gently separate the oreos by slowly twisting them apart. (Some will break, it's okay, just try to be gentle)
- Separate the white chocolate into 3 parts (this is to keep it from getting hard while you decorate) and place each section in a microwave safe bowl.
- If using chocolate chips add about 1/2 teaspoon vegetable oil (more if needed to thin it even more).
- Melt in 20 second bursts in the microwave (Microwave 20 seconds, stir 20 seconds, etc.)
- Be patient when melting and stir well in between bursts to avoid burning the chocolate.
- Dip one end of the lollipop stick into the melted chocolate and press that side into the cream side of the oreo.
- Place the other half of the oreo on top and gently press and hold.
- Transfer the remaining melted chocolate to a plastic bag and snip off the very tip with scissors.
- "Pipe" the melted white chocolate to form a heart shape on the bottom section of the oreo (see video).
- Fill in the heart shape with the melted chocolate and then gently shake the oreo to make the chocolate even.
- Separate and then break a miniature oreo in 2 pieces. Press one piece on one side and the other piece on the other side. Hold to secure.
- Press 2 black pearl sprinkles in the center of the oreo to form eyes.
- Press 1 orange jimmie sprinkle below the eyes to form a beak.
- Allow to harden at room temperature.
Video
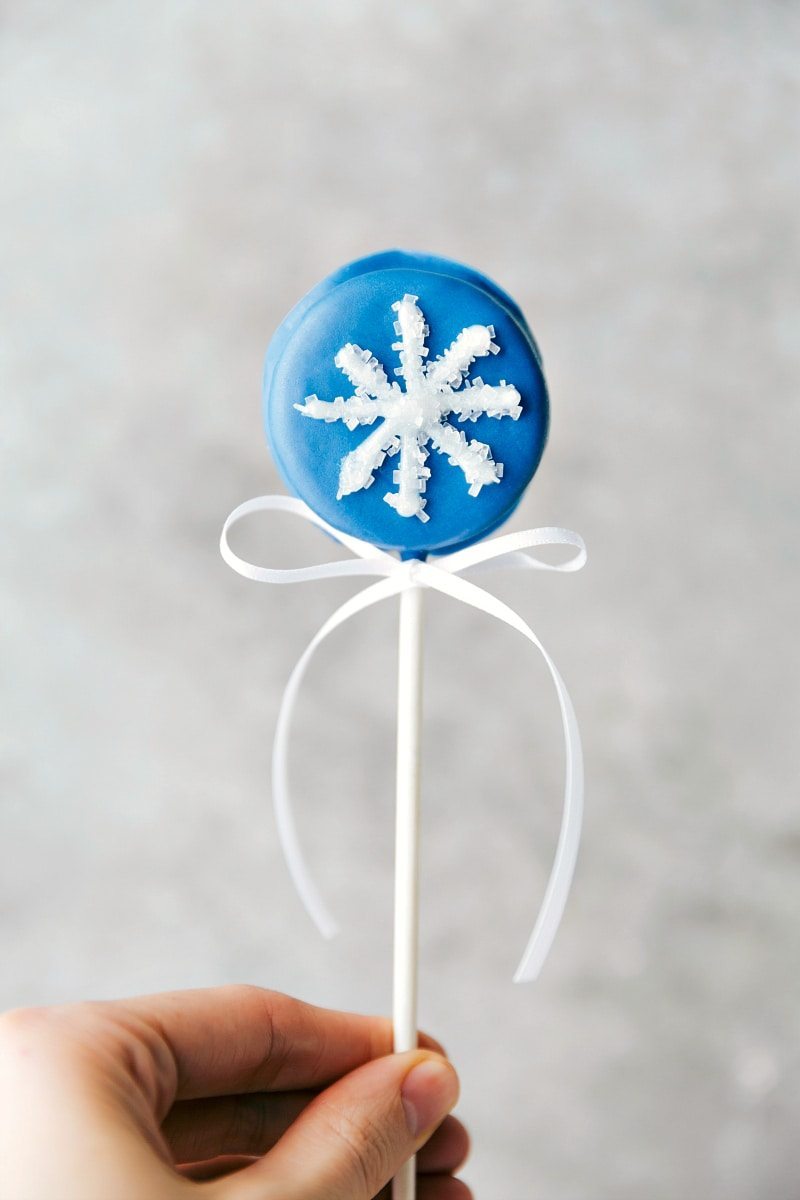
Next: a SNOWFLAKE
In case you can’t find the ingredients in the store, or prefer the convenience of shopping online, here are links to the ingredients I used (click on the words below):
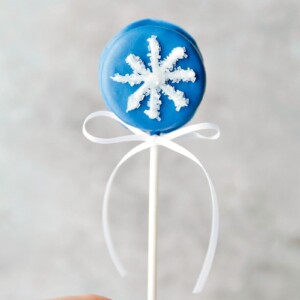
Snowflake Pops
Ingredients
- 1 package of your favorite Oreos
- 1 package (12 ounces) blue candy melts
- White sparkling decorating gel
- White sparkling sugar
- Optional: vegetable oil makes the candy melts easier to work with
- 24 Lollipop sticks
Instructions
- Gently separate the oreos by slowly twisting them apart. (Some will break, it's okay, just try to be gentle)
- Separate the blue candy melts into 3 parts (this is to keep it from getting hard while you decorate) and place each section in a microwave safe bowl.
- To make the chocolate easier to work with about 1/2 teaspoon vegetable oil to each section of chocolate (you can add more later if needed to thin it even more).
- Melt in 20 second bursts in the microwave (Microwave 20 seconds, stir 20 seconds, etc.)
- Be patient when melting and stir well in between bursts to avoid burning the chocolate.
- Dip one end of the lollipop stick into the melted chocolate and press that side into the cream side of the oreo.
- Place the other half of the oreo on top and gently press and hold.
- Place the oreo on top of a fork over the bowl of melted chocolate. Use a spoon to spoon chocolate over the oreo.
- Shake the fork gently on the edge of the bowl until the chocolate forms an even layer.
- Set aside and allow to completely harden.
- Once hard, pipe the shape of a snowflake on the pop using the white decorating gel.
- Sprinkle white sparkling sugar over the snowflake and then tap the pop to remove excess sprinkles.
- Allow to harden at room temperature.
Third: RUDOLPH
The “nose” is a miniature red M&M. I’d noticed some new (or new to me) “baking bits” M&M’s (they are just miniature M&M’s) by the chocolate chips in the baking aisle which is awesome because miniature M&M’s can sometimes be hard to track down!
In case you can’t find the ingredients in the store, or prefer the convenience of shopping online, here are links to the ingredients I used (click on the words below):

Rudolph Pops
Ingredients
- 1 package of your favorite Oreos
- 1 bag (12 ounces) milk chocolate (or dark or semi-sweet chocolate)
- 48 black bead sprinkles
- 24 miniature red M&Ms
- 1 bag pretzel twists
- Optional: vegetable oil makes it easier to work with
- 24 Lollipop sticks
Instructions
- Gently separate the oreos by slowly twisting them apart. (Some will break, it's okay, just try to be gentle)
- Separate the chocolate into 3 parts (this is to keep it from getting hard while you decorate) and place each section in a microwave safe bowl.
- To make the chocolate easier to work with about 1/2 teaspoon vegetable oil to each section of chocolate (you can add more later if needed to thin it even more).
- Melt in 20 second bursts in the microwave (Microwave 20 seconds, stir 20 seconds, etc.)
- Be patient when melting and stir well in between bursts to avoid burning the chocolate.
- Dip one end of the lollipop stick into the melted chocolate and press that side into the cream side of the oreo.
- Place the other half of the oreo on top and gently press and hold.
- Place the oreo on top of a fork over the bowl of melted chocolate. Use a spoon to spoon chocolate over the oreo.
- Shake the fork gently on the edge of the bowl until the chocolate forms an even layer.
- Place on a sheet of parchment paper.
- Break pretzel twists in half (there will be a lot of casualties which is why I don't have an exact amount of how many you'll use!)
- Press the broken pretzels at the top of the pop to form antlers. Hold until they will stay. (Milk chocolate hardens much slower than candy melts and white chocolate so you might need to wait a couple of minutes before decorating so the pretzels will stay put.)
- Drop 2 pearl sprinkles below the antlers.
- Drop 1 red M&M below the sprinkles to form the nose.
- Allow to harden at room temperature.
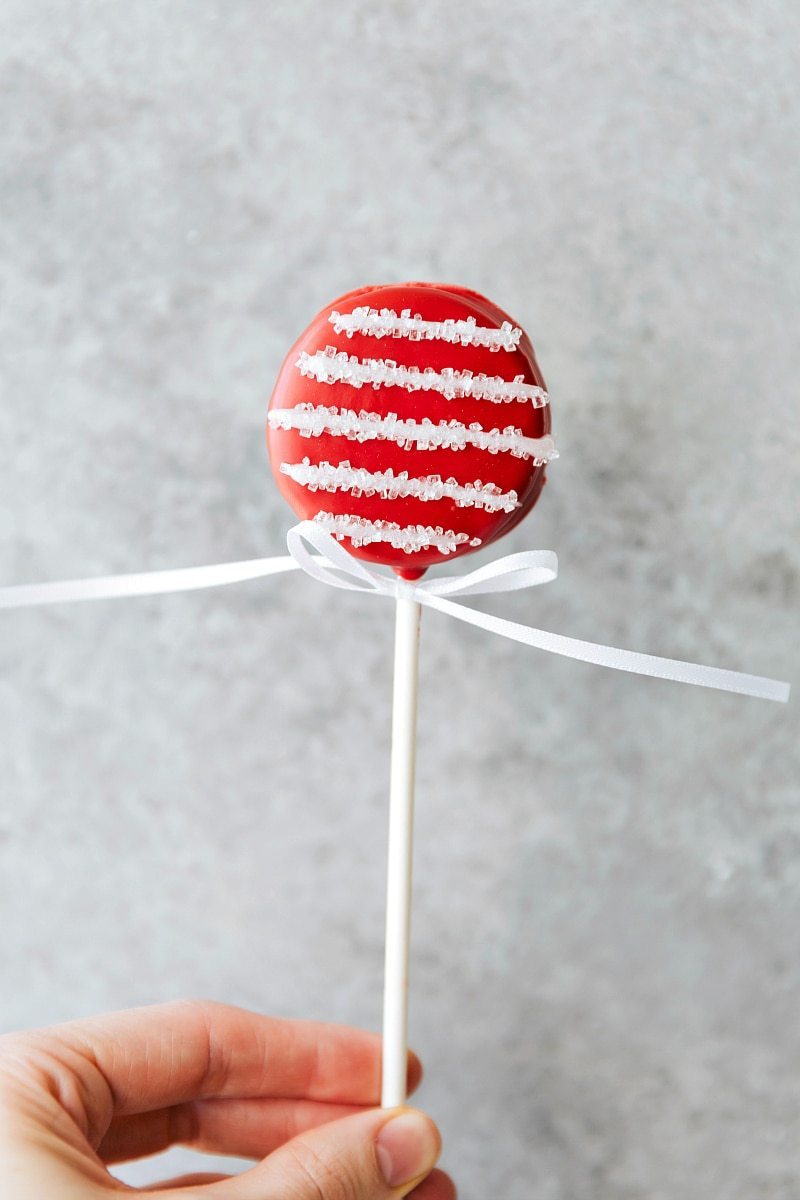
Last: a CANDY CANE
In case you can’t find the ingredients in the store, or prefer the convenience of shopping online, here are links to the ingredients I used (click on the words below):
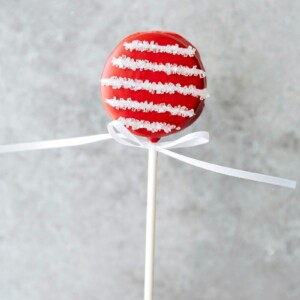
Candy Cane Pops
Ingredients
- 1 package of your favorite Oreos
- 1 package (12 ounces) red candy melts
- White sparkling decorating gel
- White sparkling sugar
- Optional: vegetable oil
- 24 Lollipop sticks
Instructions
- Gently separate the oreos by slowly twisting them apart. (Some will break, it's okay, just try to be gentle)
- Separate the red candy melts into 3 parts (this is to keep it from getting hard while you decorate) and place each section in a microwave safe bowl.
- To make the chocolate easier to work with about 1/2 teaspoon vegetable oil to each section of chocolate (you can add more later if needed to thin it even more).
- Melt in 20 second bursts in the microwave (Microwave 20 seconds, stir 20 seconds, etc.)
- Be patient when melting and stir well in between bursts to avoid burning the chocolate.
- Dip one end of the lollipop stick into the melted chocolate and press that side into the cream side of the oreo.
- Place the other half of the oreo on top and gently press and hold.
- Place the oreo on top of a fork over the bowl of melted chocolate. Use a spoon to spoon chocolate over the oreo.
- Shake the fork gently on the edge of the bowl until the chocolate forms an even layer.
- Set aside and allow to completely harden.
- Once the chocolate is set, pipe 5 lines across the oreo using the white decorating gel.
- Sprinkle white sparkling sugar over the lines and then tap the pop to remove excess sprinkles.
- Allow to harden at room temperature.
More Christmas Fun:
- Easy Christmas Mason Jars (4 Ideas)
- Peppermint Sugar Cookies (Bakery Style)
- Hot Chocolate Snack Mix
- Easy Microwave Fudge
- Peppermint Bark Pretzels (Only 3 Ingredients)










Thank you so much for sharing. There is so many great ideas and so easy.
You are so welcome! 🙂
Can I make them a week in advance. Would the oreo get soggy?
I would only recommend making them 1-2 days in advance; they are more stale tasting than soggy longer than that.
Can you store them in the freezer if you make a head of time and dethaw them when you’re ready to eat them?
They might get spotty from condensation of being frozen and thawed
These are so cute! Love your ideas!
Awe thank you! 🙂
Awe thank you so much! 🙂
I never get tired of saying YOU’RE SO TALENT! Wow… I loooove all treats you make, Chelsea! And I can’t think of anything cuter right now!
OMG! How cute are these! Love it.
Aww these little pops warm my heart! I think I’m going to make them with my niece. Soooo adorable! =)