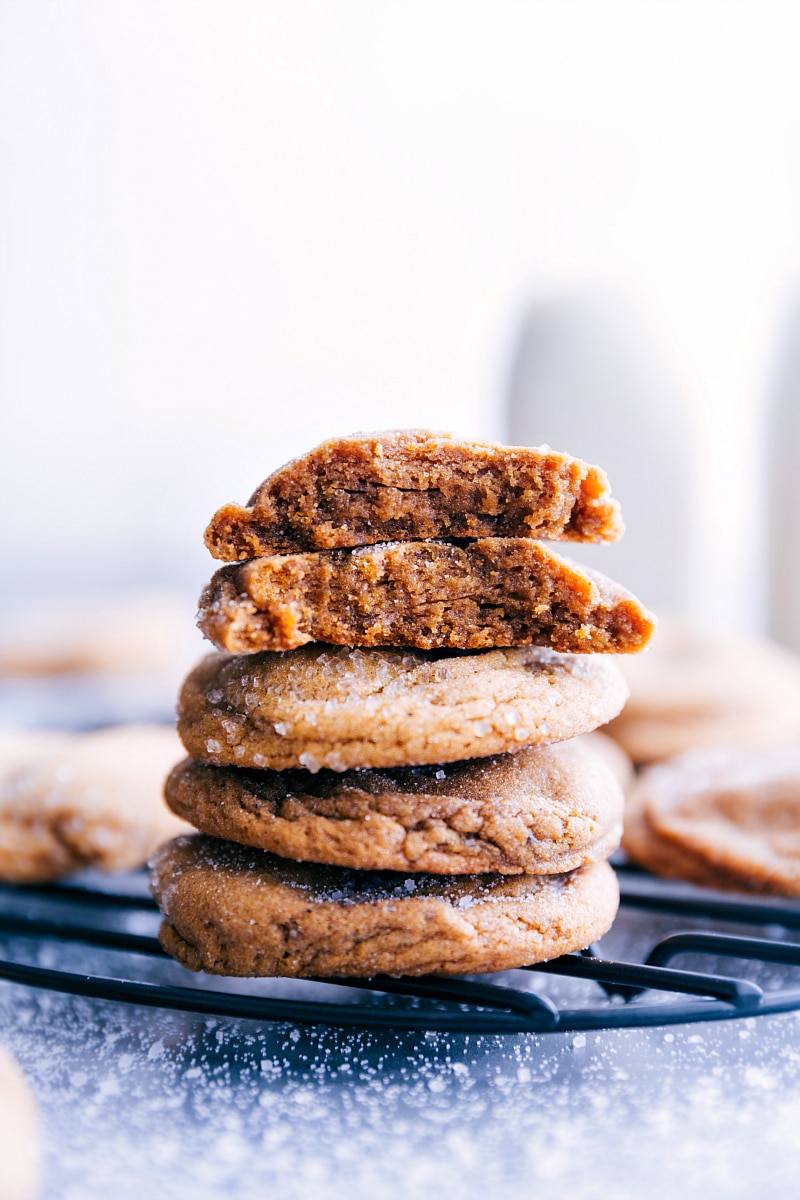
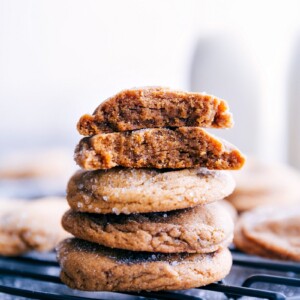
Gingersnap Cookies features chewy centers, crisp edges, and a delicious blend of holiday spices.
The Best Gingersnap Cookies
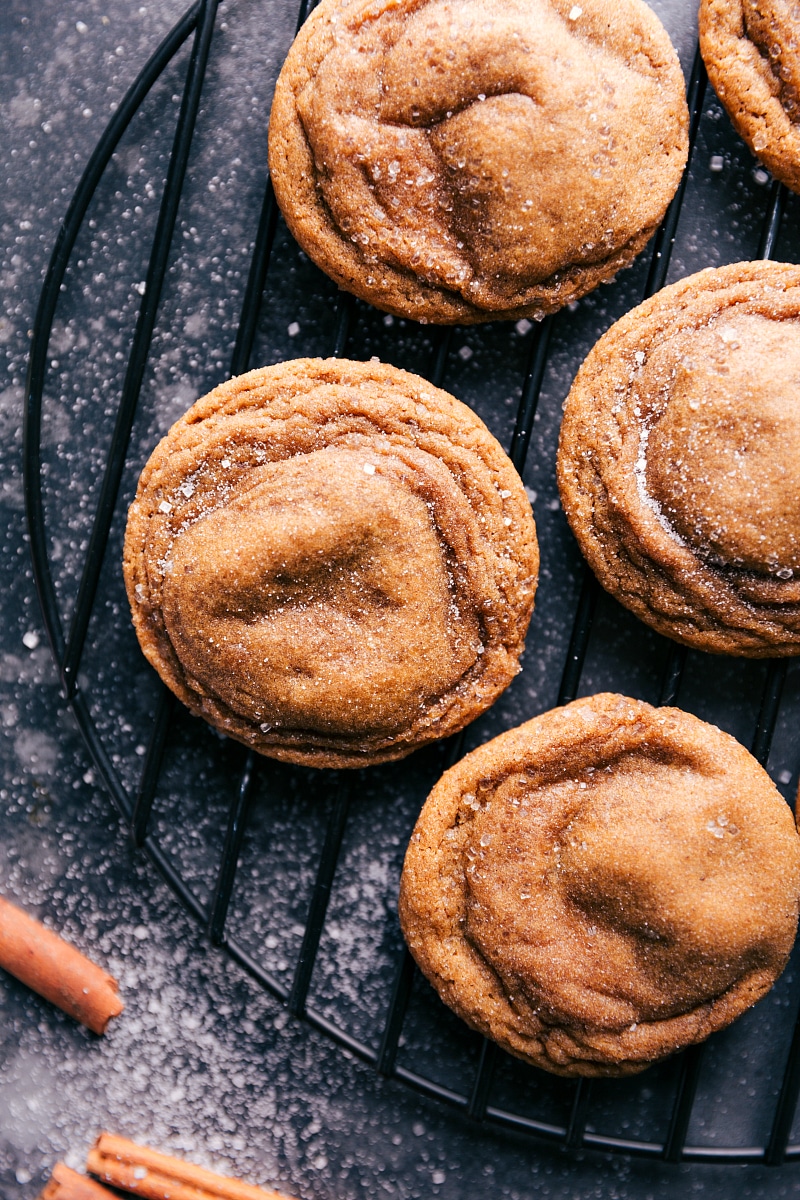
Gingersnap Cookies are the perfect holiday treat—sweet, soft, chewy, and full of warm spice! With cinnamon, ginger, cloves, and nutmeg, these cookies have an unforgettable spiced taste.
Molasses gives them a rich, chewy texture, and rolling the dough in sugar adds a delicious crackly top. If you’re still deciding on Santa’s cookies, these Gingersnaps just might become his new favorite!
Ingredients In Gingersnap Cookies
- Butter: Let it cool a bit after melting to prevent greasy cookies.
- Sugars: Use brown and white sugar for extra flavor.
- Eggs: Hold ingredients together and add moisture for softness.
- Vanilla Extract: Pure vanilla has the best flavor.
- Molasses: I have tested these with Brer Rabbit® and Grandma’s® and would recommend either.
- Baking Soda and Powder: Help cookies puff up for a soft, chewy feel.
- Salt: Measure carefully to avoid making cookies too salty.
- Spices: Add warm, traditional gingersnap flavor.
- Flour: Mix until just combined to keep cookies soft.
- Sugar Coating: Roll each dough ball well for a nice finish.
Quick Tip
You’ll find dark brown sugar near light brown and powdered sugar in the grocery store. The two look similar, but dark brown sugar has a deeper color in the gingersnap cookies.
How To Make Gingersnap Cookies
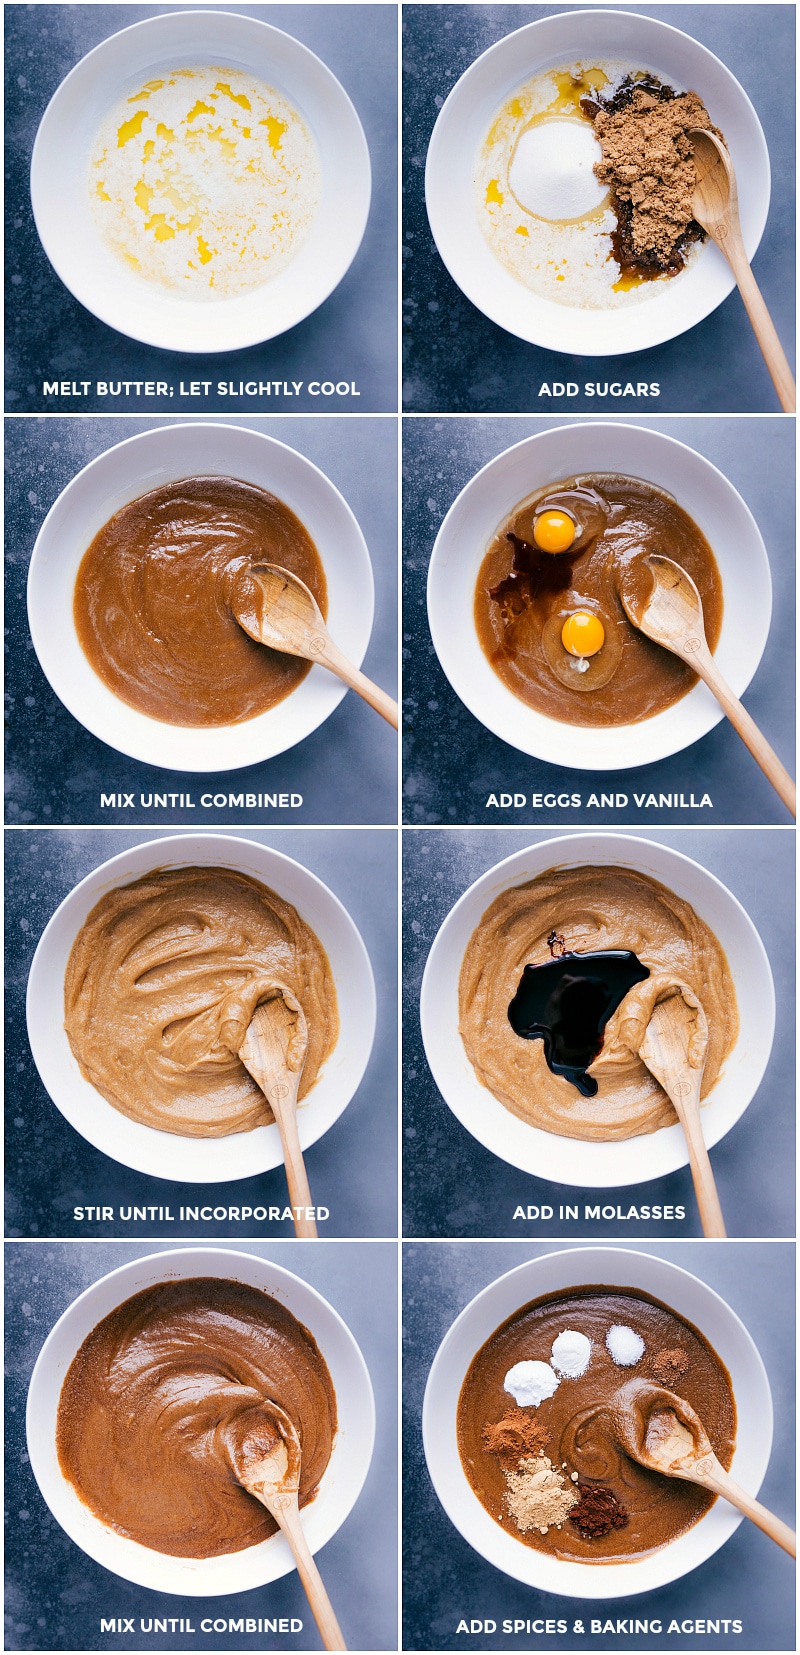
- Wet Ingredients: Melt butter, let it cool, and mix all wet ingredients.
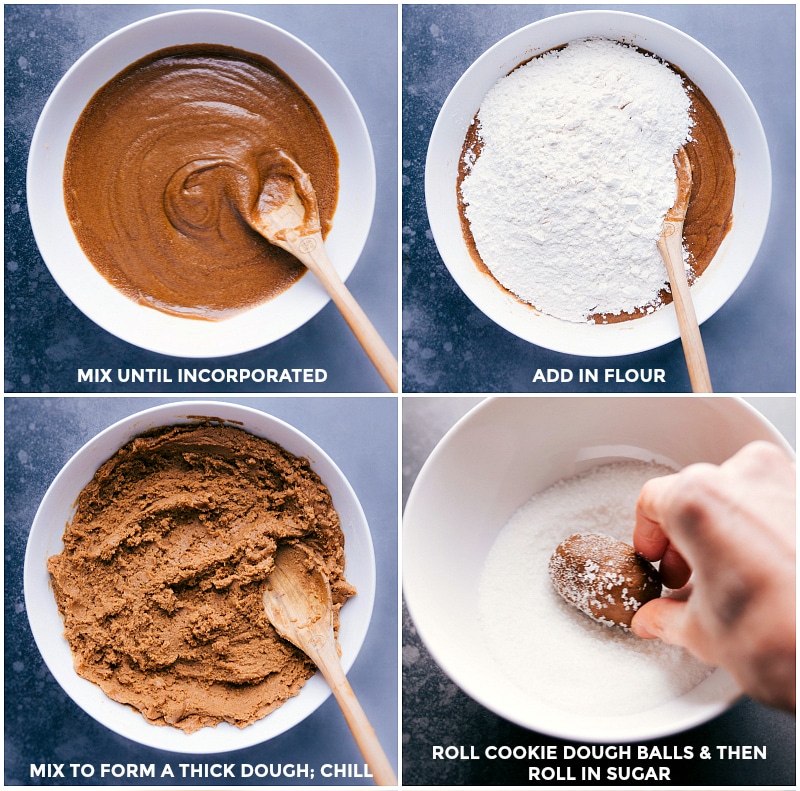
- Dry Ingredients: Add dry ingredients to wet, mixing until just combined. Chill dough.
- Roll in Sugar: Roll dough into balls and coat each in sugar. Chill again.
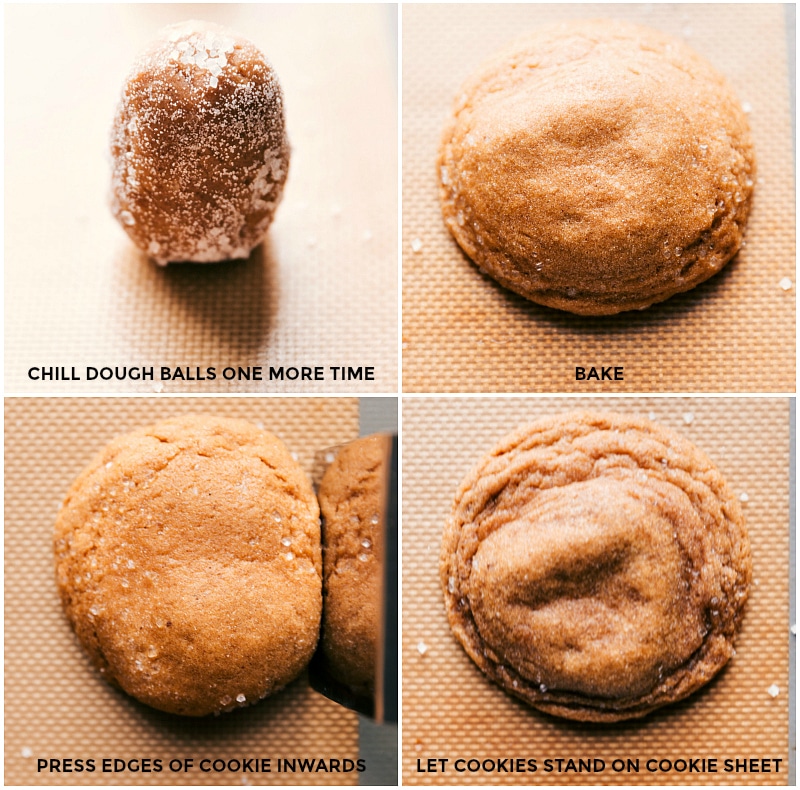
- Bake: Preheat oven. Put dough balls on a lined baking sheet and bake.
- Cool & Enjoy: Let cookies cool on the sheet, then move to a rack.
Sugar Coating
For a crisp sugar coating, roll the dough in a mix of coarse and granulated sugar before baking. The coarse sugar crystals adds a light crunch.
Other choices: You can use turbinado or sparkling sugar for a more crunchy feel. Plain granulated sugar works too, just with less crunch.
Variations
Gingersnap Cookie Variation Ideas
- Add white chocolate chips: They go well with the spices and molasses.
- Change spices: If you’re not sure about the spices, start with less and change to taste. Remember, the dough tastes stronger than the baked cookies, which become milder as they bake.
- Frost them: Skip the sugar coating and add frosting instead. Mascarpone cream cheese frosting from salted caramel cookies would be delicious!
- Sprinkle with chocolate: Melt chocolate with a bit of oil, put it in a bag, cut the tip, and sprinkle over cooled cookies.
Storage
Leftovers?
Storing Cookies: Store in a sealed bag or container at room temp for up to a week.
Freezing Dough Balls: Freeze gingersnap cookies dough balls on a tray, then move to a sealed bag or container. Bake straight from frozen, adding a few extra minutes. No need to thaw!
More Holiday Treats
- No-Bake Peppermint Cheesecake with an Oreo cookie crust
- Christmas Snack Mix coated in white chocolate
- Animal Circus Cookies with cream cheese frosting
- Sugar Cookie Snack Mix with Christmas sugar cookie M&M’s
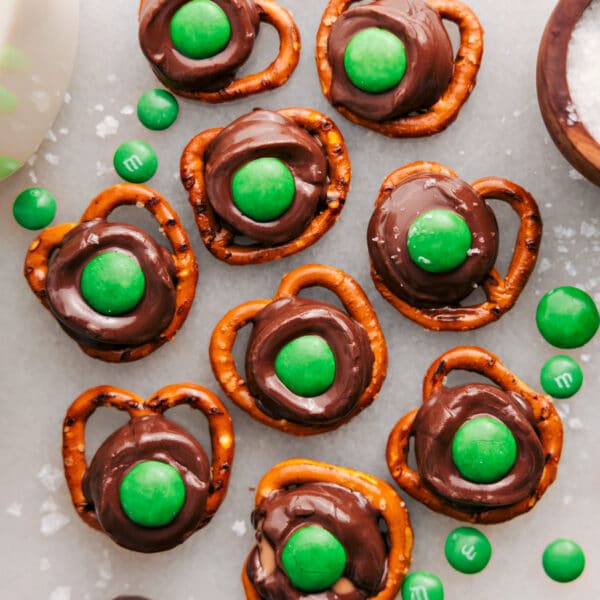
- Peppermint Bark Pretzels only three ingredients
Chewy Gingersnap Cookies
Equipment
- Sheet pan lined
Ingredients
- 16 tablespoons unsalted butter
- 1 cup dark brown sugar or light brown sugar
- 2/3 cup granulated sugar
- 2 large eggs
- 1 teaspoon vanilla extract
- 1/4 cup molasses
- 1 teaspoon baking soda
- 1 teaspoon baking powder
- 1 teaspoon salt
- 2 teaspoons ground cinnamon
- 2 teaspoons ground ginger
- 1 teaspoon ground cloves
- 1/4 teaspoon ground nutmeg
- 3-1/2 cups flour see note 1
- 1/2 cup sugar coating optional, see note 2
Instructions
- Stir 1/4 cup granulated sugar and 1/4 cup coarse sugar crystals together in a small bowl. Alternatively, just add 1/2 cup white granulated sugar to a bowl. Set aside.
- Melt butter in a microwave-safe bowl. Let butter stand at room temperature for 5 minutes to cool back down. If the butter is hot, it will melt the sugars and cause greasy cookies. Use a spatula to scrape every bit of butter into a large bowl. Add in both sugars and stir with a wooden spoon until smooth and incorporated. Add in both eggs and vanilla extract. Stir until just combined and smooth. Add in the molasses and stir until combined.
- Add in the baking soda, baking powder, salt, cinnamon, ginger, cloves, and nutmeg on top of the wet ingredients; mix to combine. Add the flour (see note 1) on top. Mix until just combined taking care not to overmix the dough. Cover the dough tightly and chill for 30 minutes.
- Roll tall cylindrical balls of dough. Each ball should be a full 2 tablespoons of dough (40 grams if you have a food scale). Roll the balls of dough generously in the sugar mixture. Cover and refrigerate the balls of dough for an additional 45 minutes.
- Preheat the oven to 325℉. Line a sheet pan with parchment paper or a silicone baking mat. Place 6–8 dough balls on far apart on sheet pan and bake for 9–14 minutes. Watch carefully, be sure not to overbake. I remove mine at 10–11 minutes, slightly under-baked Gingersnap Cookies are the best! Remove from the oven and if needed, press the edges of the cookie inwards with the back of a metal spatula. Let cookies stand on the cookie sheet for 4–5 minutes before removing them to a cooling rack.
Video
Recipe Notes
Nutrition
Nutrition information is automatically calculated, so should only be used as an approximation.




Wonderful recipe! I made these yesterday, and were easy and tasty. They do get a bit hard after cooling, but have a great “snap.” ☻ I did not have molasses, unfortunately, but just used brown sugar instead.
I also halved the recipe, used granulated sugar instead of course crystals, and increased the serving of ginger (1 and 1/2 teaspoons instead of 1 for a halved recipe). Turned out great! Will definitely make again.
The molasses addition will make sure that they don’t get hard after cooling — it keeps them really soft 🙂 Glad you enjoyed these! Thanks for sharing your changes!