Homemade Honeycomb Candy looks fancy but is so easy to make with just 4 ingredients. Sweet, crunchy, and golden, it’s perfect plain or dipped in chocolate.
Enjoy making candy? Try Toffee or Homemade Marshmallows next!
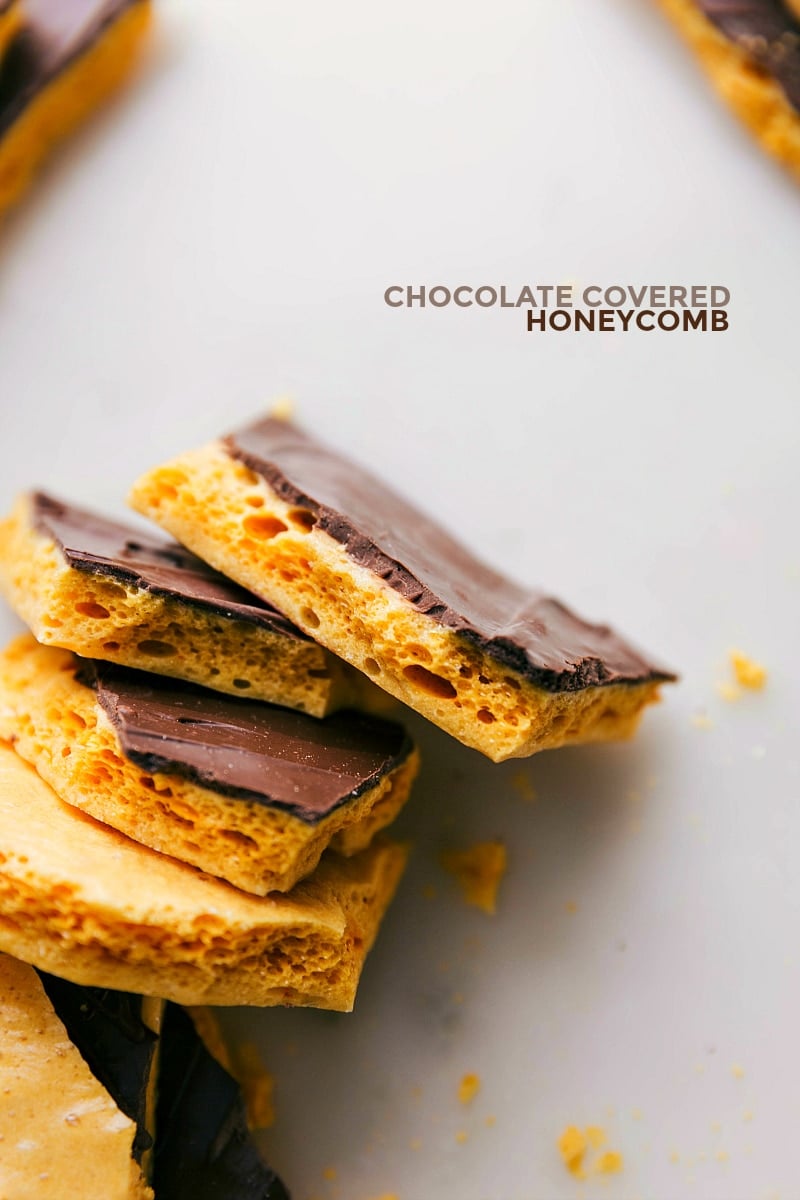
Honeycomb Candy
This candy is called many things—cinder toffee, honeycomb, sponge candy, and more—proving how much people love it all around the world!
It has a sweet toffee taste and a light, crispy, bubbly texture. Dipping it in chocolate makes it even better.
Store-bought honeycomb can cost a lot, but making it at home is easy and cheap. It’s turned into a holiday tradition in my family and hopefully it can become one for you as well!
Ingredients
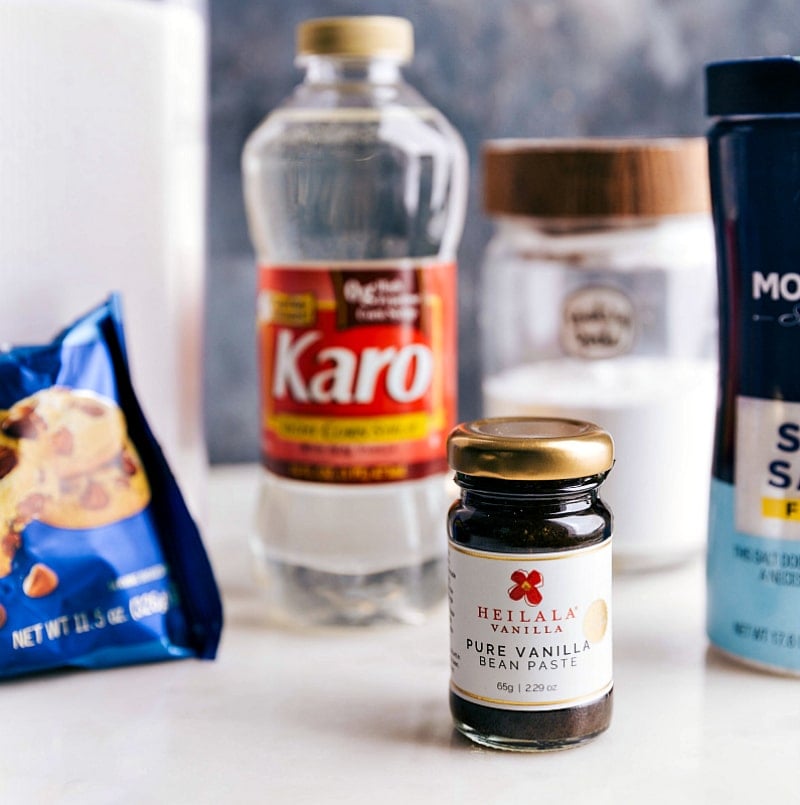
- Corn syrup: Make sure to get light corn syrup; I love Karo® corn syrup.
- White granulated sugar: Brown sugar won’t work as a subsitute.
- Salt: It balances out the sweetness and intensifies flavors.
- Baking soda: Soda is the “secret” to the honeycomb-like appearance and bubbles.
- Vanilla extract: Vanilla is optional, and adds a nice flavoring to the candy.
Candy Thermometers
To make Honeycomb Candy, you need a candy thermometer—it’s hard to tell when it’s ready without one. Candy thermometers aren’t the same as meat ones.
Here’s the one I use and recommend! Check if your candy thermometer is accurate by following this guide.
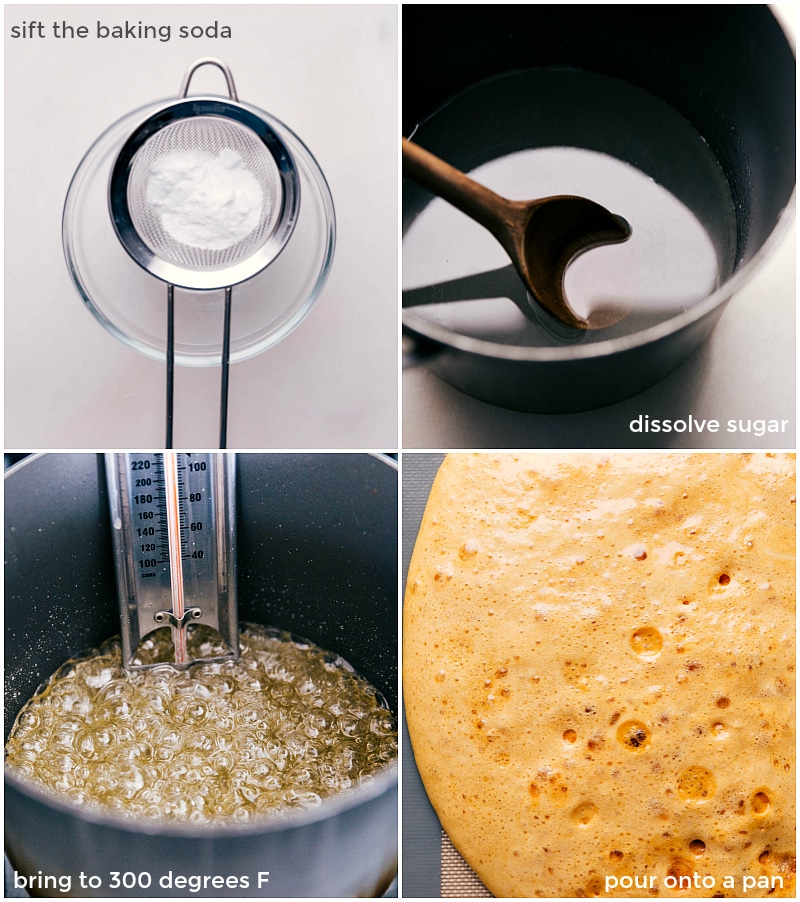
How To Make Honeycomb Candy
- Prep: Get your pan ready and measure everything.
- Cook: Heat sugar, water, and corn syrup to 300°F without stirring.
- Mix: Quickly stir in baking soda, vanilla, and salt, then pour onto the pan to cool.
- Break: Once hard, break into pieces.
- Optional: Add melted chocolate by dipping or drizzling.
Honeycomb FAQs
Humidity is probably the problem—don’t make this candy on wet or humid days. Using the wrong thermometer or skipping it can also cause issues. The candy needs to hit 300°F (hard-crack stage) to be crispy—anything lower will make it chewy.
Even though the honeycomb may look set right after you pour it onto the pan, it needs 1-2 hours to fully cool and harden.
Candy can leave pots messy, but here’s an easy cleanup:
1. Let the pan cool, then fill it halfway with water.
2. Boil the water to melt the candy off the sides.
3. Scrape with a spatula, pour it out, and wash with soap once cooled.
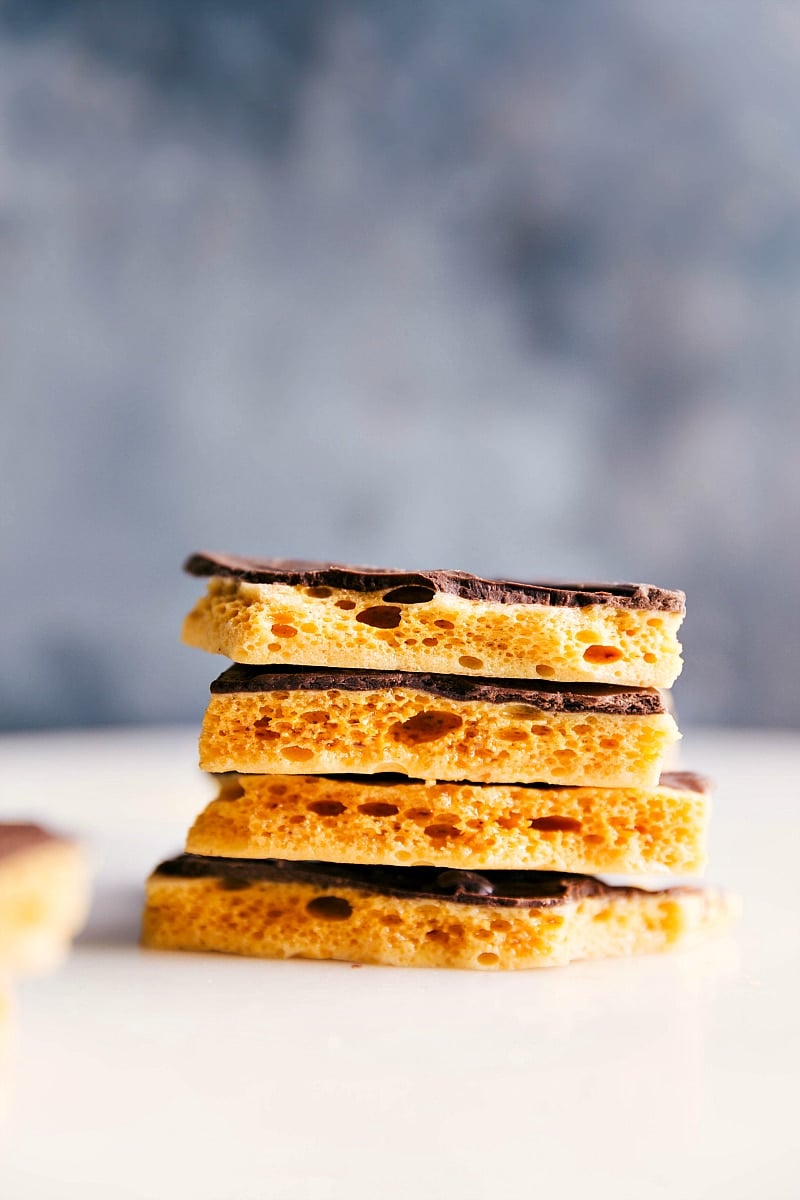
Honeycomb Candy Tips
- Get all your ingredients ready before starting—candy needs your full focus since it can burn fast. Having everything set will make things go smoothly.
- Don’t stir once it starts boiling—stirring creates crystals. Let it heat up to the right temperature without stirring, but keep an eye on it.
- The boiling time depends on your stove and pan. Keep the heat at medium to prevent burning, even if it takes longer.
Storage
Leftovers?
Keep leftover honeycomb candy in a sealed container in a cool, dry spot for up to 1 week. Don’t refrigerate—it can make it soft.
To keep it longer, freeze it in a sealed container for up to 1 month.
More Delicious Desserts
- Christmas Candies 3 different ideas
- Scotcheroos crunchy chocolate and peanut butter bars
- Carmelitas oatmeal bars filled with caramel and chocolate
- Oreo Balls chocolate cookie truffles
- Buckeye Brownies peanut butter and chocolate layers in brownie form
Honeycomb Candy
Equipment
- Silicone baking mat or parchment paper
Ingredients
- 1 cup granulated sugar
- 1 cup light corn syrup
- 1/2 cup water at room temperature
- 1 tablespoon baking soda do not use baking powder
- 1/8 teaspoon salt
- 1-1/2 teaspoons vanilla extract or 1 teaspoon vanilla bean paste
- 1 cup dark chocolate or semi-sweet or milk chocolate for a sweeter candy
- 1/4 teaspoon vegetable oil or shortening, optional
Instructions
- Set out and measure all the ingredients. Set out a whisk. Line a rimmed sheet pan with parchment paper or a silicone baking mat and set next to the stovetop.
- Sprinkle the baking soda through a fine-mesh sieve into a little bowl. This is important so there aren’t any clumps. Set next to the stovetop with the vanilla extract and salt.
- Add the sugar and water to a large and solid heavy-bottomed pot. (The bigger the better; this candy will triple in size!) Stir to combine. Turn heat to medium high and add the corn syrup. Stir to incorporate, then leave the mixture to boil. Do not stir the mixture while boiling; this could trigger the sugar to crystallize.
- Insert the candy thermometer and continue to heat without stirring, until the mixture reaches 300°F (150°C). Watch carefully—it can jump up to temperature in an instant even though it may seem like it is moving slowly! Do not increase the temperature to speed up the process.
- As soon as the temperature hits 300°F, remove the pot from heat and, working very quickly, sprinkle the baking soda, vanilla, and salt evenly over the candy. The mixture will begin to expand and triple in size. Quickly and vigorously whisk into the sugar syrup (whisking for no more than 5–10 seconds—to prevent deflating the candy). Quickly pour the candy onto the prepared pan and leave it to expand on its own (do not spread). Don’t touch or move the candy for 1 hour.
- Once the candy has cooled and set, remove it from the pan. Use a blunt object (like a meat mallet or handle of a chef’s knife) to shatter the candy into bite-sized pieces. Alternatively, break up the candy with your hands.
- Optionally add chocolate: Melt chocolate in a microwave-safe bowl. Heat in bursts of 30 seconds, stirring between each burst for 15–20 seconds. Heat for a total of 1 minute to 1 minute and 15 seconds. If desired, add in 1/4 teaspoon vegetable oil or shortening to slightly thin the chocolate. Dip individual pieces in the melted chocolate or drizzle pieces with chocolate. Place candy on a parchment paper-lined sheet pan and let stand at room temperature until chocolate is hardened—about 1 hour.
Video
Recipe Notes
- Let the pan cool completely. Once cooled, fill it just over halfway with water.
- Place the pan back on the stovetop and bring to a boil. Once water is boiling, the candy will begin to melt off the sides.
- Use a spatula to scrape down the sides and scrape off any stubborn candy. Pour it all down the disposal and let the pan cool before doing a final clean with soap and water.
Nutrition
Nutrition information is automatically calculated, so should only be used as an approximation.




Turned out great! I made it once with a silpat and once with parchment paper and it definitely worked better with the parchment paper. It was delicious!
So glad you enjoyed it! Thank you for the comment 🙂
Every time i make it it puffs up big the it falls. I don’t know why it fall flat can you help me please
It should fall quite a bit after that initial rise. Is it not turning out after it’s hardened? Did you change the recipe at all?