This Jalapeño Mac and Cheese is a must-try! Cheesy, slightly spicy pasta with jalapeños, bacon, and a crispy buttery topping baked to perfection!
Add this original Baked Mac And Cheese to your list of recipes to try next!
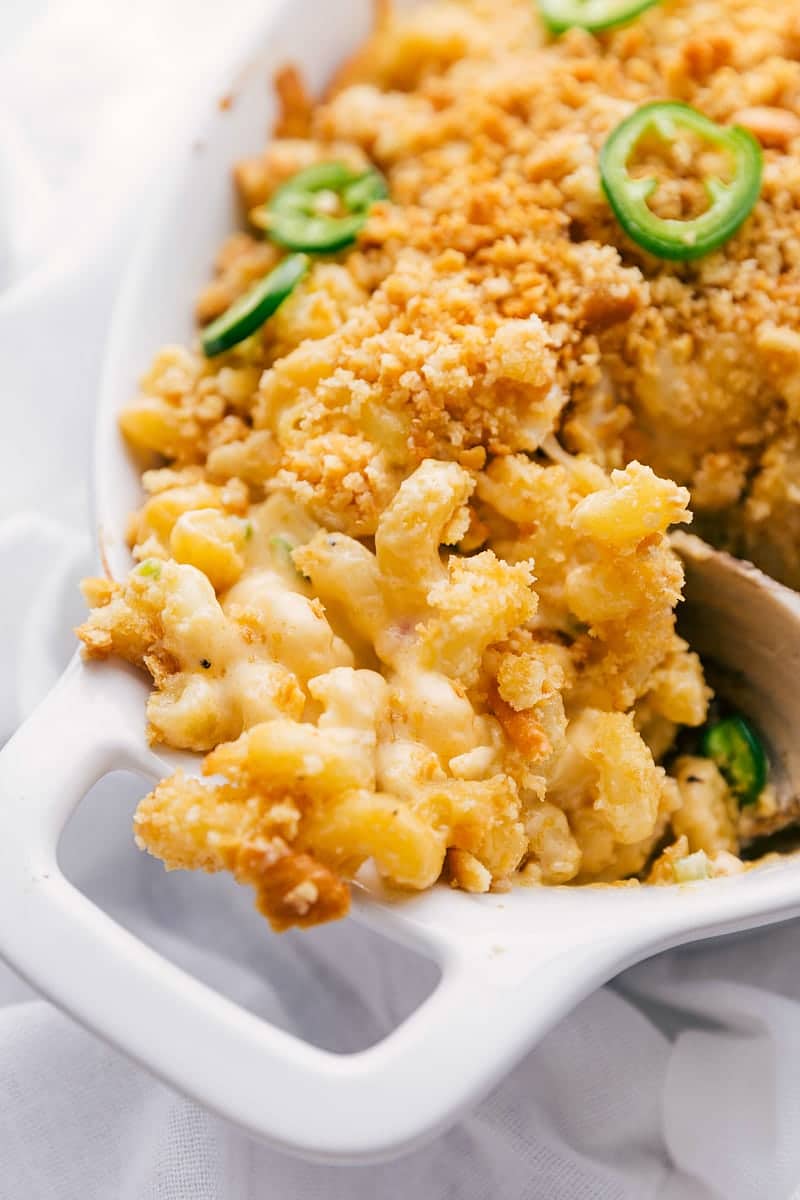
Best Jalapeño Mac and Cheese
This 3-cheese Jalapeño Mac and Cheese is rich, creamy, and packed with bacon, jalapeños, and a crispy, buttery Panko topping.
I’m a huge fan of mac and cheese, but when it’s loaded with this much flavor and baked to gooey perfection, it’s truly next-level!
Inspired by my favorite jalapeño poppers, this recipe combines sharp Cheddar, cream cheese, and pepper-Jack for the ultimate cheese sauce.
Ingredients
- Pasta: Cook slightly underdone to avoid overcooking during baking.
- Butter: Stir into warm pasta for even coating.
- Bacon: Use extra grease to cook the jalapeños.
- Jalapeño Pepper: Remove seeds and ribs for mild spice.
- Garlic: Adds aromatic flavor. Sauté briefly for sweetness.
- Seasonings: Cooking them with jalapeños bring out the flavor.
- Flour: Whisk constantly to avoid lumps.
- Milk: Whole milk or evaporated milk work.
- Cream Cheese: Soften before mixing for smooth blending.
- Cheddar & Pepper-Jack Cheese: Always freshly grate for smooth melting.
- Panko Topping: Mix Panko with butter for a crispy, golden finish.
Quick Tip
You can easily adjust spice levels! Use less jalapeño or swap Pepper-Jack for Monterey Jack or mozzarella cheese. For more heat, add extra jalapeño or a pinch of cayenne to the sauce.
How To Make Jalapeño Mac and Cheese
- Cook Pasta: Boil until slightly firm, drain, and mix with butter.
- Cook Bacon: Fry bacon until crispy, set aside, and keep 1 spoon of grease.
- Jalapeños: Sauté jalapeños and garlic in the bacon grease with spices.
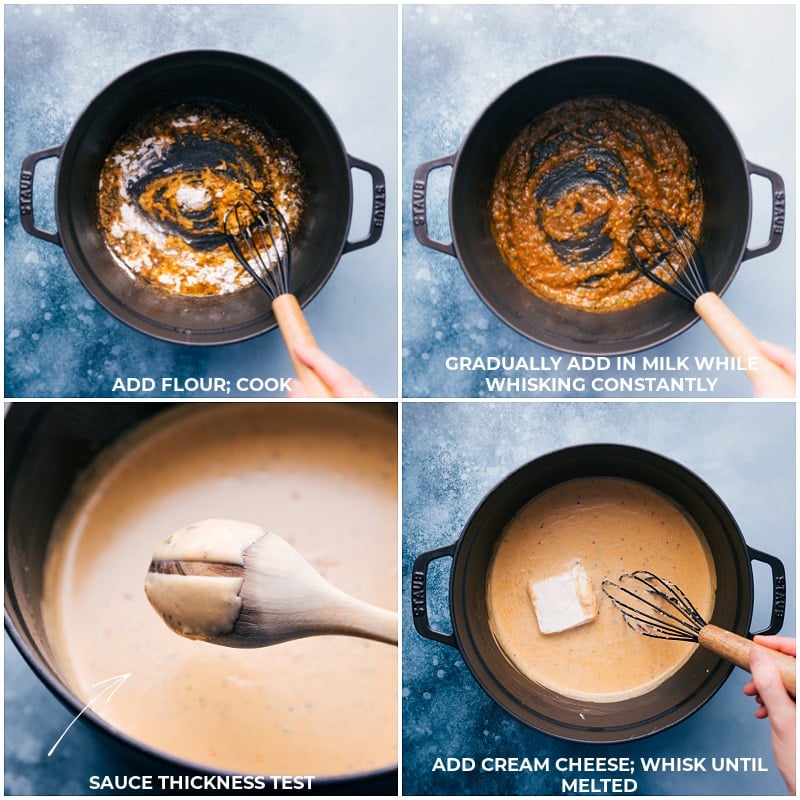
- Make Sauce: Melt butter, mix in flour, milk, and stir in cream cheese and shredded cheese until smooth.
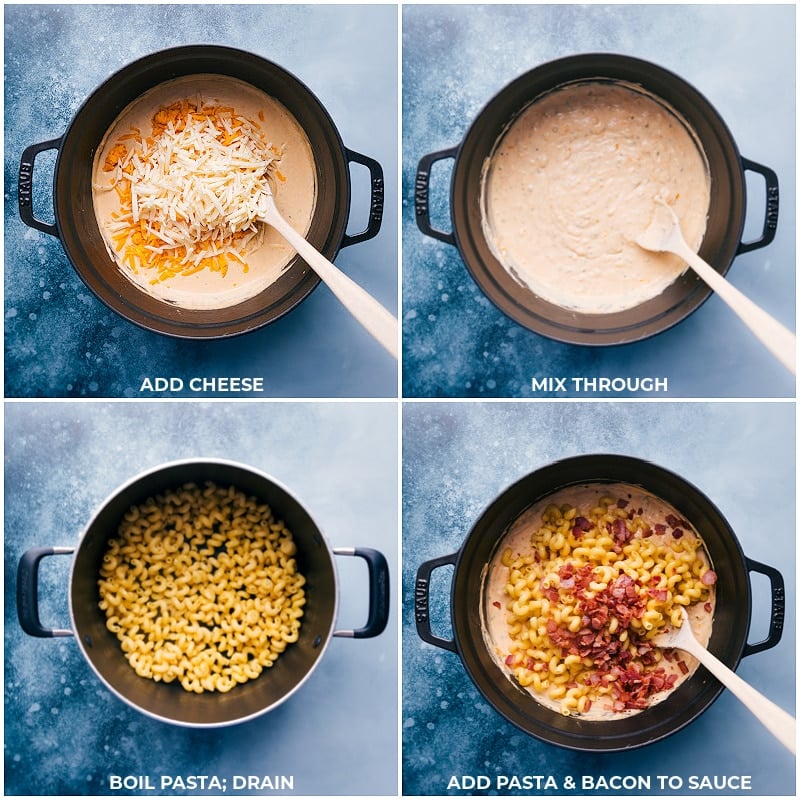
- Combine: Stir pasta, bacon, and sauce together.
- Add Topping: Toast breadcrumbs in butter and sprinkle on top.
- Bake: Put in a dish, bake until bubbly and golden, then serve.
Jalapeño Popper Mac and Cheese Tips
- Add a small bit of butter or oil to drained pasta to stop it from clumping or the sauce from splitting, especially in baked mac and cheese.
- Thicken the sauce: After adding milk to the butter and flour mix, cook until it sticks lightly to the spoon. Run your finger through it—if the line stays, it’s ready; if not, cook a little longer.
- Don’t over-bake: Baking too long dries out the pasta and sauce.
Storage
Jalapeño Popper Mac and Cheese Storage
- Do not assemble ahead of time. Once the pasta is combined with the cheese sauce, the pasta will seep up the sauce and bloat– which we don’t want.
- To prepare ahead of time: Prepare the sauce but don’t add it to the pasta. Refrigerate the two separately and then when ready to assemble, warm the sauce gently over low heat (add a splash of milk if needed to thin) and then toss the two together and bake from there.
- Store leftovers in an air-tight container.
- Reheat by placing mac and cheese in a baking dish and cover with foil. Bake for about 15-20 minutes at 375 degrees F or until warmed through. The topping will be soft and pasta a bit bloated, but still cheesy, gooey, and delicious!
- Mac and cheese is not a great candidate for freezing and thawing — the cheese sauce will likely break and the pasta will become bloated and mushy.
More Pasta Dishes
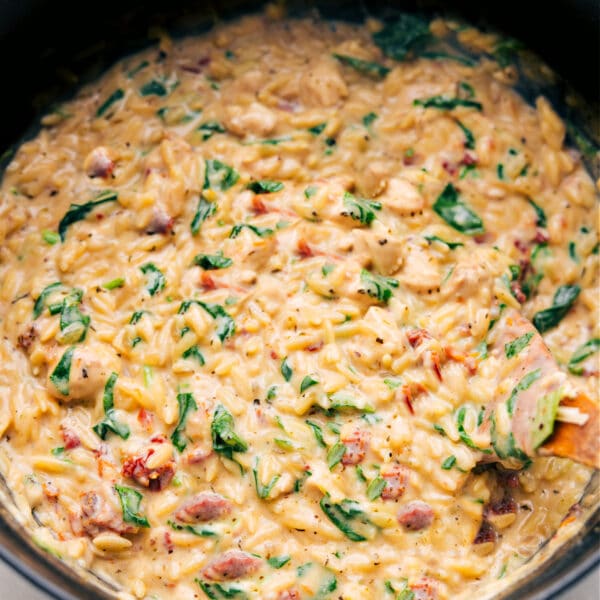
- Chicken Pasta with sun-dried tomatoes and spinach
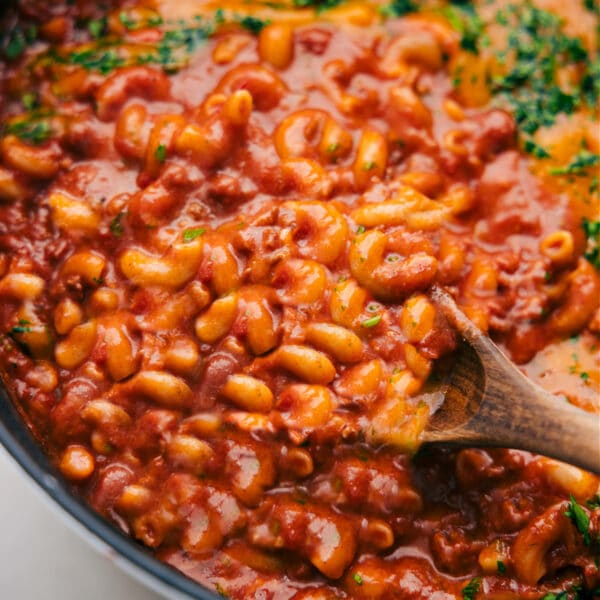
- Chicken Pot Pie Pasta made in one pot
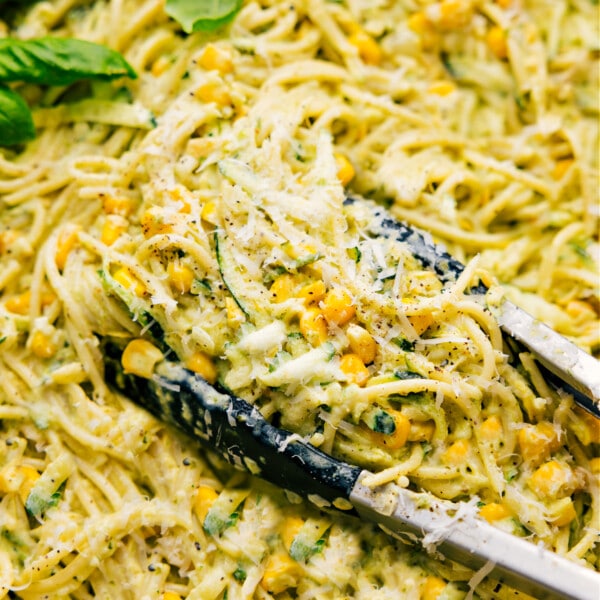
- Pasta Salad with a two-ingredient dressing
- Pasta e Fagioli Olive Garden copycat
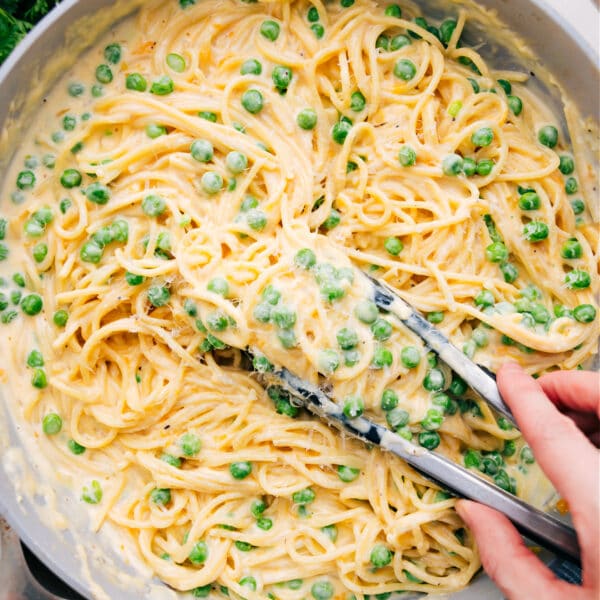
- Creamy Orzo made in one pot with loads of veggies!
Jalapeño Popper Mac and Cheese
Equipment
- Large, heavy-bottomed pot
- Baking pan 9 x 9-inch
Ingredients
Pasta
- 3 packed cups cavatappi pasta see note 1
- 1 tablespoon unsalted butter
Sauce
- 4 slices thick-sliced bacon or 8 regular slices, diced
- 3 to 6 tablespoons finely minced jalapeño pepper see note 2
- 1 tablespoon minced garlic 3 cloves
- 1 teaspoon garlic powder
- 1 teaspoon onion powder
- 1/2 teaspoon paprika
- 4 tablespoons unsalted butter
- 1/3 cup flour
- 2 (12-ounce) cans evaporated milk or 3 cups whole milk
- 4 ounces cream cheese full-fat, brick-style
- 2 cups freshly shredded Cheddar cheese sharp or extra-sharp, see note 3
- 1 cup freshly shredded pepper-Jack cheese
- Salt and pepper
Panko Topping
- 2/3 cup panko breadcrumbs see note 4
- 2 tablespoons unsalted butter melted
- 1 jalapeño optional, for topping
Instructions
- Bring a large pot of water to boil. Once boiling, generously salt the water and return to a boil. Add pasta and cook according to package directions, subtracting 1 minute. Drain, shake off excess water, and immediately add pasta back to pot. Add butter and gently stir until butter is melted. Set aside to cool while making sauce. Preheat oven to 350°F.
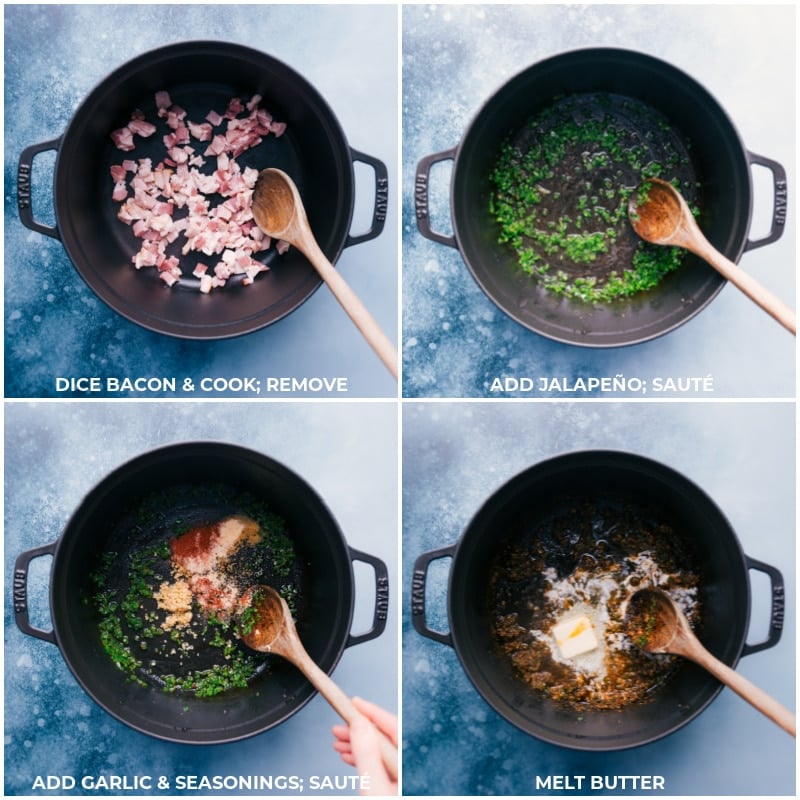
- Meanwhile, dice the bacon and cook over medium-high heat in a large, heavy-bottom pot (we’ll use this pot to make the cheese sauce) until golden and cooked to desired preference. Use a slotted spoon to remove the bacon onto a paper-towel-lined plate. Drain all but 1 tablespoon of the grease.
- Reduce heat to medium and add in diced jalapeños. Sauté for 1–2 minutes and add garlic, paprika, garlic powder, and onion powder. Season to taste with salt and pepper; I add 1 teaspoon salt and 1/2 teaspoon pepper. Sauté for 30 seconds or until fragrant. Add butter, and once melted, add flour. Whisk constantly, cooking for 1 minute. While whisking, slowly pour in evaporated milk. Add very gradually so it can thicken. Cook for 5–7 minutes or until thickened properly (see note 5).
- While sauce is thickening, add unwrapped cream cheese to the microwave. Microwave for 10 seconds, flip, and microwave for another 10 seconds. Flip and microwave once more or until very soft.
- Add cream cheese to the sauce and briskly whisk until completely integrated and smooth. Remove pot from heat and add in Cheddar and pepper-Jack. Stir until smooth (it’s okay if it isn’t fully melted—we’re baking it!).
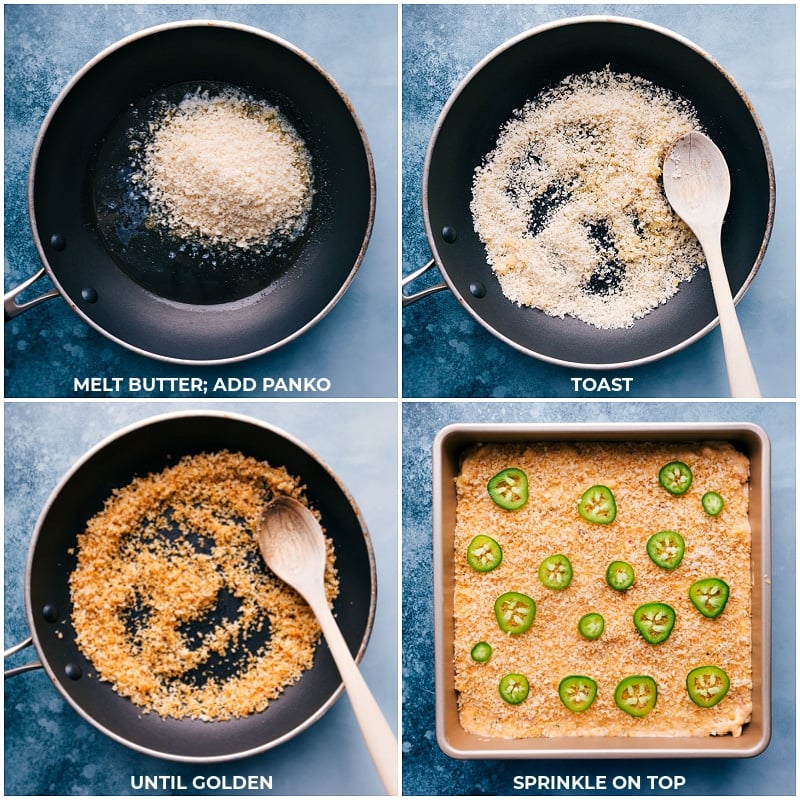
- Optional: Meanwhile, melt butter over medium heat in a medium pan. Add panko and salt to taste (I add 1/4 teaspoon) and stir to coat. Continue cooking until crumbs become golden brown. Remove from heat and set aside.
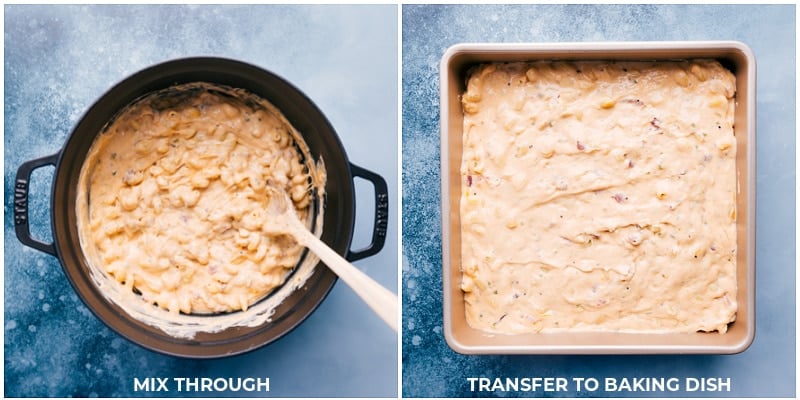
- Pour the sauce, scraping every bit of it over cooked pasta (it may seem super saucy, but this will keep it from becoming dry after baking!). Add in reserved bacon. Give everything a quick stir and a taste test—add more salt/pepper if needed. Transfer mixture to a lightly greased 9×9-inch pan. Sprinkle panko topping evenly over pasta, and if desired, add a thinly sliced jalapeño on top. Bake for 10–15 minutes or until slightly thickened at the edges and light golden brown on top (don’t bake too long or the cheese sauce will dry out!). Remove and serve immediately! Enjoy!
Recipe Notes
Nutrition
Nutrition information is automatically calculated, so should only be used as an approximation.




WOWZA! Super easy, and super yum!
Thanks Bryan! 🙂
LOVE LOVE LOVED this mac and cheese!!!
Yay! So happy to hear this! Thanks Ozzie! 🙂