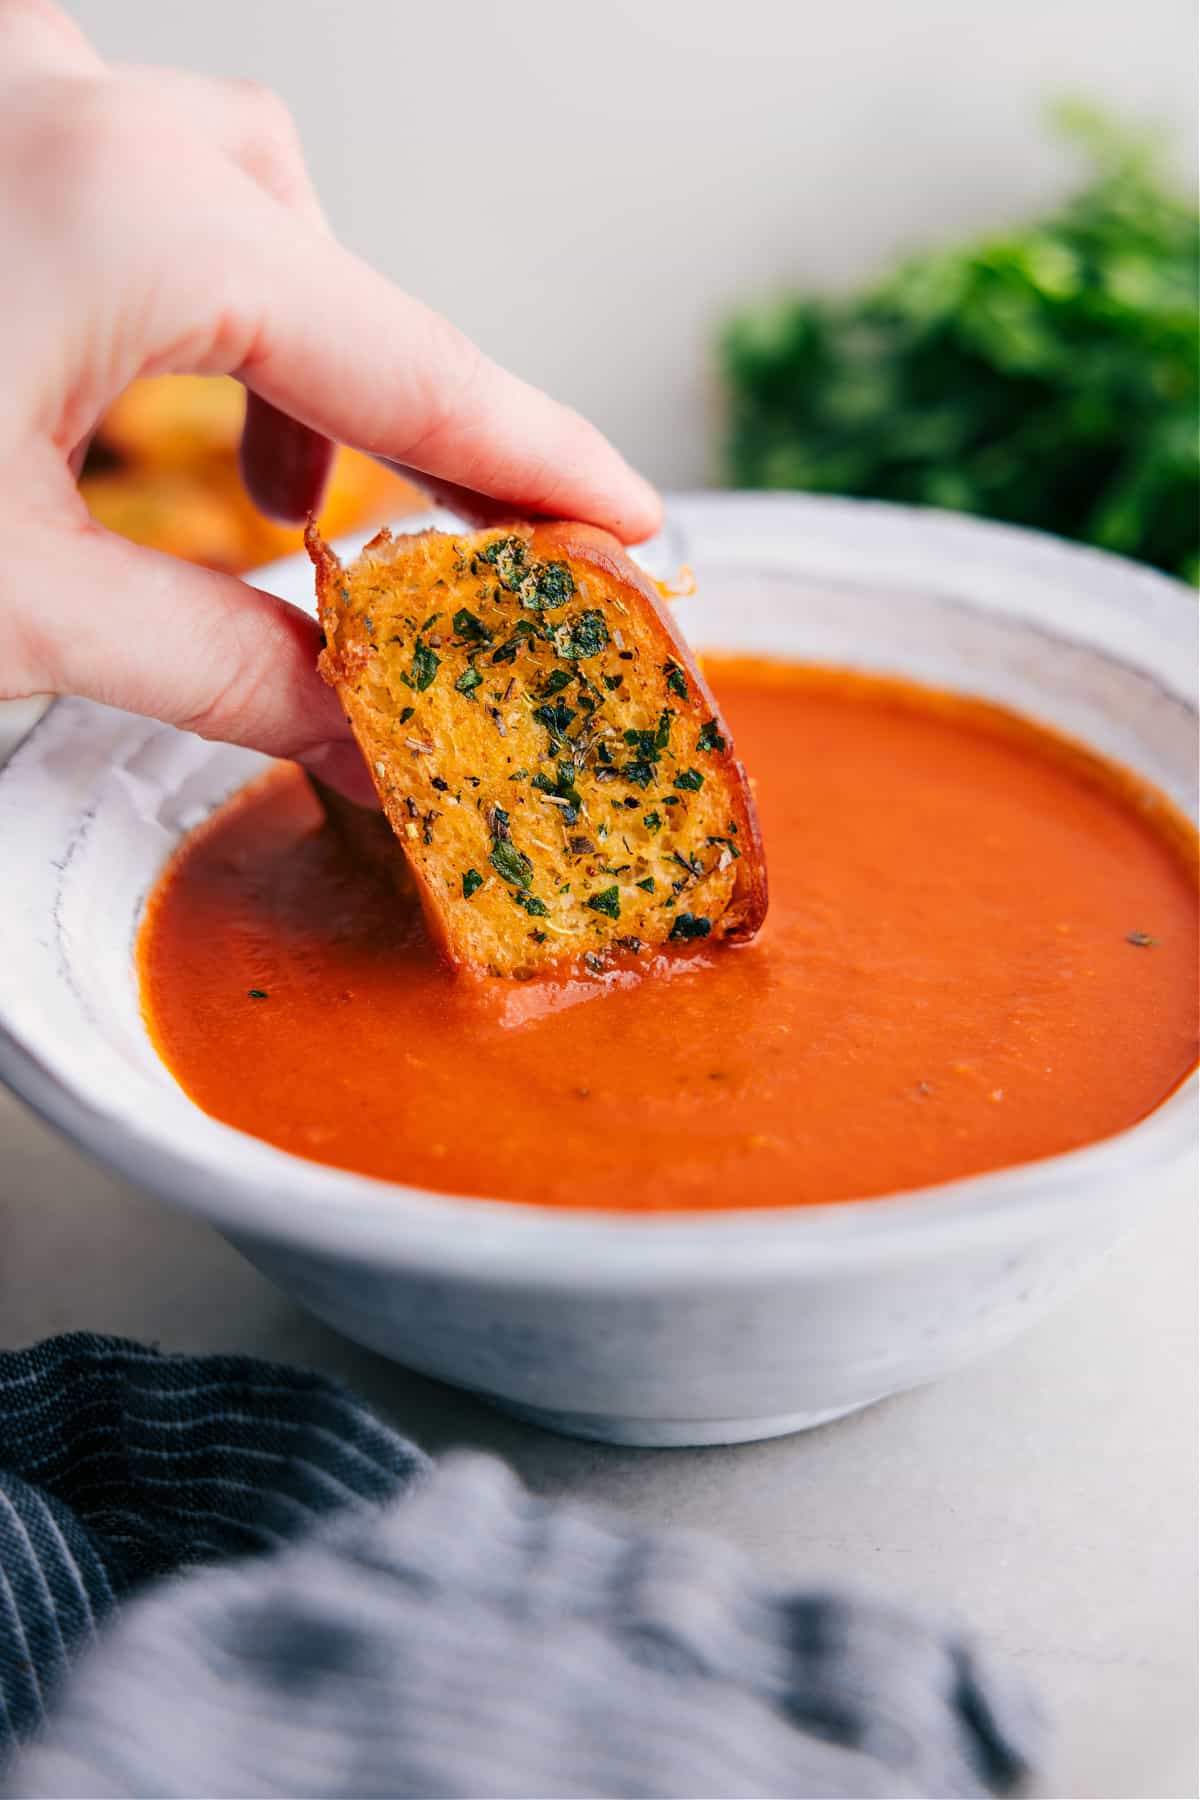
Mini Grilled Cheese Sandwiches make soup night so much better—just slice, butter, add cheese, and bake! Way easier than prepping individual sandwiches!
Mini Grilled Cheese
I’m so excited to share this recipe! It’s one of my favorite ideas inspired by King’s Hawaiian, and after a few tweaks, it’s become a staple in my kitchen. I found the original recipe needed a bit more garlic butter, so here’s my go-to version!
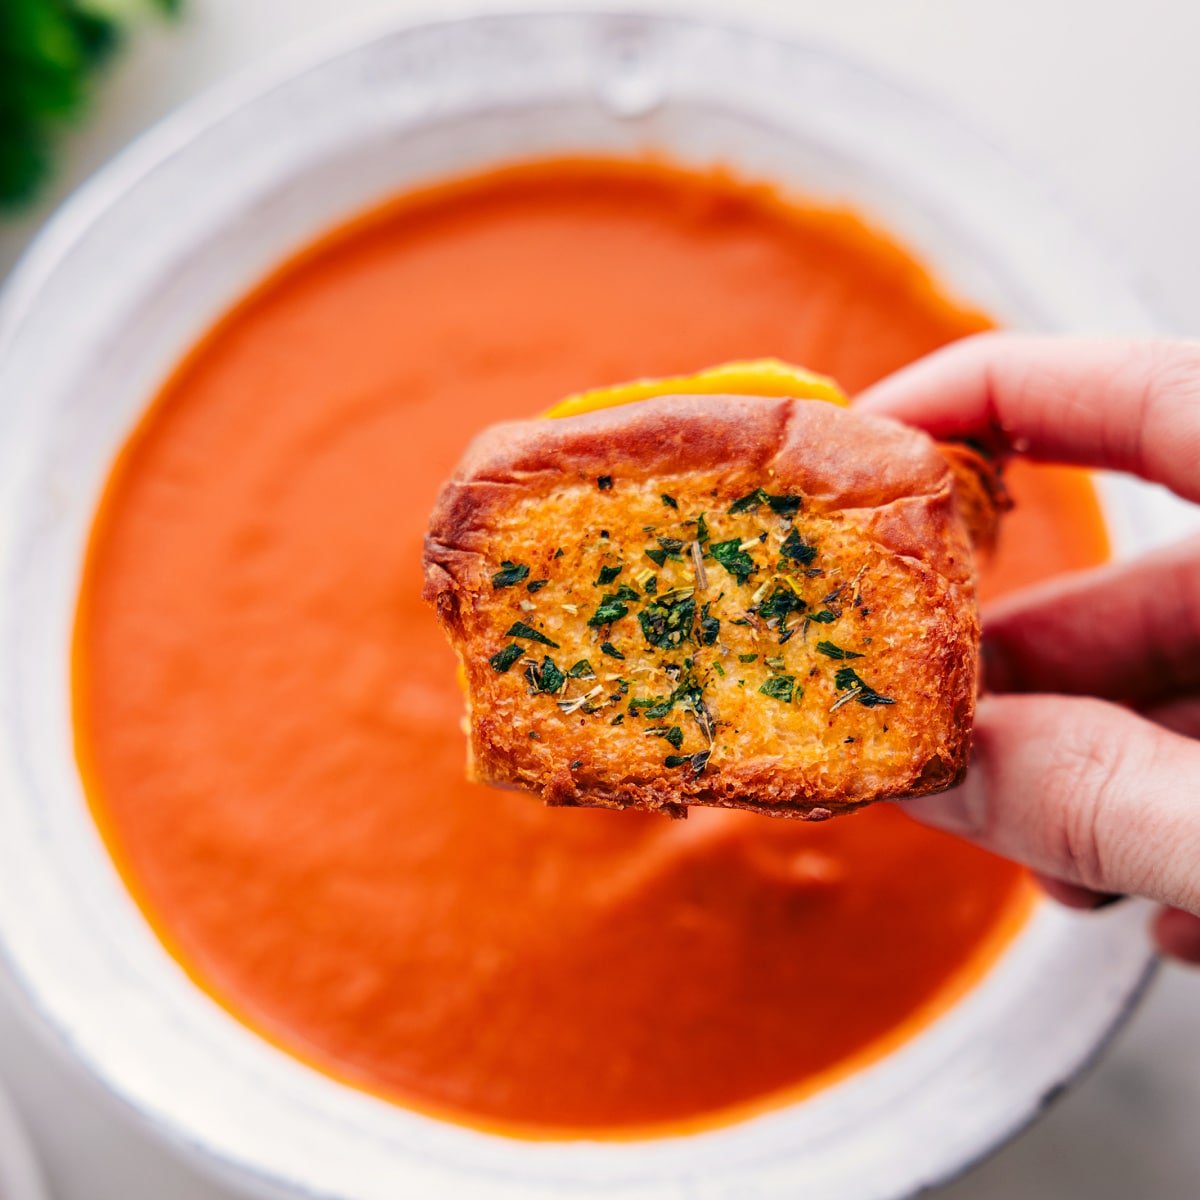
These grilled cheese sandwiches are perfect for soup night. Whip up a whole batch at once—it’s way faster than making individual sandwiches on the stove or in the air fryer. The kids are obsessed, and honestly, so am I! They’re super fun to dip in a warm bowl of soup.
They’re also ideal for parties—just fill a few sheet pans, and your guests will have plenty to dip and enjoy!
Ingredients
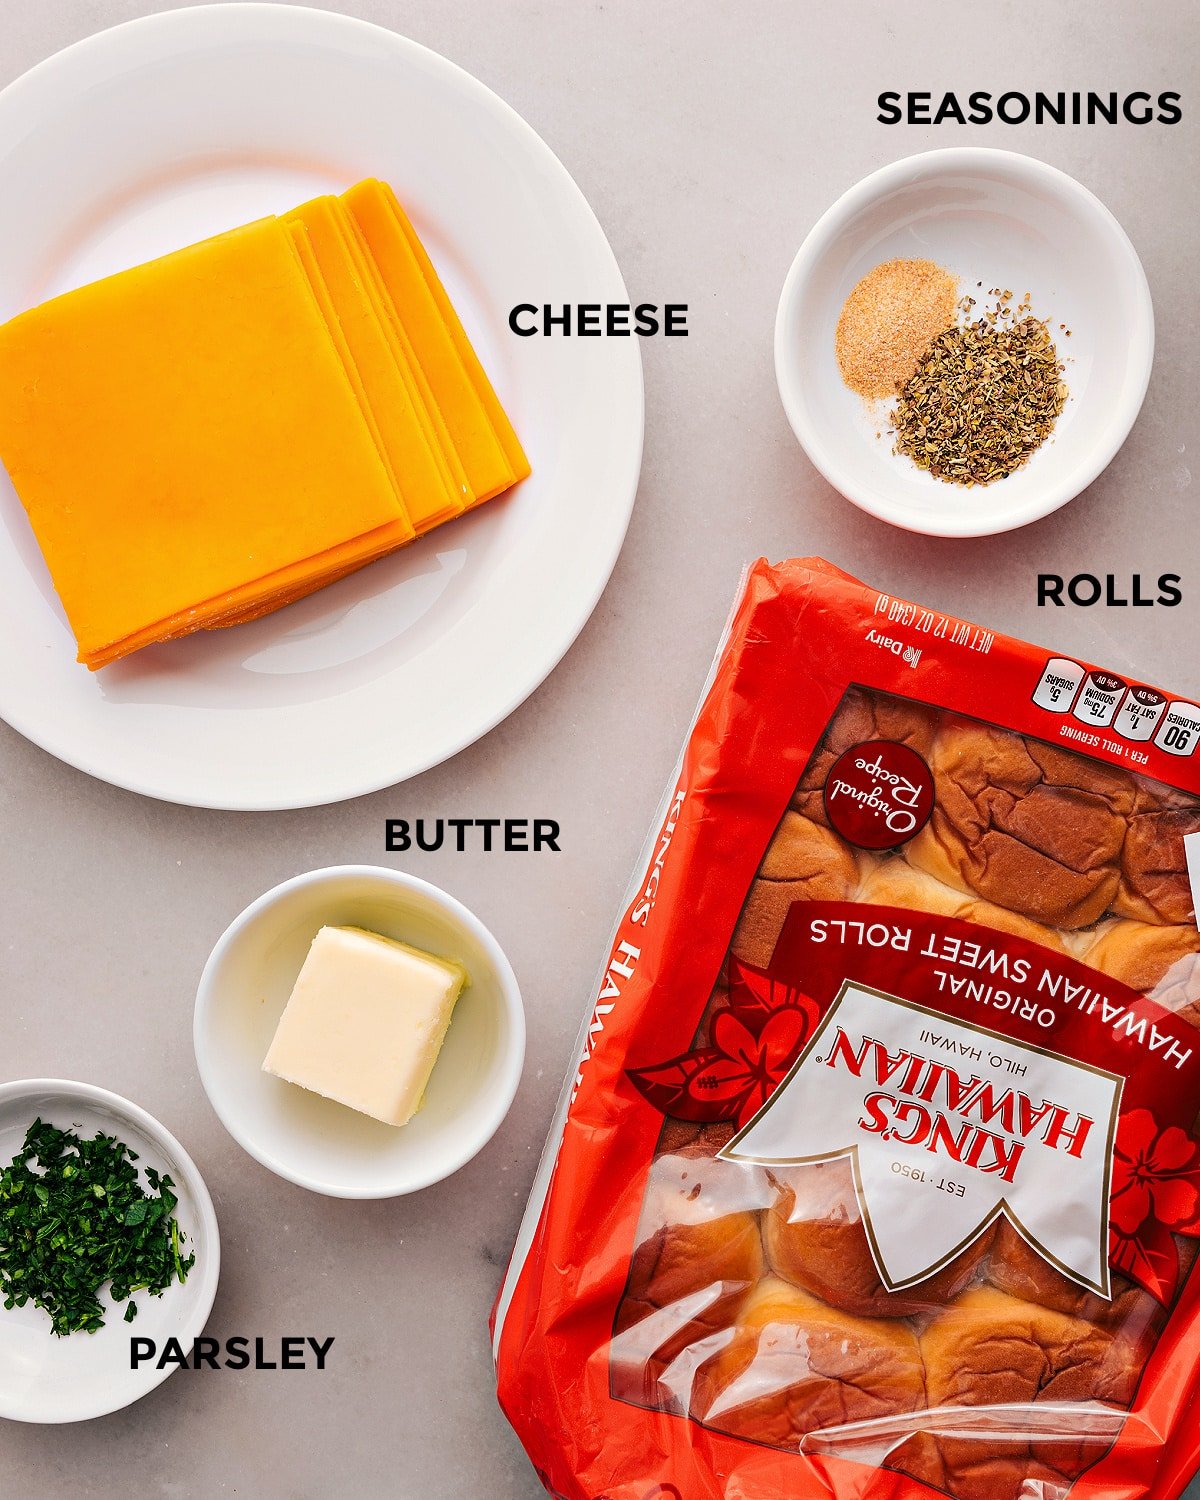
Here’s what you’ll need to make Mini Grilled Cheese Sandwiches:
- Sweet Rolls: Soft and slightly sweet—ideal for mini sandwiches!
- Sharp Cheddar: Balances the sweet rolls perfectly; pre-sliced saves time.
- Butter: Softened (not melted) for easy mixing and spreading.
- Italian Seasoning: Adds a nice, balanced herb flavor.
- Garlic Powder: A simple way to bring a delicious garlic flavor.
- Parsley: Fresh flavor and color; finely diced for easy mixing.
How To Make Mini Grilled Cheese
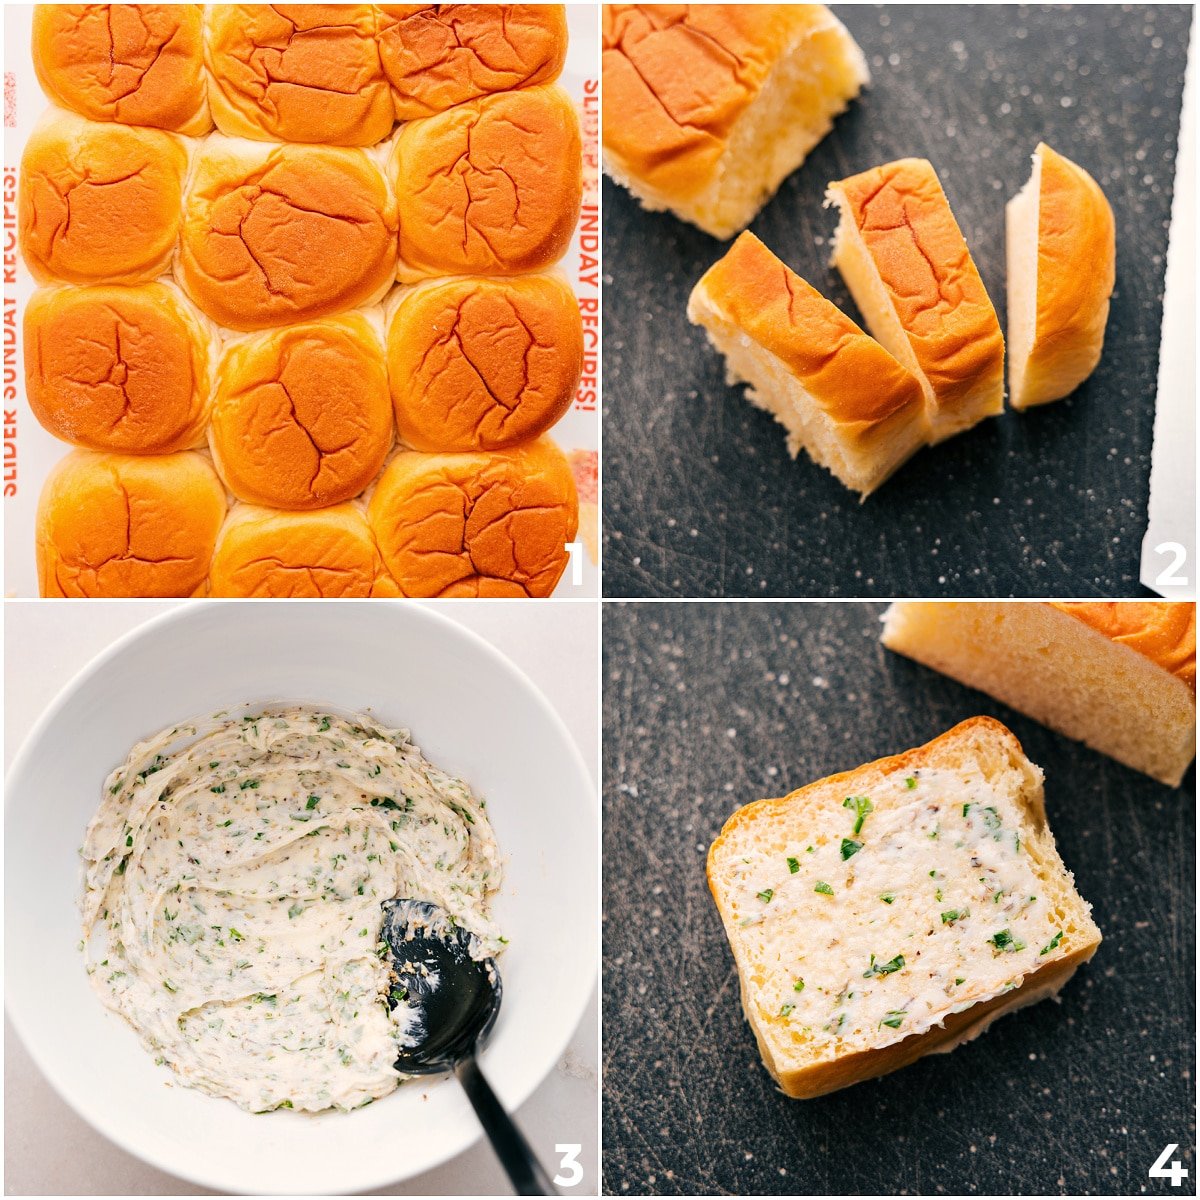
- Prep Rolls: Separate rolls and slice each into thirds.
- Make Herb Butter: Mix butter, Italian seasoning, garlic powder, and parsley.
- Spread Butter: Coat both cut sides of each roll with the herb butter.
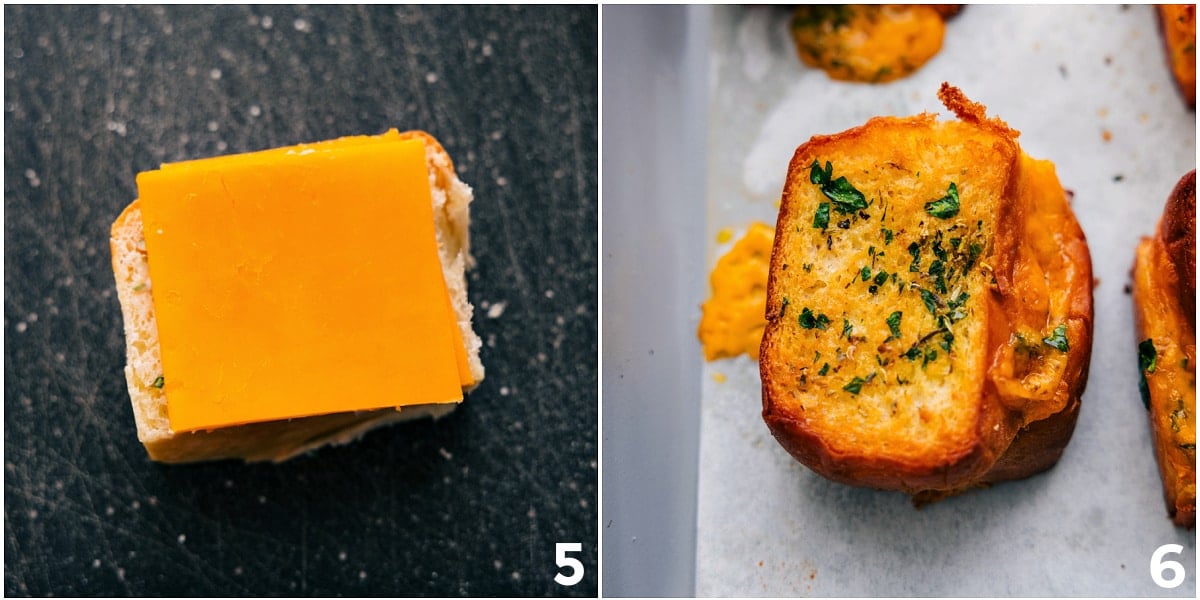
- Add Cheese: Place cheese in the center of half the rolls on a baking sheet; top with remaining rolls.
- Bake: Bake at 350°F for 5-7 minutes. Flip, press down slightly, and bake another 5-7 minutes until golden.
- Serve: Enjoy warm, perfect for dipping in soup!
What To Serve With Mini Grilled Cheese Sandwiches:
- Tomato Soup: A classic pairing for dunking these mini sandwiches.
- Broccoli Cheddar Soup: Another favorite soup with these sandwiches.
- Caesar Salad: Nothing beats a good soup, salad, and grilled cheese!
- Pickles: The perfect tangy complement to the cheese!
- Roasted Veggies: Roasted carrots or roasted broccoli add color and flavor.
Storage
These are best enjoyed fresh from the oven, so only bake when ready to eat. If you have leftovers, store them in an airtight container in the fridge for up to 2 days. Reheat in the oven at 350°F for a few minutes to bring back the crispiness.
More Soups For Dipping:
- Butternut Squash Soup a restaurant’s famous recipe!
- Chicken Noodle Soup made from scratch
- Artichoke Soup with mushrooms
- Crockpot Chicken Stew with loads of veggies
- Pumpkin Soup using canned pumpkin

Mini Grilled Cheese
Equipment
- Sheet pan
Ingredients
- 1 package (12-count) King’s Hawaiian Sweet Rolls
- 12 slices sharp cheddar cheese
- 8 tablespoons unsalted butter softened
- 2 teaspoons Italian seasoning
- 1 teaspoon garlic powder
- 1 tablespoon finely diced fresh parsley
- Salt and pepper
Instructions
- Preheat the oven to 350°F. Separate each roll from the package and slice each roll into thirds horizontally.
- In a small bowl, combine softened butter, Italian seasoning, garlic powder, parsley, and a pinch of salt and pepper until well mixed. Spread the garlic herb butter on both cut sides of each roll piece. Aim to coat all pieces evenly, using up all the butter.
- Cut cheddar slices into squares to fit the size of the rolls. Arrange half of the buttered rolls on a baking sheet. Place 2 pieces of cheddar in the center of each roll. Top with the remaining buttered roll slices.
- Bake the assembled sandwiches for 5-7 minutes. Remove from the oven, gently flip each sandwich, and press down slightly with the back of a metal spatula. Return to the oven and bake for an additional 5-7 minutes, or until the sandwiches are golden and crispy.
- Enjoy warm, with tomato soup for dipping if desired!
Recipe Notes
Nutrition
Nutrition information is automatically calculated, so should only be used as an approximation.




As an employee for Chelsea’s messy apron and someone who tries almost every recipe she makes I can honestly say these are one of my favorite recipes! They are so delicious, simple to make, and perfect for hosting! I’m making it for the Super Bowl this weekend after how big of a hit they were last week with friends!
Thanks Olivia! I’m so happy you love this recipe so much!