Attention all cookie lovers! Get ready to satisfy your sweet tooth with the ultimate indulgence: Nutella Stuffed Chocolate Chip Cookies! With a perfect balance of crunchy exterior and chewy interior, these cookies are loaded with two types of chocolate chips and an ooey-gooey Nutella surprise in the middle.
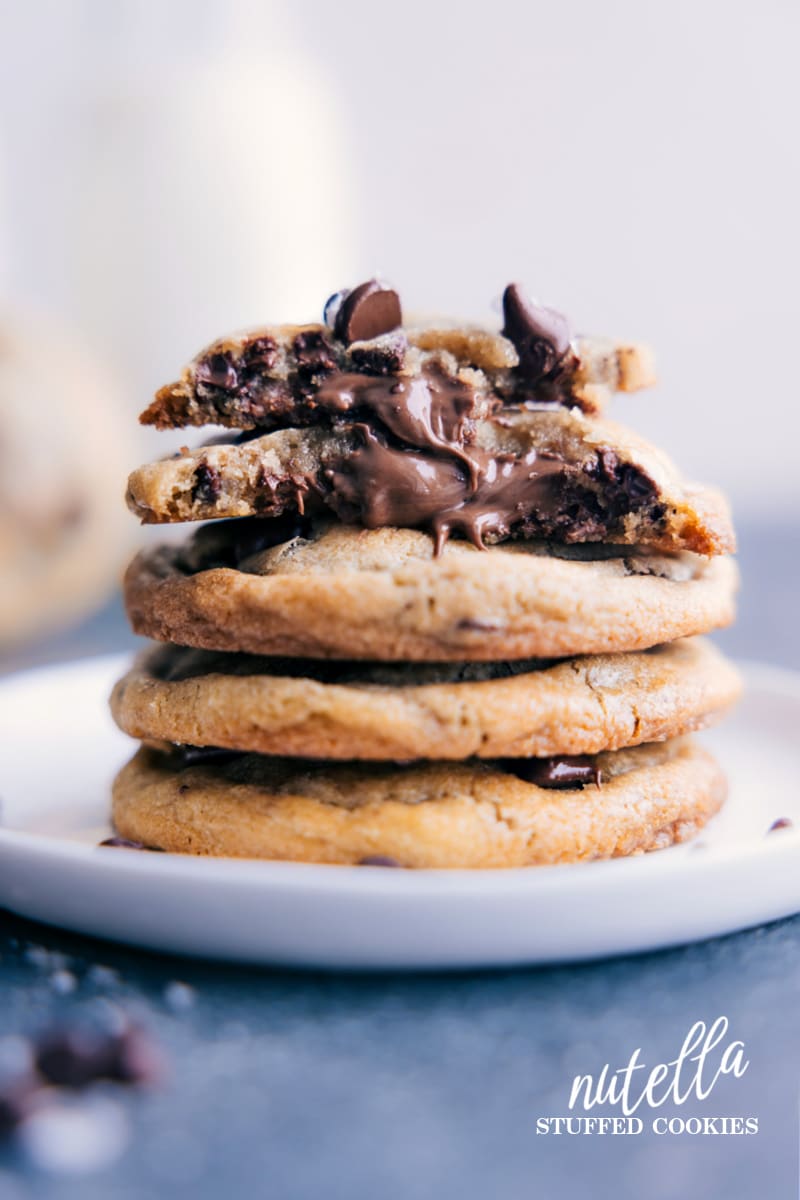
Nutella-Stuffed Chocolate Chip Cookies
If you’re a Nutella® lover, get ready for a treat! These Nutella cookies will blow your mind. Imagine biting into a warm, chewy cookie with a rich, chocolatey center that oozes out with every bite. These bakery-style cookies have a crispy edge and a soft, gooey, and chocolatey interior, loaded with two types of chocolate chips. If you’re a fan of our popular Bakery Style Chocolate Chip Cookies, you’re in for a real treat with this recipe!
This recipe is a little more involved than some cookie recipes, but don’t worry, it’s still easy to make. The process involves freezing small portions of Nutella, but it’s fairly straightforward and comes together easily with a stand mixer. If you don’t have a stand mixer, a hand mixer will work too, but you may need to put in a bit more effort.
**Note: Nutella is the trademarked product name of a chocolate hazelnut spread made by Ferrero Foods. It has a nearly cult following, but you can substitute another brand of chocolate hazelnut spread if you prefer.
How To Get Nutella In The Center
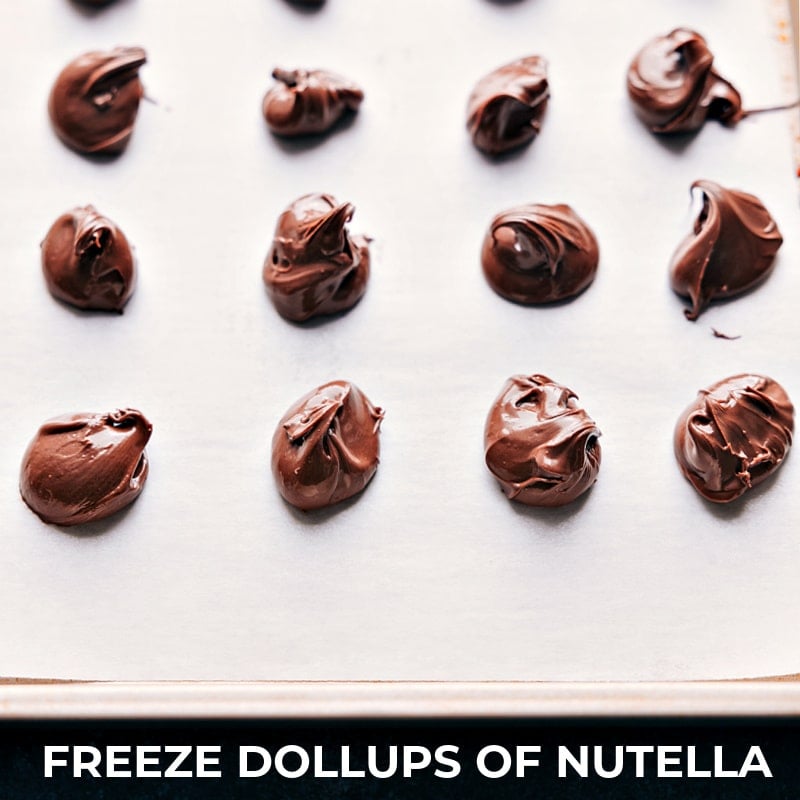
Freezing small portions of Nutella is a key step in making these cookies. By freezing small dollops of Nutella, it becomes easier to stuff them into the cookie dough without making a mess. It also helps to keep the Nutella from melting too quickly when you’re handling the dough.
To freeze the Nutella, pipe out small portions (around 1 teaspoon) onto a parchment-lined baking sheet and place it in the freezer until it’s solid, which should take about 20 minutes. Once they’re frozen, you can easily add them to the cookie dough without any mess or fuss.
Quick Tip
To prevent the Nutella from thawing too quickly at room temperature, I like to keep the tray of Nutella dollops in the freezer and take out only the amount I need at a time. This way, the Nutella stays firm and it’s easier to work with when stuffing it into the cookie dough.
Kitchen Tools
Here are some of our favorite cookie-baking tools that we recommend for making the perfect batch of Nutella-Stuffed Chocolate Chip Cookies:
- Food scale: If you want your cookies to be consistently sized and evenly baked, we highly recommend using a food scale to measure out your dough balls. Eyeballing the portion sizes can lead to some cookies being over-baked while others are under-baked due to inconsistent sizes.
- Hand mixer or stand mixer: Achieving the perfect consistency for your cookie dough requires the use of a mixer. When creaming together the butter and brown sugar, you want a thick and creamy mixture that’s similar in consistency to peanut butter. This is hard to achieve with a wooden spoon, so we recommend using a hand mixer or stand mixer to ensure the right texture.
- Silicone liner: For baking Nutella-Stuffed Chocolate Chip Cookies, we suggest using a silicone tray liner. This will ensure that your cookies bake evenly and the bottoms won’t get overly crispy.
How To Make Nutella-Stuffed Chocolate Chip Cookies
- For best results, it’s important to follow the recipe carefully and not substitute ingredients. This cookie recipe has been thoroughly tested, so it’s best to use the unique ingredients called for in the recipe rather than substitutes. Baking can be finicky, so it’s hard to predict what will work as a substitute.
- Another important tip is to not skip or shorten the chilling time. While it may be tempting to rush the process, the chill time is important for the texture and structure of the cookies. It allows the dough to become more flavorful and ensures that the cookies bake up nice and thick, rather than spreading too much.
- In addition, it’s crucial to get the right temperature of butter. The recipe calls for cold butter, not softened or melted. If the butter is too soft, it can result in cookies that spread.
- Don’t over-mix the dough: Once you add the flour to the wet ingredients, mix just until everything is combined. Over-mixing can result in tough cookies.
- Sprinkle with sea salt: If you want a sweet and salty flavor, sprinkle a little sea salt on top of the cookies right after they come out of the oven.
Storage
Nutella-Stuffed Chocolate Chip Cookie Storage
These cookies store well at room temperature in an airtight container for 2-3 days. They begin to lose texture after that.
Can You Freeze These Cookies?
Instead of freezing already-baked cookies, freeze the dough! You’ll be a superstar when you serve warm cookies.
To do so: Drop the cookie dough balls on a large sheet pan and freeze them until solid. Once solid, transfer the frozen cookie dough balls to an airtight container or bag and freeze for up to 3 months. To bake: You can bake these cookies straight from the freezer. There is no need to thaw, but you may need to add a few extra minutes to the baking time.
More Cookie Recipes:
- No-Bake Cookies made with oats
- Lime Cookies with a quick glaze
- Chocolate Chip Pudding Cookies with a pudding mix
- Rocky Road Cookies with marshmallows and peanuts
- Heath Bar Cookies with a whipped cream topping
Nutella Stuffed Chocolate Chip Cookies
Equipment
- Food scale optional, see note 1
- Hand mixer or stand mixer with paddle attachment
- Dark-colored sheet pan
- Silicone baking mat or parchment paper
Ingredients
- 16 tablespoons unsalted butter 1 cup, cold, see note 2
- 1 cup soft light brown sugar lightly packed
- 2/3 cup granulated sugar
- 2 large eggs
- 2 teaspoons vanilla
- 2 teaspoons cornstarch
- 1 teaspoon baking powder
- 1 teaspoon baking soda
- 1 teaspoon salt
- 3 cups all-purpose flour
- 1 cup mini chocolate chips
- 1 cup chocolate chips
- Nutella
- fine sea salt for sprinkling, optional
Instructions
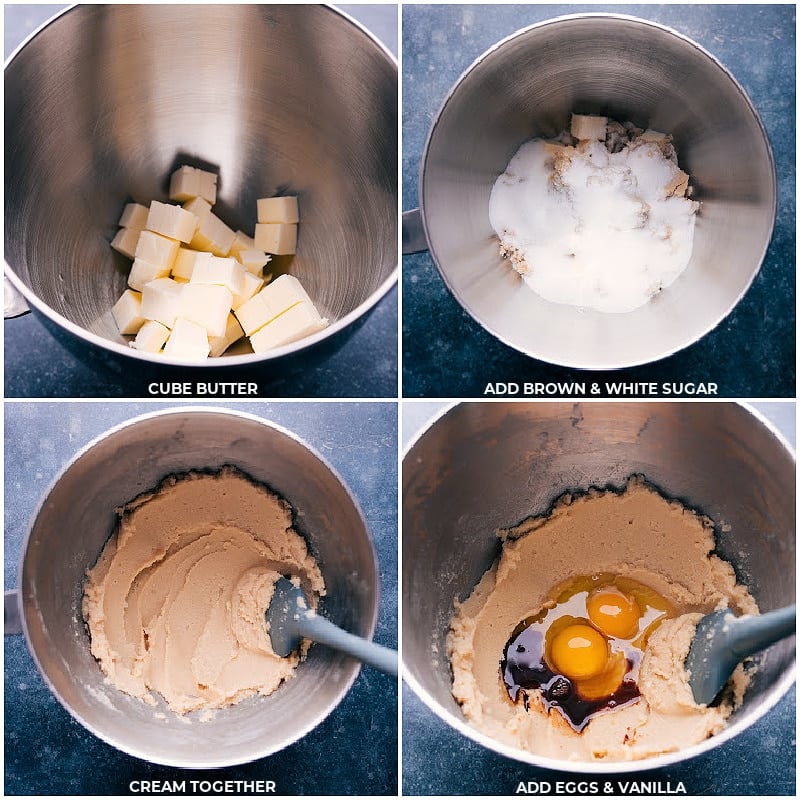
- Cut butter straight from the fridge into small cubes. In a large bowl (or stand mixer fitted with paddle attachment) add the cubed butter, brown sugar, and granulated sugar. Beat, scraping edges as needed, until nice and creamy (peanut butter consistency). Add eggs and vanilla. Mix to incorporate.
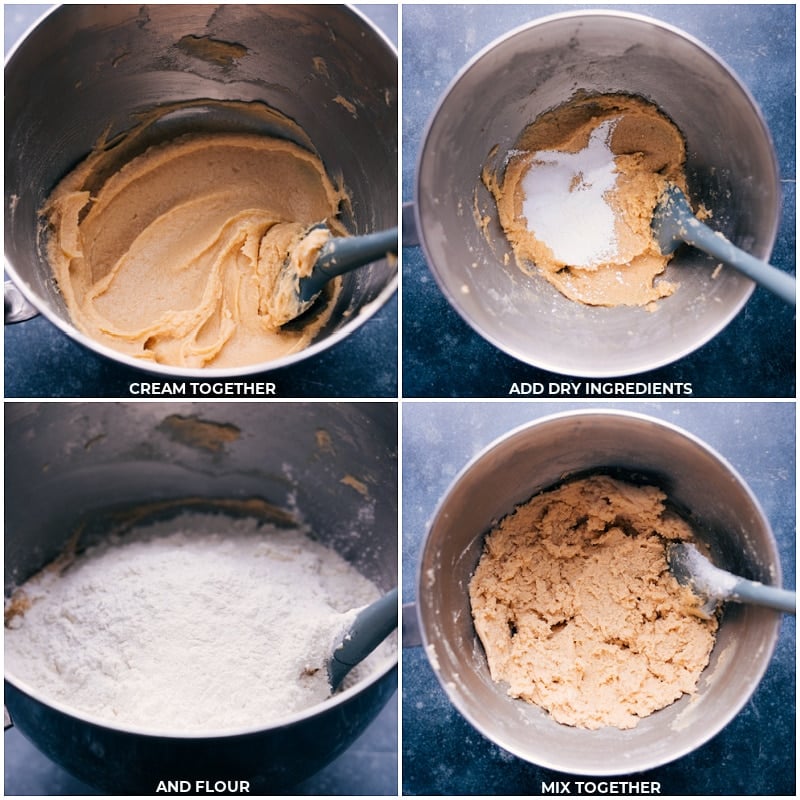
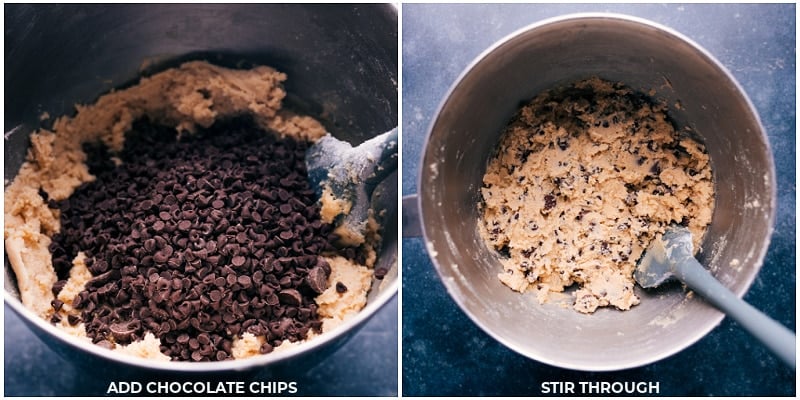
- Add cornstarch, baking powder, baking soda, and salt. Add the flour (weigh if you can—see note 1!) and mix just until combined. Finally, add the mini and regular chocolate chips and mix through.
- Cover the dough tightly and chill in the fridge just until Nutella is ready to go!
- Line a large sheet pan with parchment paper. Add a huge scoop of Nutella to a small resealable plastic bag. Seal the bag and cut off the tip. Pipe out dollops of Nutella (~1 teaspoon in size), spaced apart on the sheet pan. Place in the freezer until solid, about 20 minutes.
- Preheat the oven to 375°F. Line a large dark-colored sheet pan with a silicone liner.
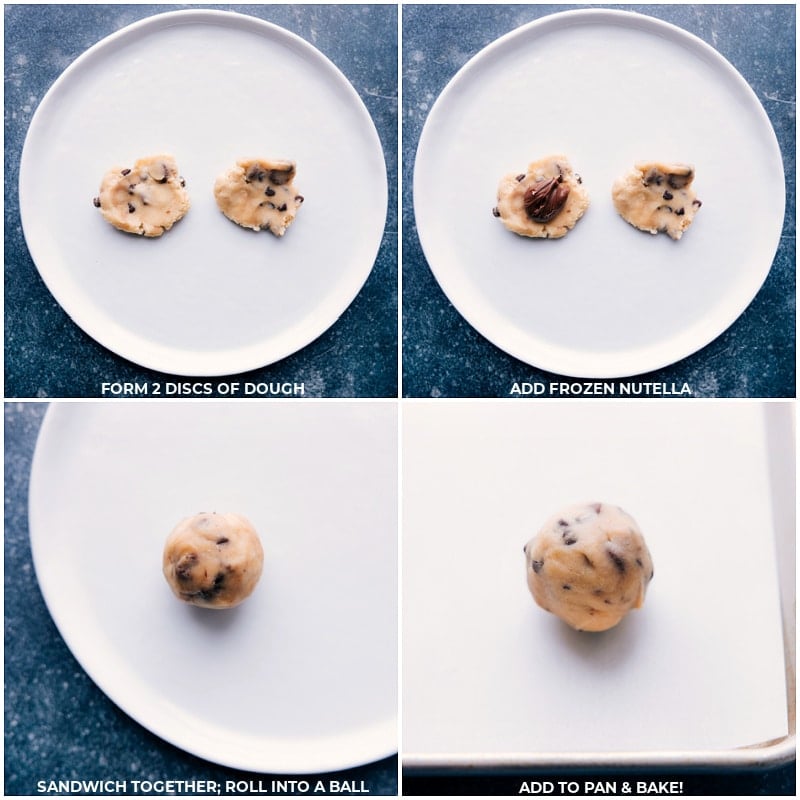
- To form the dough balls, use a food scale (if available) to measure 40-gram portions of dough (~2 packed tablespoons). Split each ball into 2 flattened discs. Take a dollop of Nutella from the freezer at a time (it melts quickly) and add it to 1 of the dough discs. Place the other disc on top and gently pinch the edges together to encase the Nutella entirely. Roll the dough into a ball and place it on a sheet pan. Repeat the process, spacing the dough balls at least 2 inches apart on the pan (only add 6 cookies at a time per pan). Then put the sheet pan in the freezer for 10 minutes. While 1 pan of dough is freezing and baking, continue forming the rest of the balls.
- Bake the tray straight from freezer for 9–14 minutes or until cookies no longer look gooey on top. (These cookies are the absolute best slightly under-baked!) Remove from oven and sprinkle immediately with sea salt if using. Optional: press a few more chocolate chips into the tops of the cookies. Allow cookies to cool 5 minutes on the sheet pan before moving them to a wire cooling rack. (They’re super fragile while warm but firm up as they cool.) Enjoy!
Video
Recipe Notes
Nutrition
Nutrition information is automatically calculated, so should only be used as an approximation.
