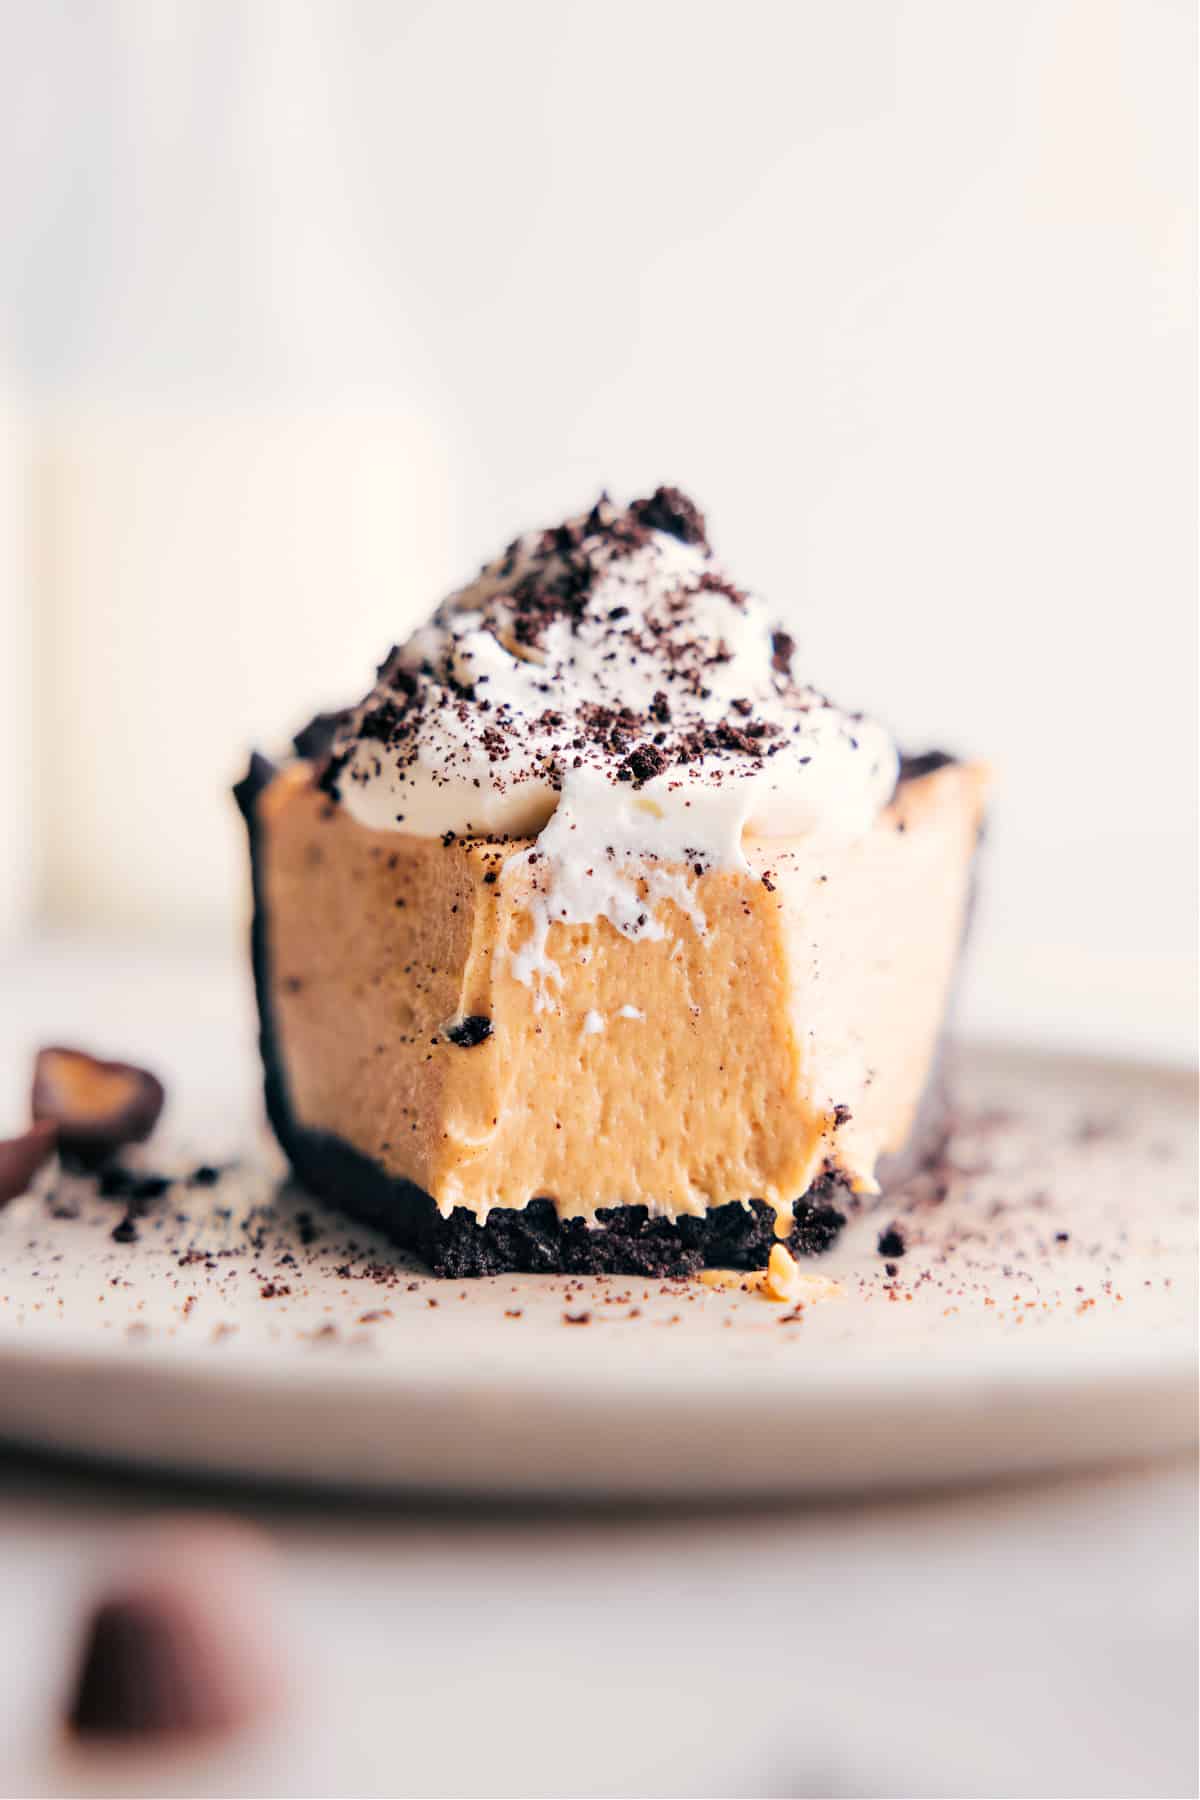
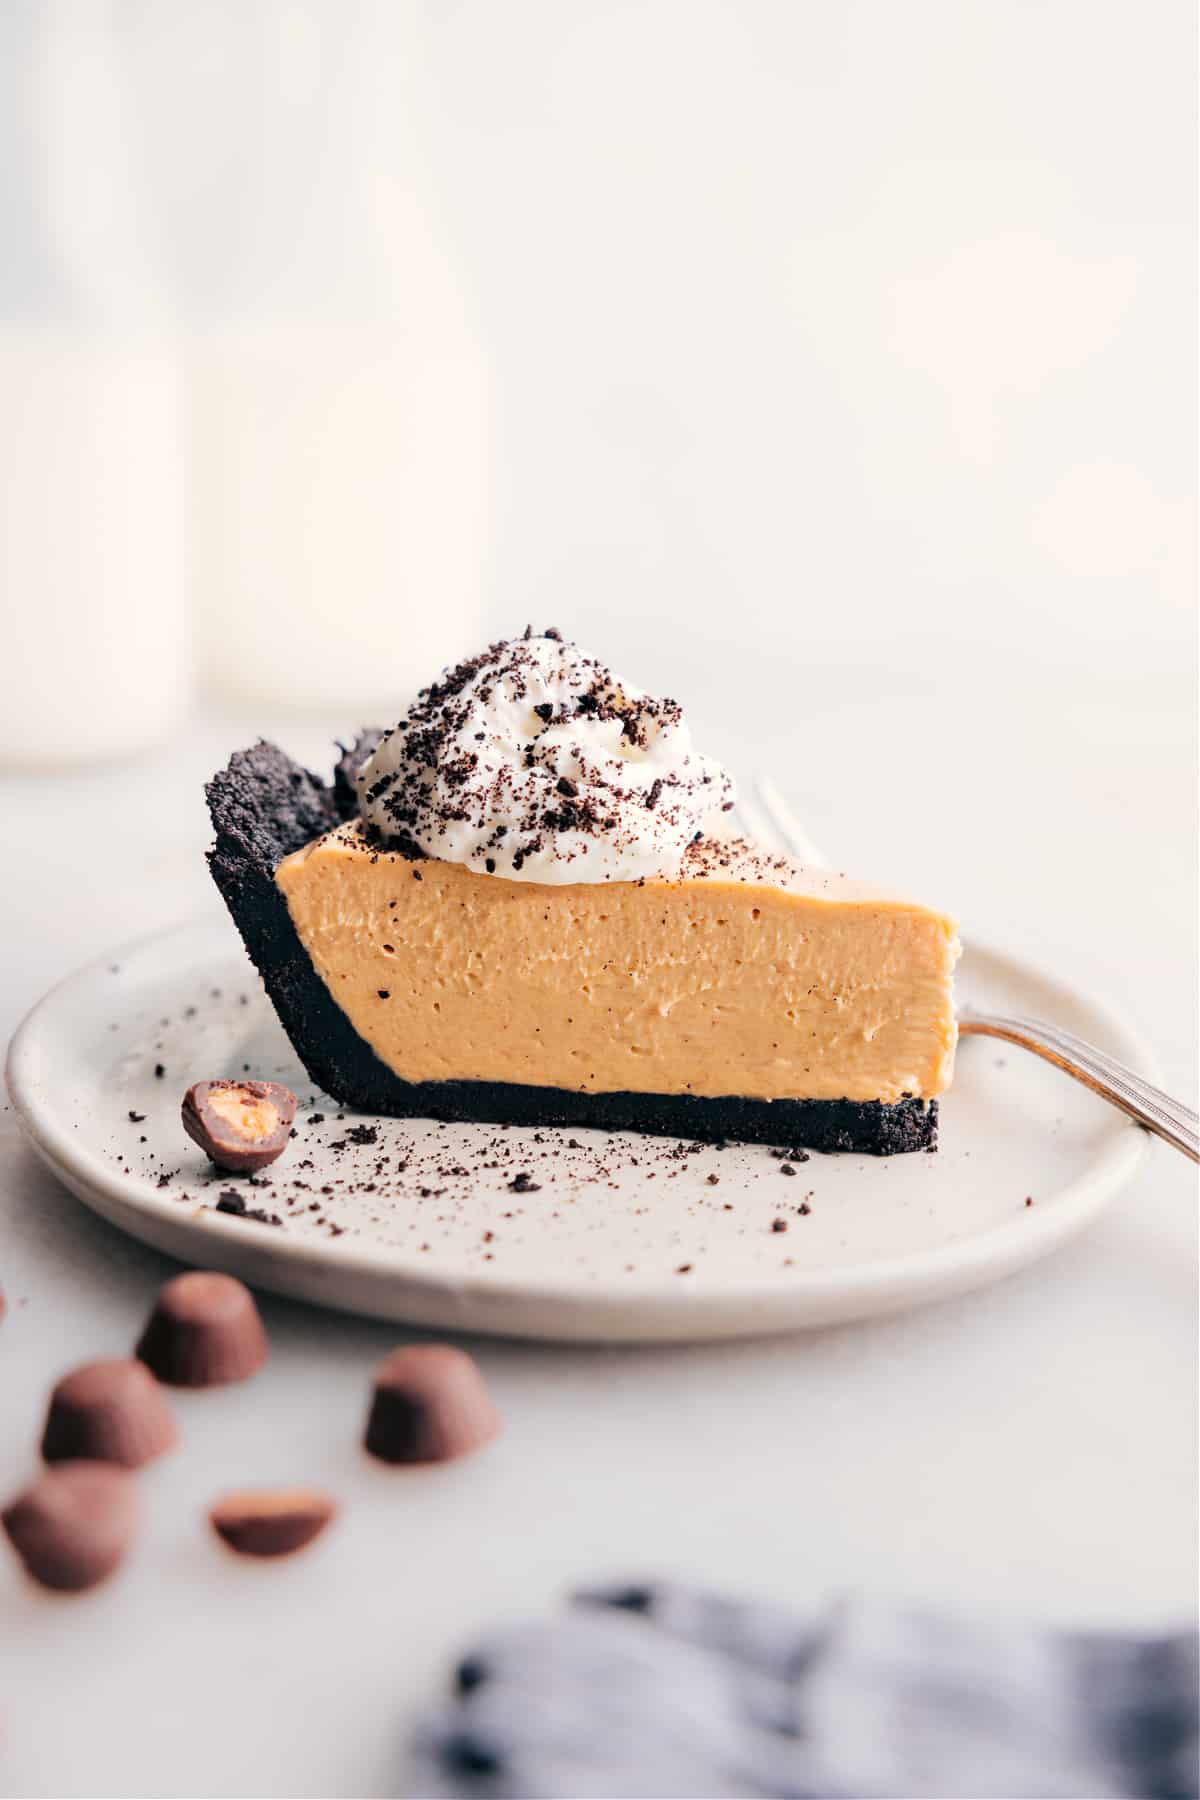
Peanut Butter Pie combines creamy, nutty peanut butter with a rich, chocolatey Oreo crust. It’s an easy and delicious treat for peanut butter and chocolate lovers.
Reasons To Love Peanut Butter Pie
Peanut Butter Pie Ingredients
How To Make Peanut Butter Pie
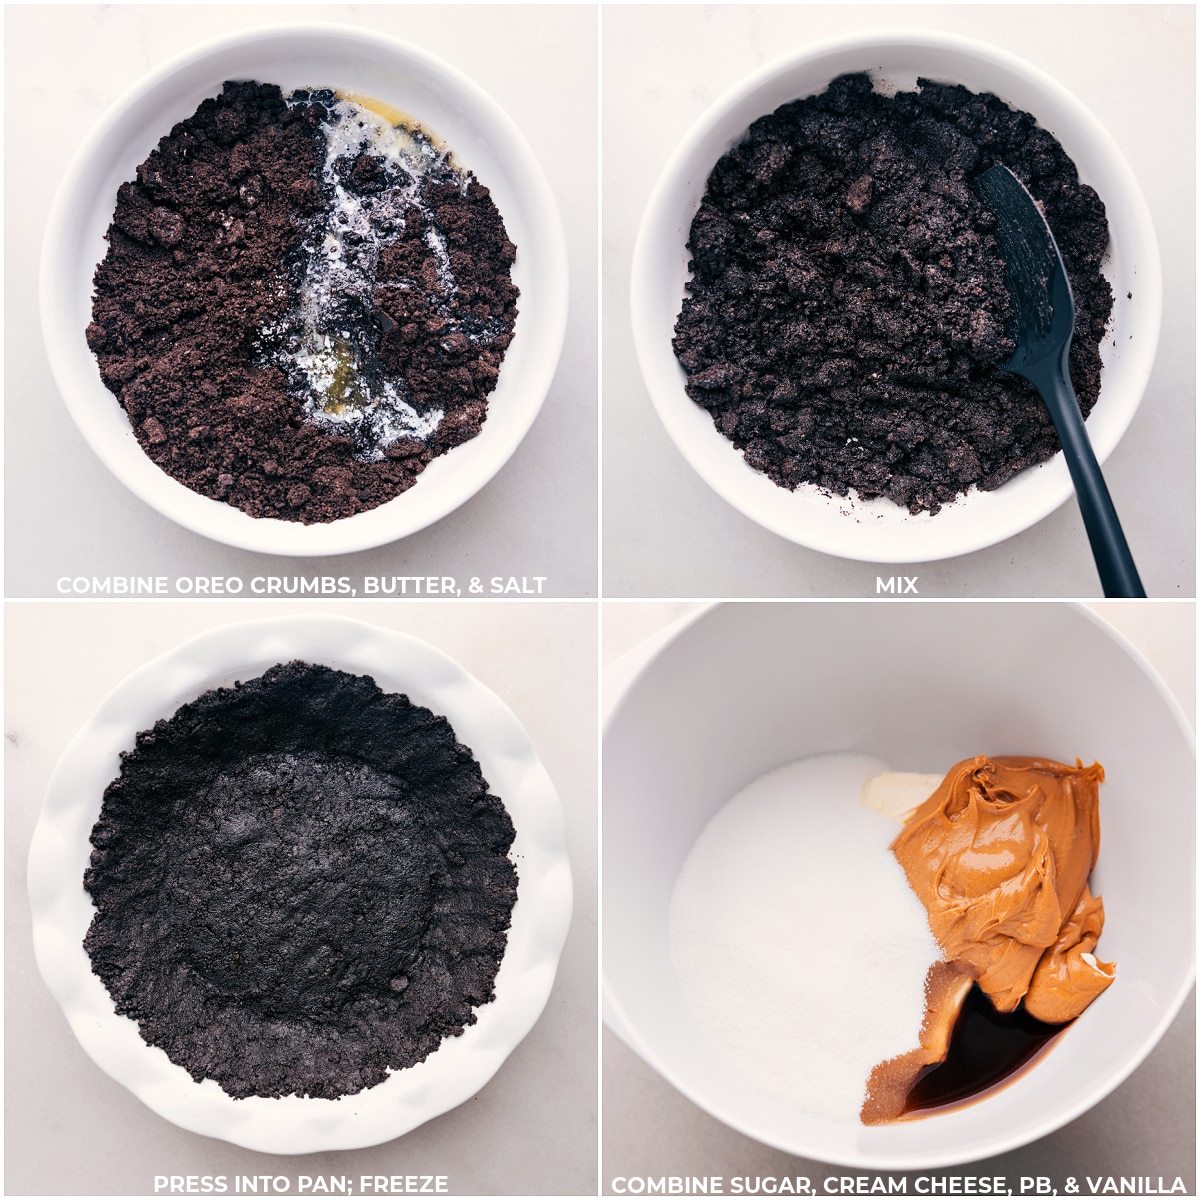
- Crust: Combine melted butter and Oreo crumbs, press into a pie pan, bake, then cool completely.
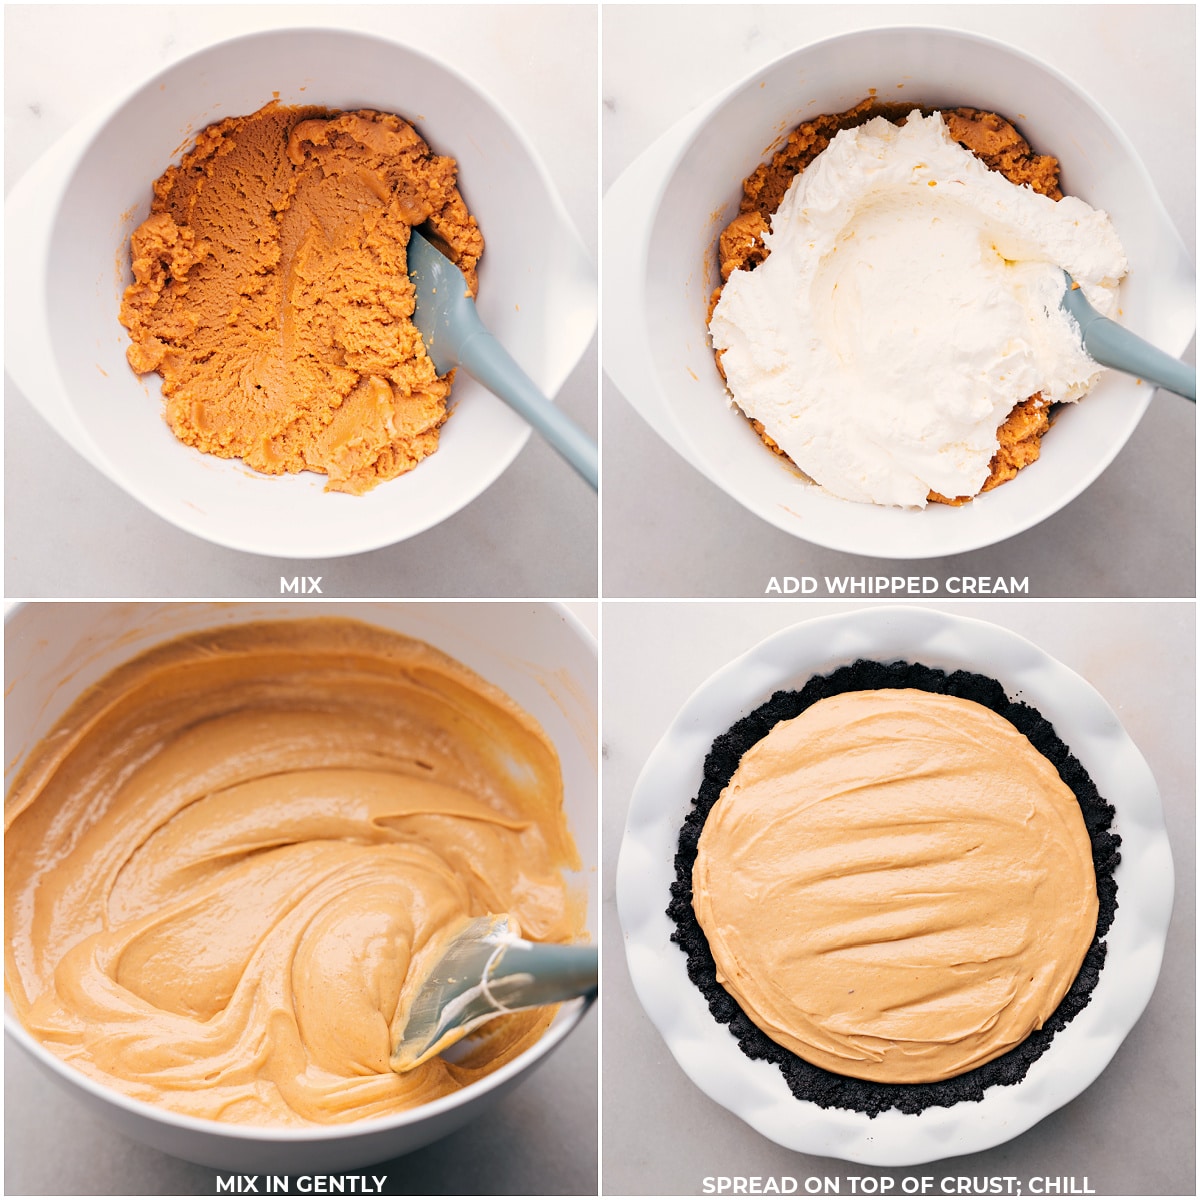
- Filling: Beat cream cheese, peanut butter, sugar, vanilla, and salt; separately whip cream and fold in. Pour into crust; chill for 8 hours.
- Toppings (Optional): Add whipped cream, crushed Oreos, and mini Reese’s cups.
- Serving: Serve the pie chilled.
How To Serve Peanut Butter Pie
- Chilled: Enjoy it cold from the fridge or even firm from the freezer.
- Cut into Wedges: Use a sharp knife for slicing; let thaw a bit if frozen.
- Optional Toppings: Add whipped cream or crushed Oreos before serving.
- Serve Fresh: Best when served immediately after taking out of the fridge.
What is The Best Peanut Butter for Pie?
- Conventional Creamy Peanut Butter: Opt for brands like Skippy (our fave in this recipe!)
- Avoid Natural Peanut Butters: These can cause the filling to become oily and separate.
- If Using Natural: Ensure it’s exceptionally well stirred first.
Storage
How Long is Peanut Butter Pie Good For?
Keep tightly covered in the fridge, good for 3-5 days. Crust softens over time.
How to Freeze Peanut Butter Pie:
- Freezing Method: Wrap tightly in plastic wrap, freeze for up to 1 month.
- To Serve: Enjoy frozen, or thaw overnight in the fridge before serving.
Does It Need Refrigeration?
Yes! With cream cheese and whipped cream in the filling, it needs to be refrigerated.
Needs 8 hours to set, perfect for making ahead for events. Just prep a day early and serve from the fridge!
More Peanut Butter Recipes:
- Pretzel Peanut Butter Bars
- Peanut Butter Cookies
- Lunch Lady Peanut Butter Bars
- Peanut Butter Granola
- Peanut Butter Puppy Chow
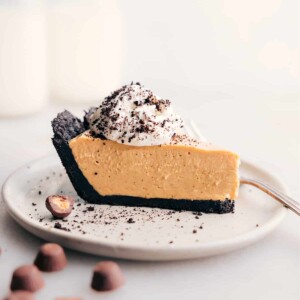
Peanut Butter Pie
Equipment
- Pie pan 9-inch, deep dish if possible
- Stand mixer or hand mixer
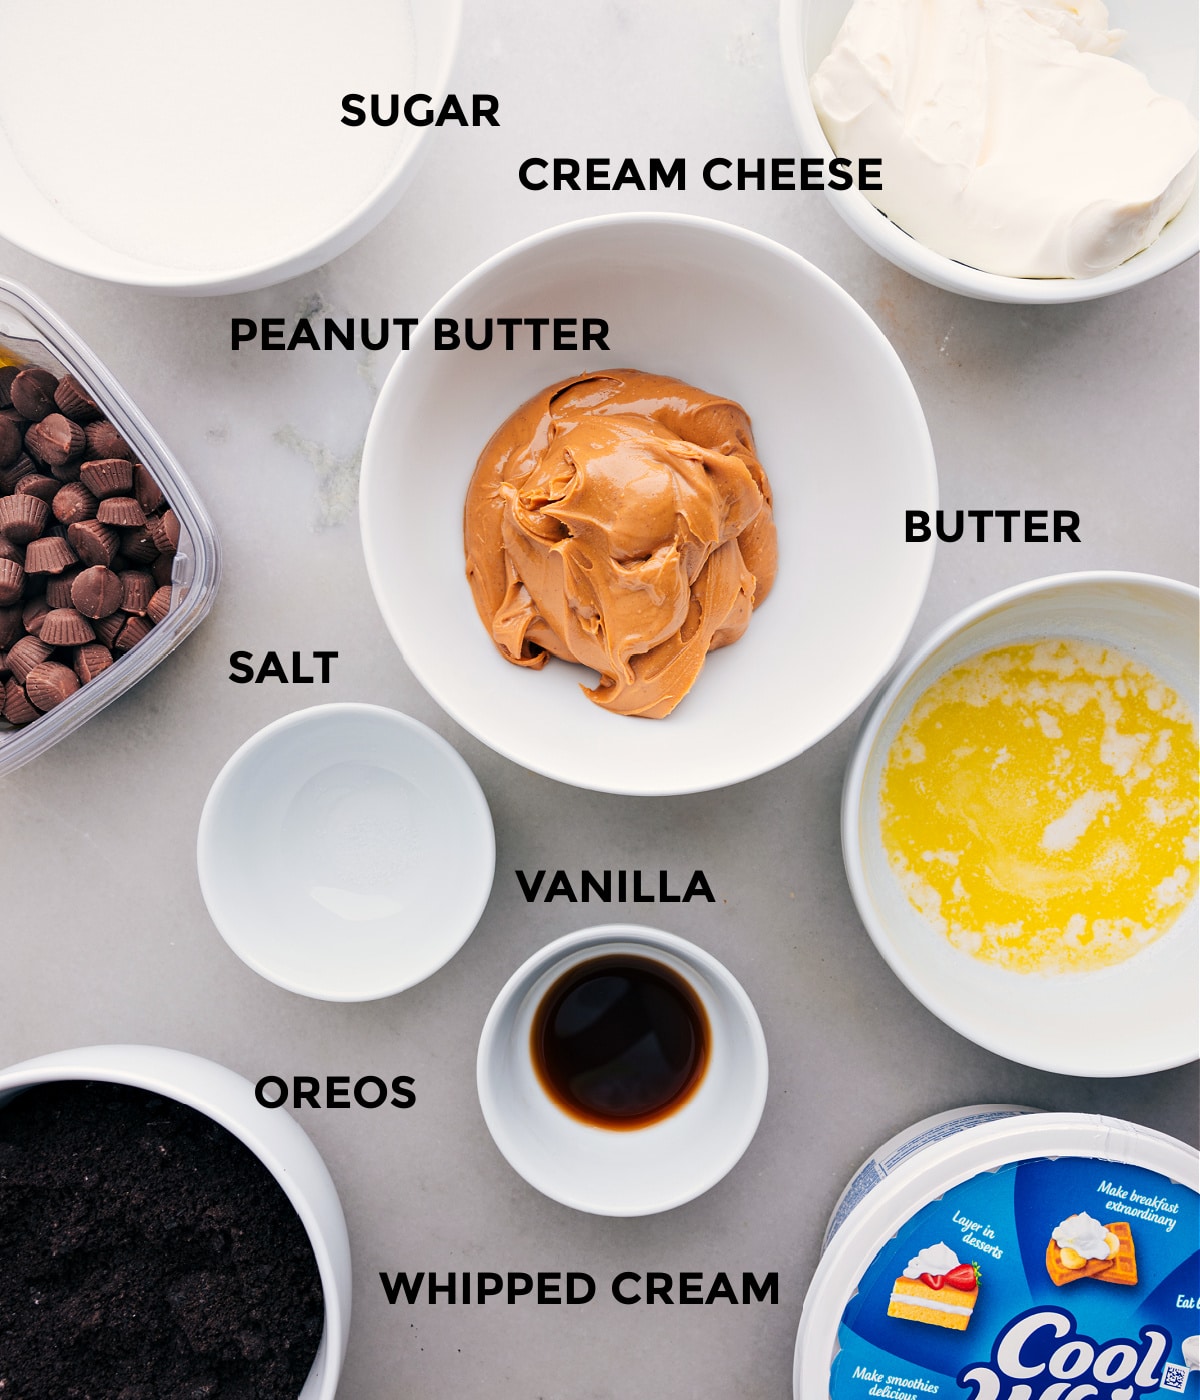
Ingredients
Crust
- 4 tablespoons unsalted butter melted and cooled
- 1-3/4 cups Oreo cookie crumbs 24 cookies
- 1/8 teaspoon salt
Filling
- 8 ounces cream cheese brick-style, full-fat, at room temperature, see note 1
- 1 cup creamy peanut butter like Skippy, see note 2
- 1 cup granulated sugar
- 1 teaspoon vanilla extract
- 1/8 teaspoon salt
- 1 cup heavy cream or use 1 (8-ounce) container whipped topping (like Cool Whip), see note 3
Optional: Toppings
- Whipped cream
- Crushed Oreos
- Reese's minis
Instructions
- Crust: Preheat oven to 350°F (175°C). Grease a 9-inch pie pan. Melt butter and let it cool. Blend cookies until fine crumbs, reblend any large chunks. Combine butter, crumbs, and salt.
- Transfer crumb mixture to pan. Press crumbs along the sides first, then the bottom. Compress crumbs firmly using a flat 1-cup measuring cup. Bake for 10 minutes, then cool completely.
- Filling: In a large bowl, beat cream cheese (see note 1), sugar, peanut butter, vanilla, and salt until creamy, about 3 minutes.
- If using cream, in a separate bowl, use a stand or hand mixer with the whisk attachment to whip the heavy cream until stiff peaks form.
- Gently fold whipped cream (or thawed whipped topping) into peanut butter mixture until the mixtures are well integrated.
- Pour filling into cooled crust and smooth the top. Cover and refrigerate for at least 8 hours.
- Slice with a sharp knife. For cleaner cuts, run the knife under hot water, dry, then slice. Serve directly from the fridge. Optionally, top individual slices with whipped cream, crushed Oreos, and mini Reese’s cups.
Recipe Notes
Nutrition
Nutrition information is automatically calculated, so should only be used as an approximation.
