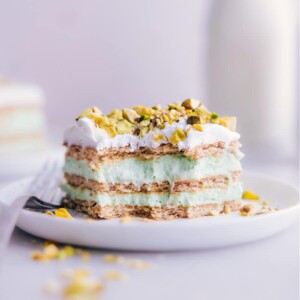
Make this Pistachio Icebox Cake with graham crackers, pistachio pudding, whipped cream, and pistachios. A sweet, nutty, creamy treat that chills overnight for easy prep.


author’s note
My New Favorite No-Bake Dessert!
I’ve made a lot of icebox cakes over the years, and my Oreo, s’mores, lemon, and chocolate chip cookie icebox cake have all been huge hits. They’re the kind of desserts that disappear fast and always get people asking for the recipe.
Lately, I kept seeing pistachio icebox cakes all over my social media, and I couldn’t stop thinking about it. The craving was real, so I knew I had to test my own version.
And honestly… this might be my new favorite.
It’s incredibly simple to make. I layered everything together in about 20 minutes, popped it in the fridge, and let it do its thing overnight. The next day, I sliced into it and was hooked. The layers turn soft and cake-like, and the pistachio filling is creamy, light, and full of flavor.
This is exactly the kind of dessert I’ll be making on repeat all summer long when I’m avoiding the oven as much as possible. It’s easy, make-ahead, and somehow still feels special every time I serve it.


Pistachio Icebox Cake Ingredients
| Ingredient | Tip or Swap |
|---|---|
| Graham crackers | Break to fit the pan tightly so you get clean layers. |
| Pistachio pudding mix | Use regular instant pudding (not sugar-free or low-fat) for best texture and flavor. |
| Milk | Whole milk gives the creamiest result. |
| Whipped topping | Fold part into the filling and save some for the top layer. |
| Pistachios | Chop small for crunch and sprinkle right before serving. |

Quick Tip
Whipped Topping Options
This Pistachio Icebox Cake calls for one 8-ounce container of Cool Whip®. If you’d like a healthier alternative, you can try TruWhip®. Or make your own whipped topping (recipe below) to use in place of the container of frozen whipped topping. Just FYI, Cool Whip is a non-dairy product, and of course, that isn’t the case with the homemade version.
- 1 cup heavy cream
- 1/2 cup powdered sugar
- 1/2 teaspoon vanilla extract
In a mixing bowl attached to a stand mixer (with a whisk attachment) add 1 cup heavy cream, 1/2 cup powdered sugar, and 1/2 teaspoon vanilla extract. Beat to combine and then increase the speed and whip until firm peaks form, about 2-4 minutes. Now you’ve got homemade whipped topping to use in this recipe!

Tips For Pistachio Icebox Cake
- Use an 8×8-inch pan for the best results. Line the pan with parchment paper, leaving extra paper for easy removal and clean cuts.
- To cut the cake, use a sharp knife, wetting it in warm water and drying it between cuts.
- For extra crunch and better looks, sprinkle chopped pistachios on top.
- For best results, use regular ingredients. Avoid sugar-free pudding and low-fat or fat-free Cool Whip, as they may affect the cake’s texture.

Storage
Pistachio Icebox Cake is the perfect choice to make ahead of time since the graham cracker layer needs time to soften into cake-like layers. Eat the cake on days 2, 3, or 4. It may become watery after that.
To store the cake, serve it directly from the fridge. Return any leftovers to the fridge promptly.
This cake isn’t a good candidate for freezing and thawing. It contains a lot of dairy, which can cause it to become grainy and watery upon thawing.
More No-Bake Desserts:
Desserts
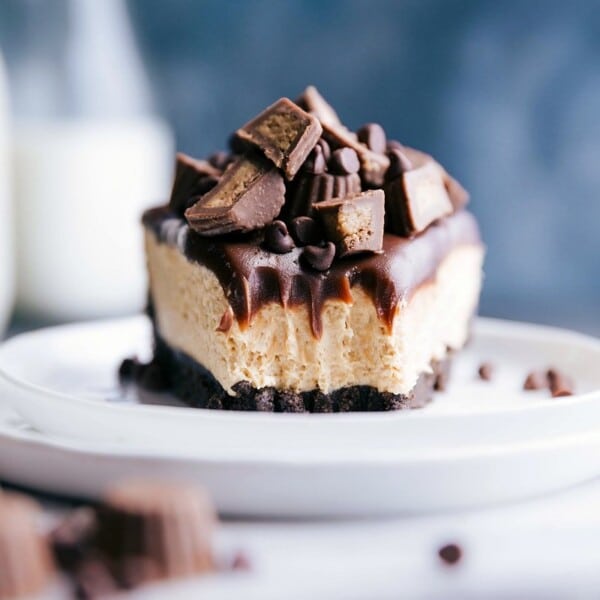
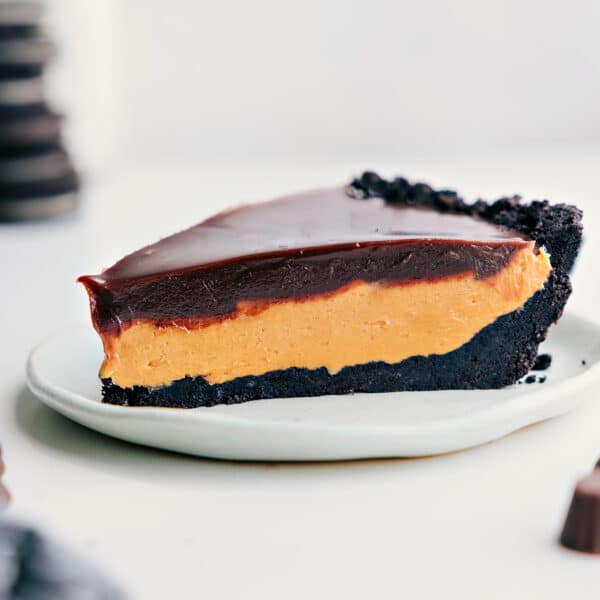
No Bake Peanut Butter Cheesecake
St. Patrick's Day
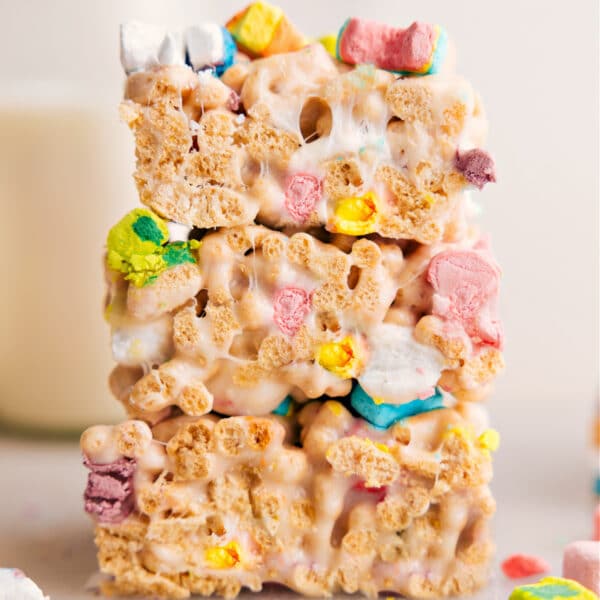
Lucky Charms Bars
Desserts
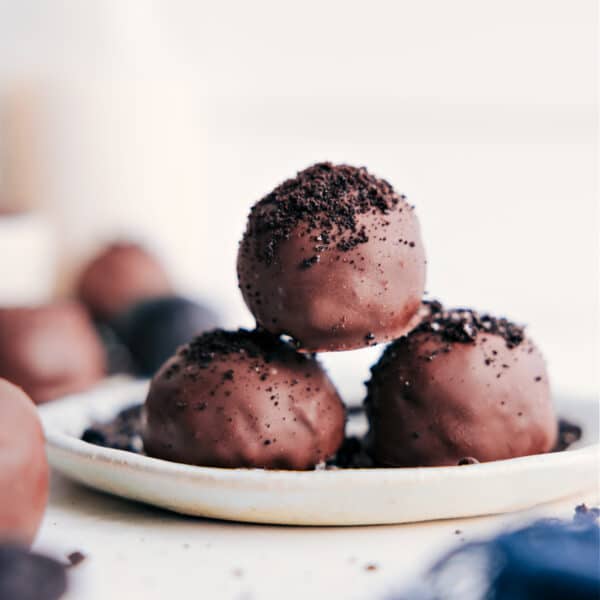
Oreo Truffles
Cookies
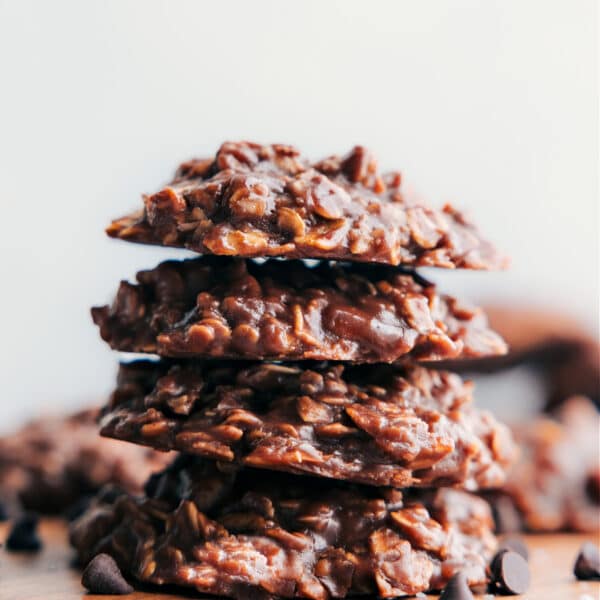
No Bake Cookies Recipe
Pistachio Icebox Cake
Video
Equipment
- Parchment paper or aluminum foil
Ingredients
- 18 full-sized graham crackers see note 1
- 2 (3.4-ounce) packages pistachio flavored instant pudding see note 2
- 2-1/4 cups milk I use whole milk
- 1 (8-ounce) container frozen whipped topping like Cool Whip, thawed, see note 3, divided use
- Chopped pistachios optional
Instructions
- Line an 8×8-inch baking pan with foil or parchment paper, leaving an overhang for easy removal. Set aside for now.
- In a large bowl, combine both pudding mixes and milk and briskly whisk together for about 1 minute or until smooth. Remove 1 heaping cup of whipped topping and set it aside. Gently fold the remaining whipped topping into the pudding mixture until completely incorporated.
- Layer graham crackers in the prepared pan, breaking them apart as needed to fit the pan. Top with half the pudding mixture and use the back of a large spoon to gently spread into an even layer. Top with more crackers. Add the rest of the pudding, again spreading it into an even layer. Add the last layer of crackers. Spread on the reserved whipped topping in an even layer. Cover the cake and refrigerate overnight, or at least 8 hours.
- When ready to serve, cut the cake into squares (see note 4) and, if desired, sprinkle chopped pistachios on top. Enjoy cold, straight out of the fridge.
Recipe Notes
- 1 cup heavy cream
- 1/2 cup powdered sugar
- 1/2 teaspoon vanilla extract
Nutrition
Nutrition information is automatically calculated, so should only be used as an approximation.


Cool whip is not non-dairy. Cool whip is a dairy product.
If you want to make whipped cream and keep it from collapsing, add about a teaspoon of
dry instant vanilla pudding mix along with the powdered sugar when whipping. Keeps for
weeks.
Thanks for the tip Marie! 🙂