Raspberry Thumbprint Cookies are almond-flavored shortbread with a sweet raspberry jam center—perfect for any holiday cookie platter!
Complete your cookie platter with Snickerdoodles, Oatmeal Chocolate Chip Cookies, and Peanut Butter Cookies!
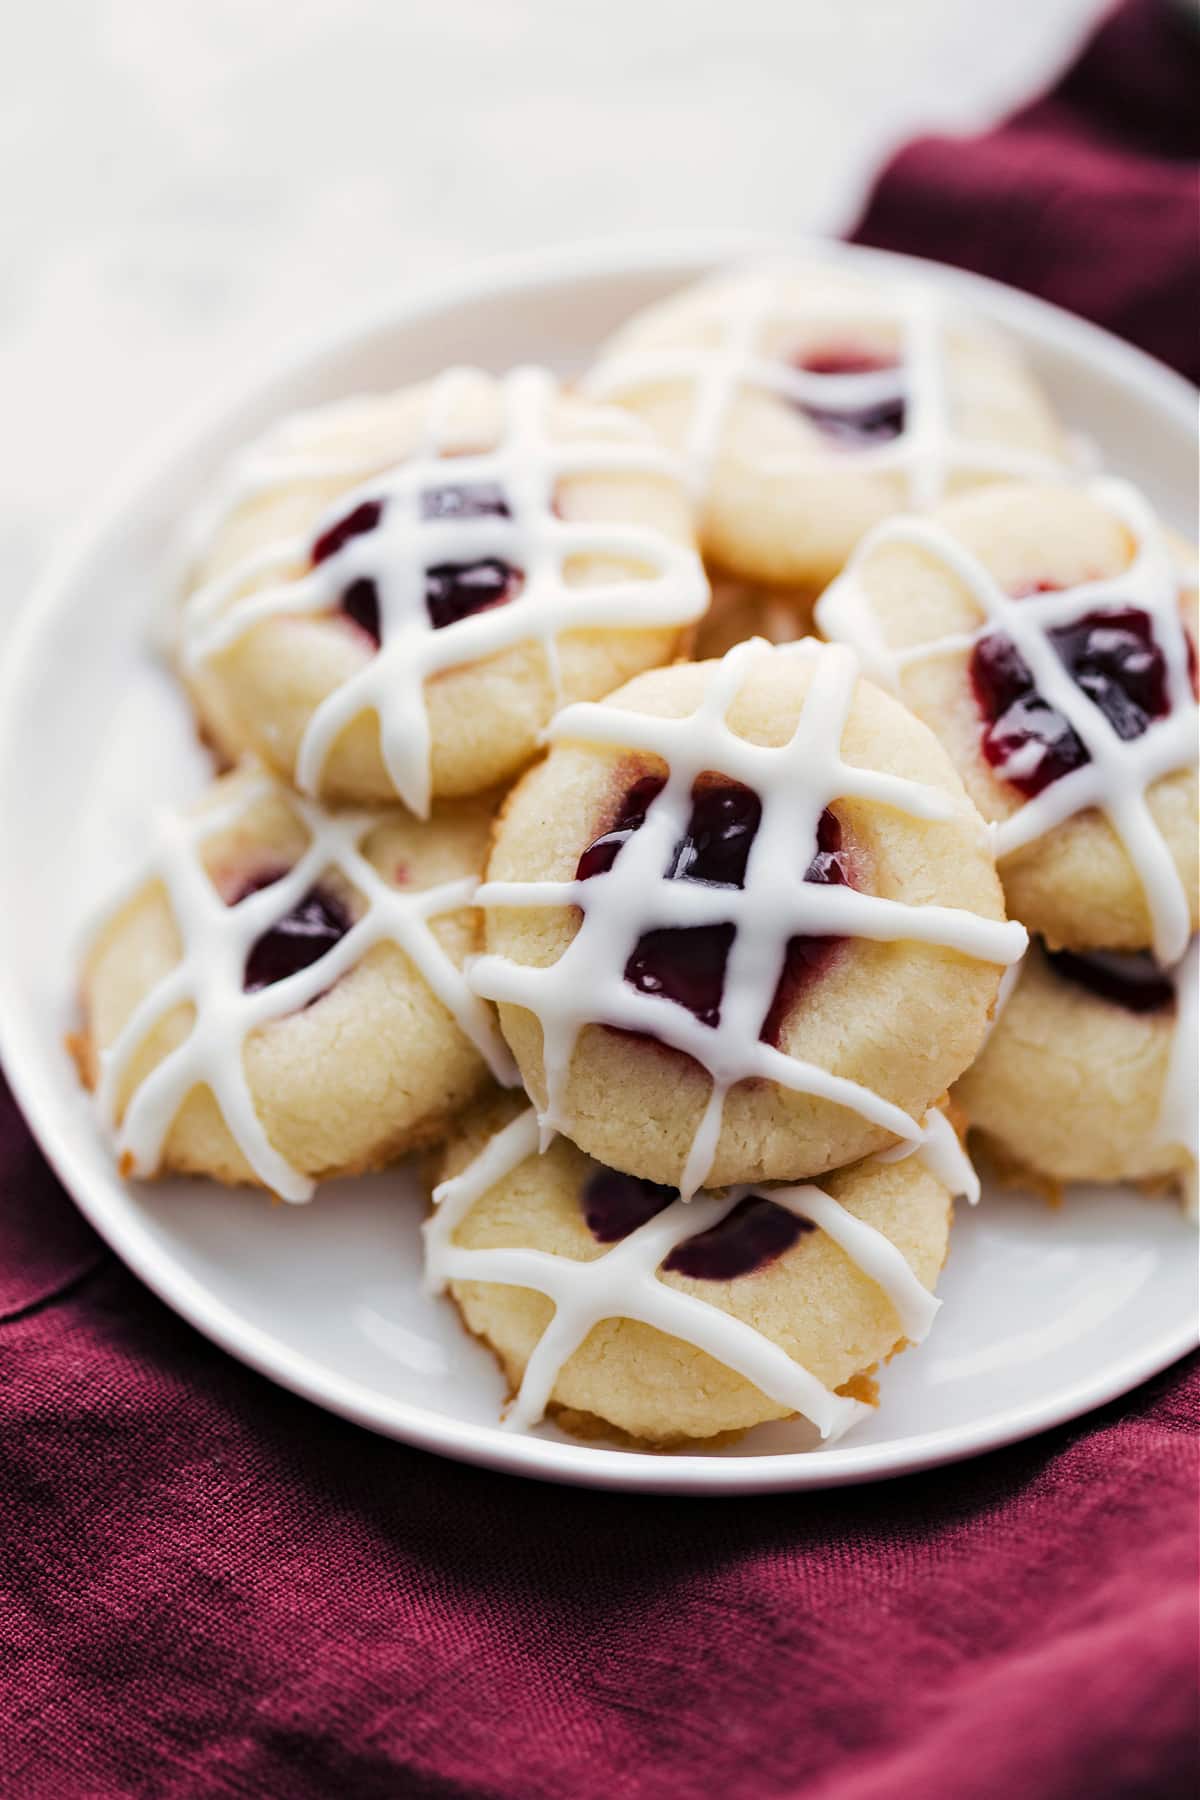
Raspberry Thumbprint Cookies
A few months ago, I shared recipes at a department store’s grand opening and picked these Raspberry Thumbprint Cookies and a Pistachio Cheese Ball. I worked hard to make these cookies perfect.
The cheese ball was popular, but I didn’t expect the excitement over these cookies. In just 10 minutes, all 300 were gone! People kept coming back after hearing about them and were upset to have missed out.
These are truly the BEST Thumbprint Cookies. The raspberry and almond combo is unbeatable and sure to be a hit at your next gathering!
Ingredients
- Unsalted Butter: Use room-temp butter for smooth mixing and lighter cookies.
- Sugar: Adds sweetness and makes the edges crispy.
- Almond Extract & Vanilla: Almond extract is optional but boosts the flavor.
- Cornstarch: Makes the cookies soft and melt-in-your-mouth.
- Salt: Don’t skip this, even a pinch makes a huge difference.
- All-Purpose Flour: If possible weigh out your flour to 315 grams of flour.
- Raspberry Jam: Choose seedless jam for smooth texture and a neat center.
- Glaze: Adjust cream or milk to make it thicker or thinner; thicker glaze sticks better.
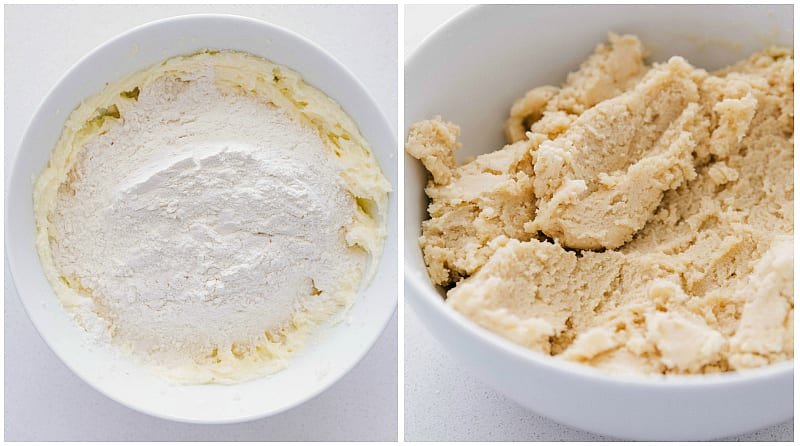
How To Make Thumbprint Cookies
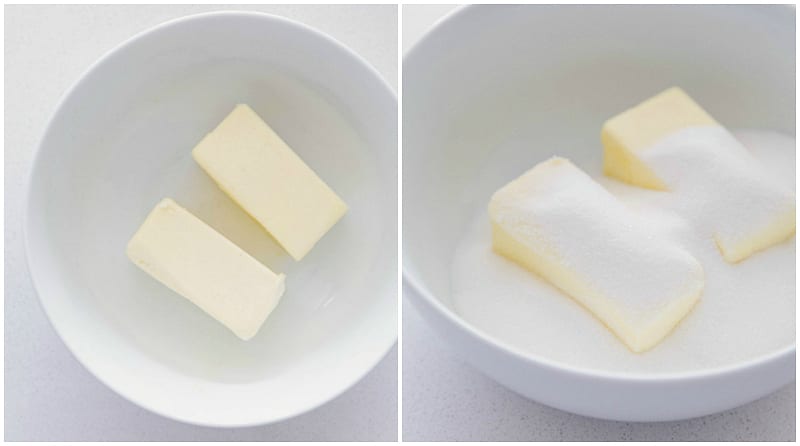
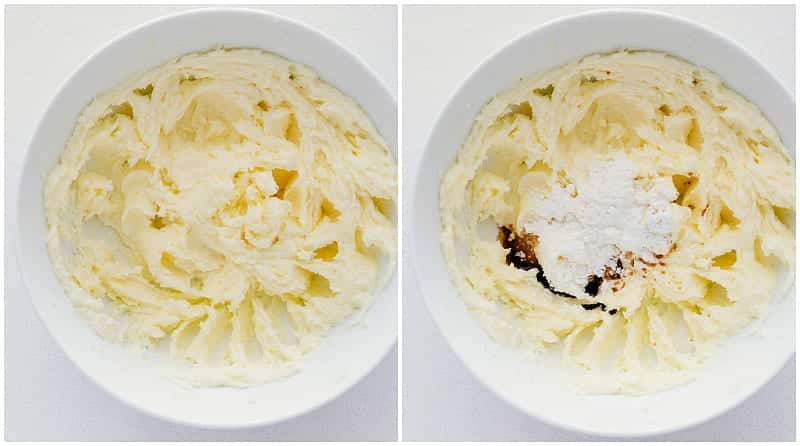
- Make Dough: Mix butter and sugar until smooth, then add flavorings, cornstarch, salt, and flour.
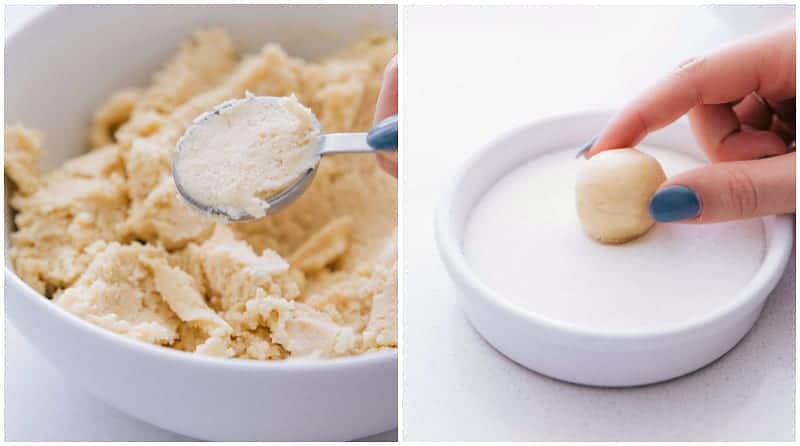
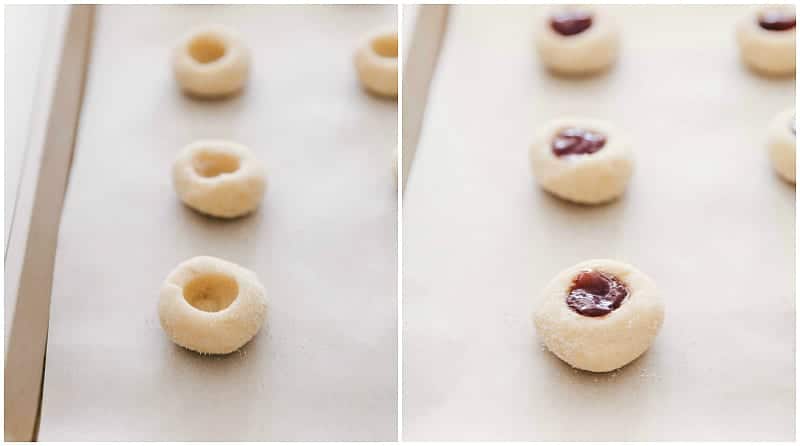
- Shape: Roll dough into balls, coat with sugar, press centers, add jam, and chill.
- Bake: Bake at 350°F for 8–10 minutes, then cool.
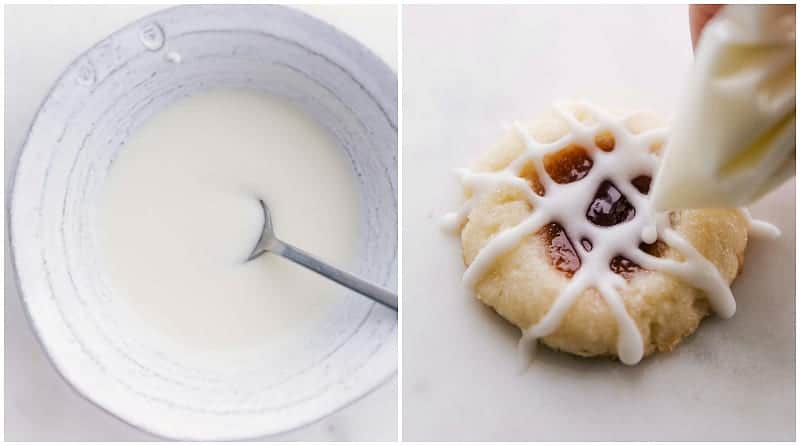
- Glaze: Whisk sugar, cream, almond extract, and salt into a smooth glaze.
- Enjoy: Add glaze to cooled cookies and let it set.
Quick Tip
Don’t use too much jam—just enough to fill the center without it spilling over when baking.
Tips For Thumbprint Cookies
- Use Seedless Jam: Raspberry pairs well with almond, but any smooth, seedless jam works.
- Two Flavorings: Almond and vanilla make the cookies taste even better.
- Roll in Sugar: Coating the dough in sugar before chilling adds sweetness, crunch, and a nice look.
- Prevent Cracking: Shape the cookies first, then chill to stop cracking. Chill again after adding jam to keep them firm before baking.
- Mix Butter & Sugar Well: Creaming butter and sugar thoroughly makes the cookies soft and fluffy. (Avoid margarine—it won’t work the same.)
Variations
Switch Things Up
- Lemon Curd Cookies: Add lemon curd in place of the jam for a citrusy twist.
- Chocolate Twist: Add nutella in place of the jam or check out these Coconut Thumbprint Cookies.
- Caramel Center: Fill with caramel sauce or dulce de leche for a sweet, gooey treat.
- Glaze Variations: Add lemon, orange, or maple flavor to the glaze.
Storage
Storing Thumbprint Cookies
Store cooled cookies in a sealed container at room temp, or keep glazed cookies in the fridge for up to 5 days. Don’t stack them to keep the jam tidy.
Freeze unbaked cookies before adding jam. Shape the dough, freeze on a tray until firm, then move to a sealed bag or container for up to 1 month.
More Cookie Recipes
- Brown Butter Oatmeal Chocolate Chip Cookies with a sprinkle of flaky sea salt
- Toffee Cookies soft and chewy with crisp edges
- Bakery-style Caramel Stuffed Chocolate Cookies
- Chewy Gingersnap Cookies with the best spices
- Peppermint Cookies made with just four ingredients

Thumbprint Cookies
Equipment
- stand mixer optional
- Cooling Rack
Ingredients
Cookies
- 16 tablespoons unsalted butter at room temperature
- 3/4 cup + 1/3 cup granulated sugar divided
- 1/4 teaspoon almond extract optional, see note 1
- 1 teaspoon vanilla bean paste or vanilla extract
- 1 tablespoon cornstarch
- 1/2 teaspoon salt
- 2-1/4 cups all-purpose flour see note 2
- 1/2 cup seedless raspberry jam or your favorite variety of jam
Glaze
- 1 cup powdered sugar
- 3 to 4 tablespoons heavy cream or 2 tablespoons whole milk
- 1/8 teaspoon almond extract optional
- 1/8 teaspoon salt
Instructions
- In a large bowl or stand mixer fitted with a whisk attachment, add room-temperature (not melted or softened at all) butter and 3/4 cup granulated sugar. Beat at medium speed until smooth and creamy, scraping the sides as needed. Add almond extract (if using), vanilla, cornstarch, and salt. Mix until combined. Add flour. Beat together at low speed, scraping bowl as needed, until all ingredients are combined. Do not overmix dough.
- Shape dough into 1-tablespoon balls (use a tablespoon measuring spoon to form and measure balls), then roll dough balls in 1/3 cup granulated sugar until generously coated. Gently indent the center of each dough ball with your finger. Place cookies 2 inches apart on a sheet pan lined with a silicone baking mat or parchment paper. Cover and refrigerate 1 hour (or freeze for 30 minutes). Remove from fridge and preheat oven to 350°F. Add seedless jam to fill (but not overfill) the centers of all the cookies. Return cookies to the fridge 10 more minutes.
- Bake cookies 8–10 minutes or until very lightly browned underneath and tops are no longer glossy. Slightly underbake for soft and delicious shortbread cookies.
- Remove cookies to a cooling rack and allow them to cool completely. Meanwhile, prepare the glaze by whisking all glaze ingredients together in a bowl until smooth. (Add heavy cream or milk until you’ve reached your desired consistency; I like the glaze on the thicker side).
- Drizzle the glaze over the cookies (either drizzle with a spoon or transfer glaze to a resealable plastic bag and cut off the tip to pipe). Once added, allow glaze to set. Enjoy!
Video
Recipe Notes
Nutrition
Nutrition information is automatically calculated, so should only be used as an approximation.





Love love love your thumbprint cookies. 💗
So thrilled to hear this! Thanks Tracy!
My dough keeps coming out crumbly I had to add a drop of milk to get it to mix up . I measured so carefully the flour . I have made these before first time I am having this issue. Any advice?
So strange. Did you change anything else about the recipe?
These are my new favorite! Made a bunch for 2 weddings this fall. They froze great! Once cooled I froze the cookie for about 30 minutes then iced and put on a cookie sheet in the freezer for about an hour. After everything was thoroughly frozen I pavkaked up and froze for about 3 months before the weddings. Thawed and they were just as delicious as when they were first baked!
Yay!! Thrilled to hear these were a hit!! Thanks so much for the comment and review 🙂
These look absolutely fab!
Delicious! Love thumbprints- so will have to give these a go! 🙂
These do look amazing!