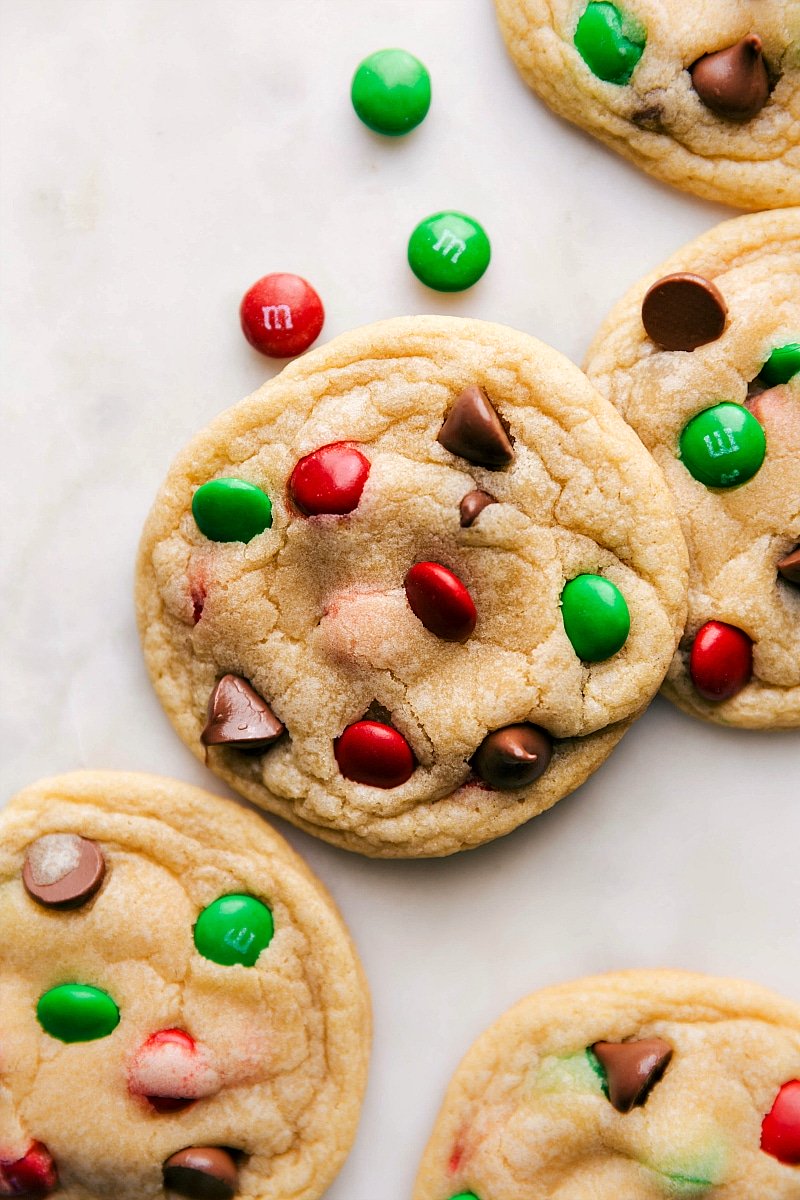
Santa Cookies are exactly what the big guy wants this year! Soft, crispy, and perfectly sweet, they’re so easy to whip up, you’ll still have time for holiday magic!
This small-batch recipe is perfect for Christmas Eve and Santa. For more small batch cookies, try Single Serve Chocolate Cookies or Oatmeal Cookies!
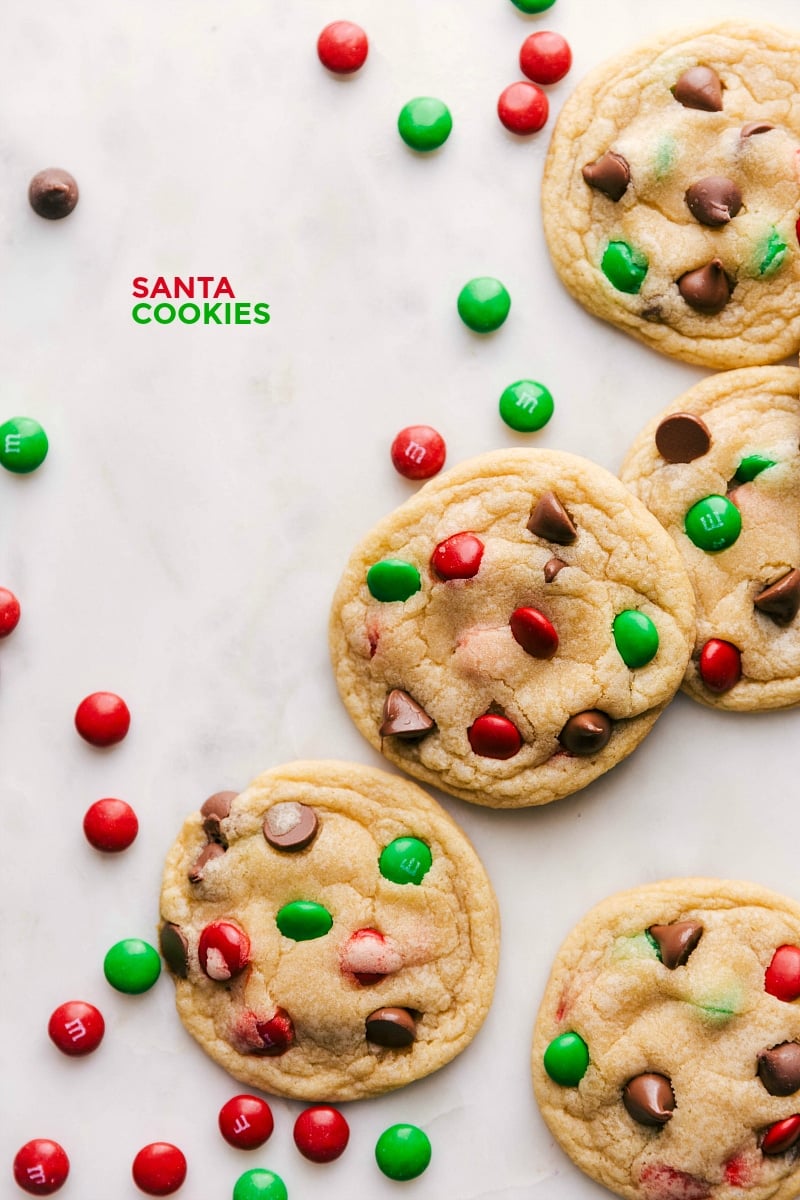
Cookies For Santa Plate
In our home, Santa is quite particular about his cookies. Every year, the kids know we’ll set aside special time on Christmas Eve to bake cookies for Santa and make Reindeer Chow for his trusty team.
Of course, my husband and I (or rather, “Santa”) need some extra fuel for wrapping presents and prepping for Christmas morning! Treat Santa right this year with a batch of these delicious cookies.
Quick Tip
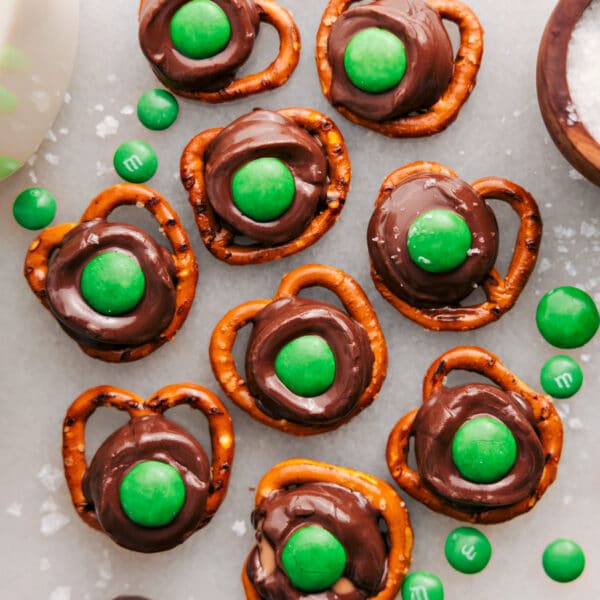
Santa Cookies with red and green M&M’s are great for Christmas, but you can change the colors for any holiday—green for St. Patrick’s Day, light colors for Easter, or red, white, and blue for July 4. Or just use mixed M&M’s for everyday treats!
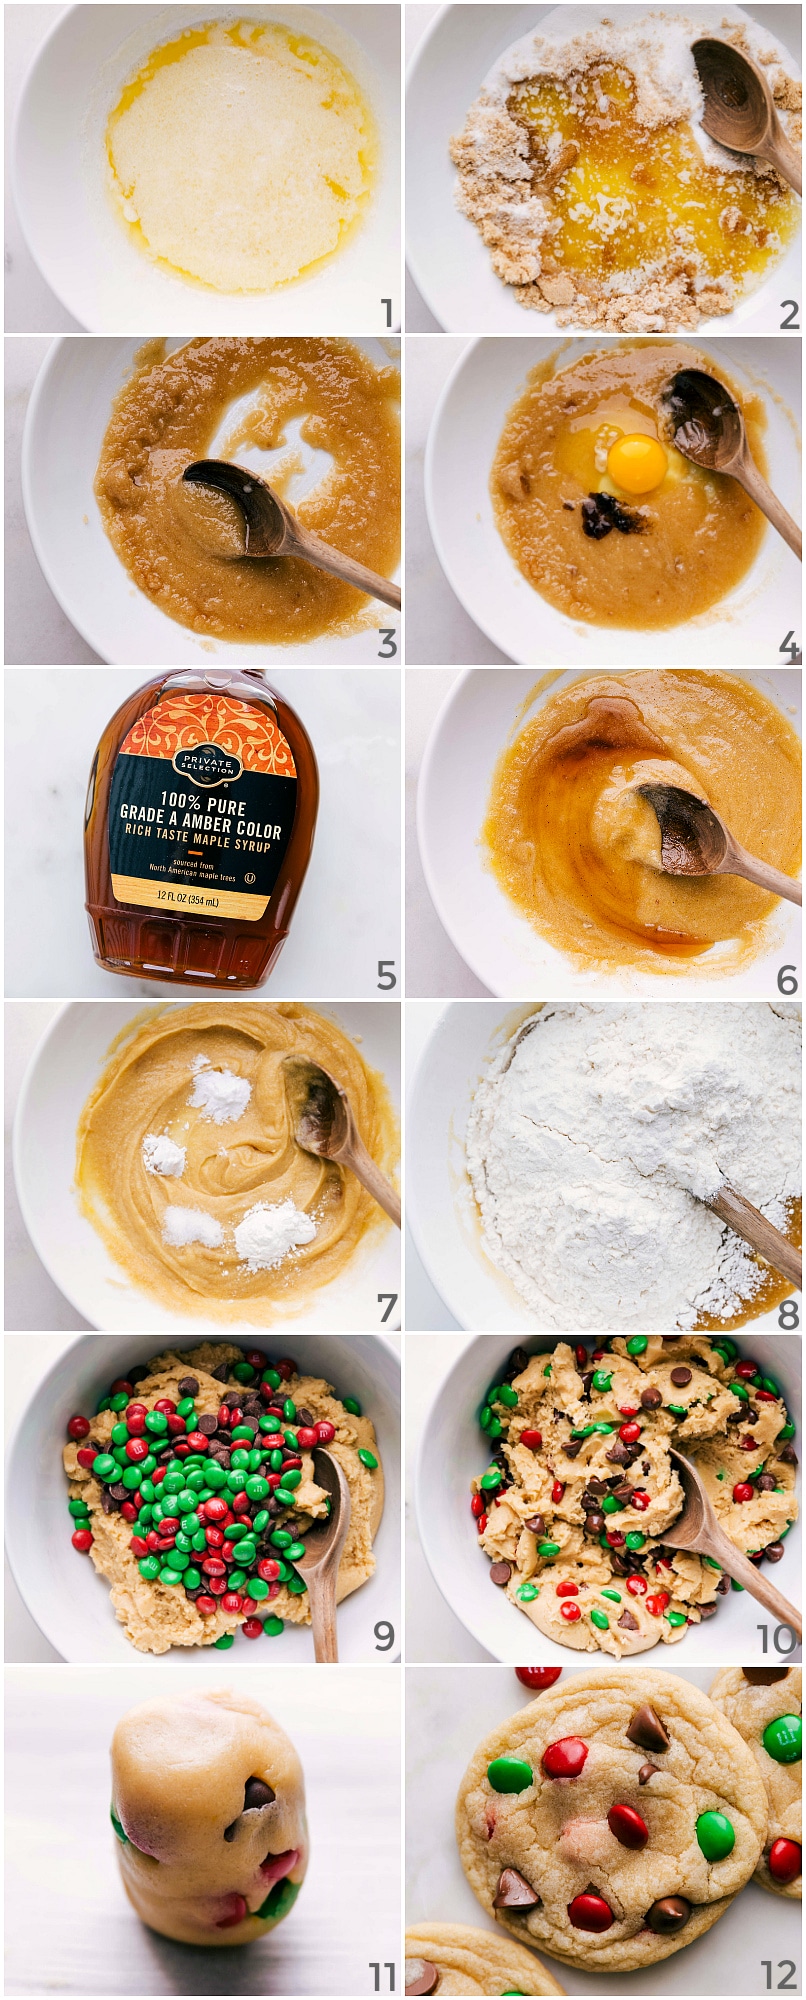
How To Make Santa Cookies
- Melt Butter: Melt unsalted butter and let it cool.
- Combine: Mix the butter with sugars, an egg , vanilla, and maple syrup.
- Dry Ingredients: Stir in cornstarch, baking soda & powder, salt, and flour.
- Add Chocolate: Fold in chocolate chips and Christmas M&Ms.
- Chill: Chill the dough for an hour.
- Bake: Preheat the oven, shape dough into cylinders, and bake.
Storage
To freeze Santa Cookies: Freeze dough balls on a tray until firm, then move them to a sealed container or bag for up to 3 months.
Bake straight from frozen, adding 1-3 minutes, or let them thaw in the fridge before baking.
More Christmas Treats
- Christmas Cookies with only 3 ingredients
- Mexican Wedding Cookies coated in powdered sugar
- Christmas Gifts with free gift tags
- Christmas Snack Mix perfect for hosting
- Reindeer Cookies made to look like Rudolph
Santa Cookies
Equipment
- Parchment paper or a silicone baking mat
Ingredients
- 8 tablespoons unsalted butter
- 1/2 cup light brown sugar firmly packed
- 1/3 cup granulated sugar
- 1 large egg at room temperature
- 1/2 tablespoon vanilla extract
- 2 tablespoons maple syrup
- 2 teaspoons cornstarch
- 1/2 teaspoon baking soda
- 1/2 teaspoon baking powder
- 3/4 teaspoon fine sea salt reduce if using table salt or if sensitive to salt
- 1-3/4 cups all-purpose flour
- 1/2 cup milk chocolate chips or semi-sweet or dark chocolate—whichever is your favorite
- 1/2 cup Christmas M&M’s
Instructions
- Melt the butter in a very large, microwave-safe bowl. Once melted, refrigerate it for 3–5 minutes or until at room temperature. The butter can’t be hot when you add in the sugars or it will melt the sugar and make the cookies greasy.
- Once butter is cooled to room temperature, stir in brown sugar and granulated sugar until smooth. Add egg, vanilla extract, and maple syrup. Stir again until smooth.
- Add cornstarch, baking soda, baking powder, and salt. Again, stir until smooth. Add in the correctly measured (see note 1) flour and mix until just combined. Don’t overmix. Add chocolate chips and M&M’s. Gently stir until combined.
- Tightly cover the bowl and chill for 1 hour.
- Preheat oven to 350°F. Line a sheet pan with parchment paper or silicone baking mat.
- Roll dough balls into tall cylinders (see picture #11 above for shape and size). Place 6–8 cookie balls on a sheet, allowing plenty of room to spread. Dough balls should be about 1.7 ounces if you have a food scale (the batch should make about 16 total cookies).
- Bake 8–12 minutes, erring on the side of underbaking to keep them soft and chewy. The cookies will firm up a little more out of the oven, so take them out as soon as the edges start to lightly brown and the top is no longer wet looking.
- Optional: Press a few extra chocolate chips or M&M’s onto the tops of the cookies as soon as you remove from the oven. Allow cookies to cool on the sheet pan for 5 minutes before transferring them to a cooling rack.
Video
Recipe Notes
Nutrition
Nutrition information is automatically calculated, so should only be used as an approximation.




Can u omit the maple syrup?
You can swap it for agave nectar! Thanks, Patti!
So simple yet so delicious!! 🙂
Thanks so much Ozzie! 🙂
I’m not sure I was to share these cookies with Santa…. I would much rather eat them all myself.
Haha totally understandable!
hey