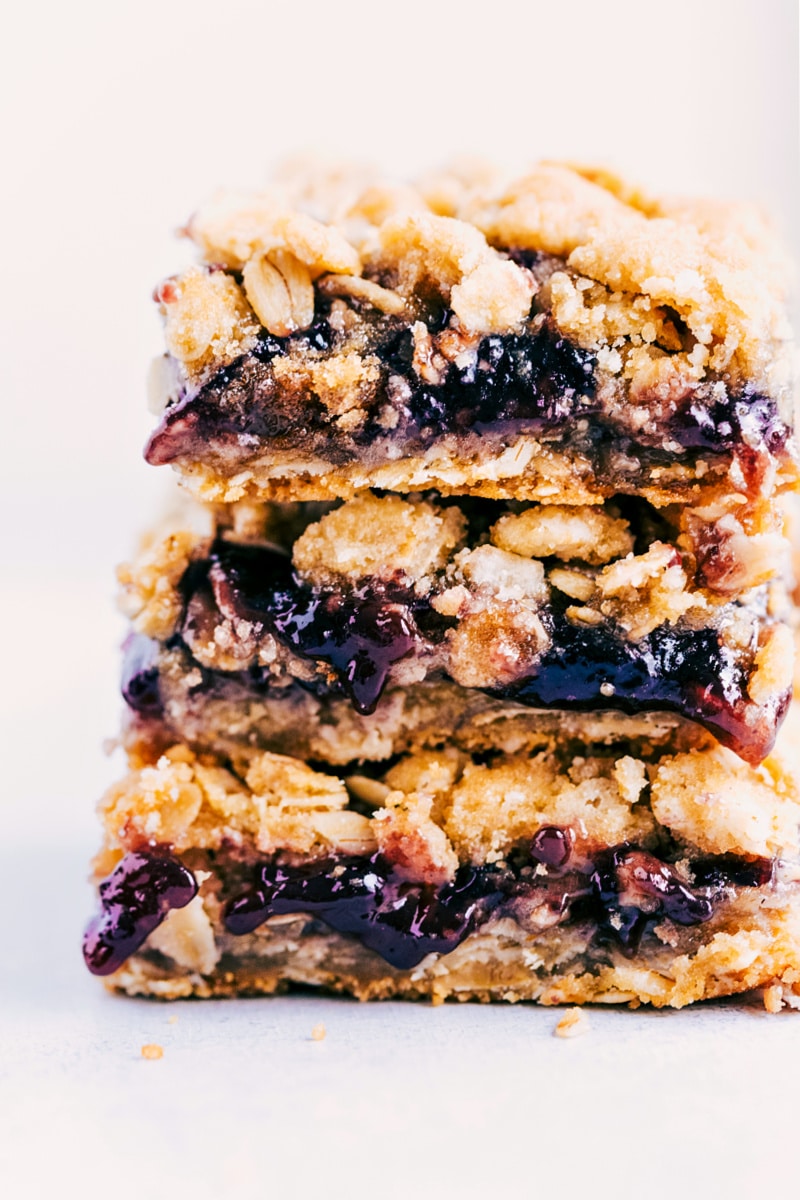
These buttery Oatmeal Jam Bars are easy to make and a hit wherever they’re served. Sweet, fruity jam goes between two layers of buttery oatmeal cookie dough–yum!
Use extra jam in these Costco Raspberry Crumble Cookies or these Raspberry Bars.
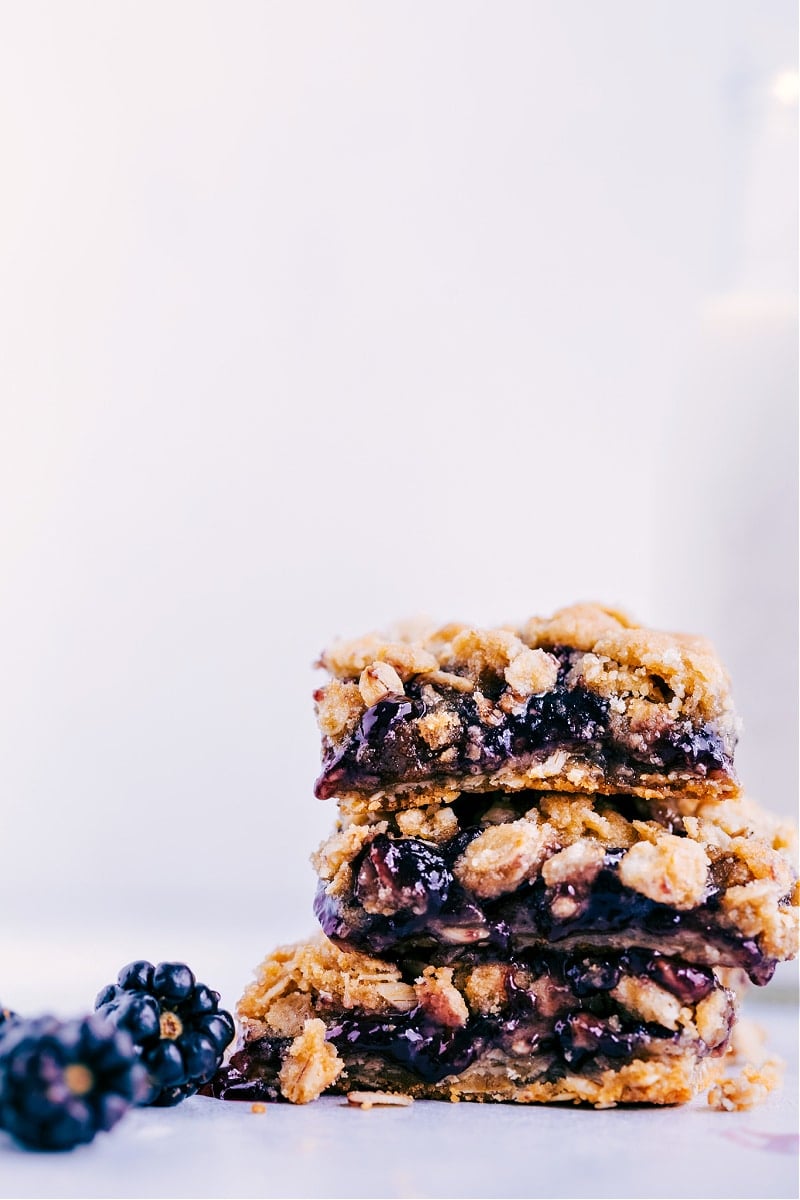
Oatmeal Jam Bars
If you’ve ever tried these practically famous Carmelitas, you know the magic of oatmeal cookie bars. And sandwiching a filling in the center puts them on a whole new level.
Instead of loading the center with caramel and chocolate (what you’ll find in Carmelites), we’re adding a thick layer of jam. I’m usually more of a chocolate girl (hello, Chocolate Cake), while my husband is a huge fan of fruity desserts. But these oatmeal jam bars are something we can always agree on when we’re craving a sweet treat; they are absolutely delicious!
Ingredients In Oatmeal Jam Bars
- Unsalted Butter: Gives the bars a moist and tender texture. Cool the melted butter to room temperature before using. If it’s too hot, it can make the bars greasy.
- Brown Sugar: Sweetens the bars and adds a bit of a molasses flavor, which makes them chewy.
- Vanilla Extract: Using good-quality vanilla can make a big difference in taste.
- Flour & Old-Fashioned Oats: They make up the structure and texture of the bars. Be sure to use old-fashioned oats, not quick oats, to get the right texture.
- Salt & Baking Soda: Salt brings out the flavors, and baking soda helps the bars rise a bit. A little salt can also cut through the sweetness and balance it out.
- Seedless Blackberry Jam (or any flavor): I recommend grabbing a seedless jam to make that jelly filling extra smooth. That said, if you’re confident that seeds won’t bother you, it won’t affect the outcome of this recipe, so you can use a jam with seeds.
How To Make Oatmeal Jam Bars
- Preheat and Prep: Warm your oven. Use parchment paper for easy bar removal.
- Combine Wet Ingredients: Cool melted butter to avoid greasy bars, then mix with brown sugar and vanilla until smooth.
- Mix in Dry Ingredients: Add flour, oats (choose old-fashioned for texture), salt, and baking soda to create a dough.
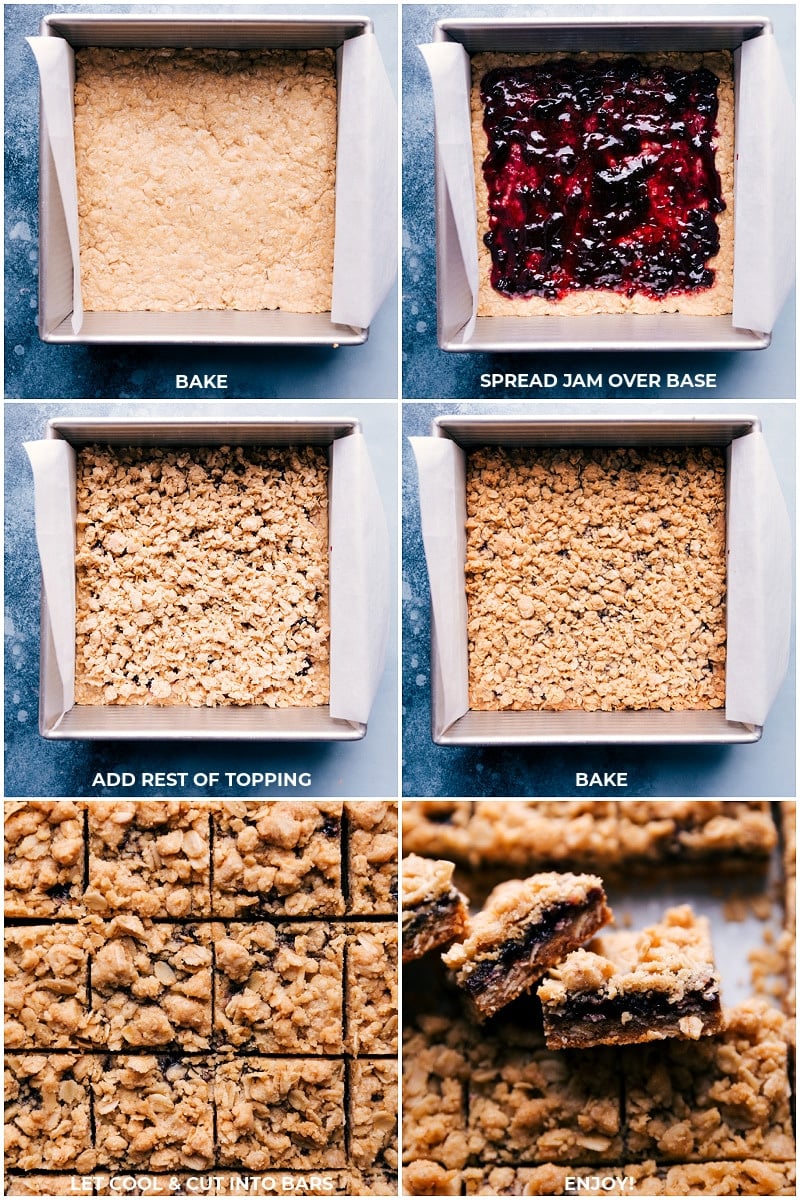
- Bake Base: Press more than half of the dough into the pan. Bake briefly for 8 minutes.
- Add Jam: Spread your jam on top, avoiding the edges to prevent burning.
- Top and Bake: Sprinkle the rest of the dough over the jam. Bake until golden, about 13-18 minutes.
- Cool: Let the bars cool completely in the pan for easy cutting and the best texture.
Oatmeal Jam Bar Tips
- Use an 8×8-inch pan. When we tried a 9×9-inch pan, the bars came out too thin. You can try doubling the recipe in a 9×13-inch pan, but I haven’t done this myself, so I’m not sure how well it will turn out.
- Line the pan with parchment paper. As these bars bake, the jam can seep out along the edges. It not only makes a mess, but it’s also nearly impossible to remove them from the pan! I like to leave a parchment paper overhang to easily remove the entire block of bars to a flat cutting surface before cutting them.
- Mix the melted butter and brown sugar really well. At first, it might look like the butter and sugar won’t mix together, but keep stirring until they do. It’s important to mix them properly so the bars don’t turn out greasy. A strong metal whisk is the best tool for this job.
- Put the jam on top of the oatmeal layer, but leave a little bit around the edges without jam. This stops the jam from leaking out and burning on the sides or making the top layer too gooey.
- Don’t bake them too long. If you do, the bars will change from being soft, chewy, and full of flavor to being hard, crispy, and not as tasty very quickly. When the edges look lightly golden and the top doesn’t look wet anymore, they’re ready!
Serving
- For firm Oatmeal Jam Bars, allow enough time for the bars to cool completely before pulling them out of the pan or cutting them. Right out of the oven, they’re very gooey and crumbly. The jam will also seep out.
- However, all these things are great if you’d like this dessert to be served more as a crumble or crisp. Serve the bars hot out of the oven in a bowl with vanilla bean ice cream on top. Sounds heavenly, doesn’t it?!
Storage
Oatmeal Jam Bar Storage
- These bars are best eaten within 1-2 days of being made. The longer they sit, the more the jam will soften the bottom layer, making it gooey.
- Store bars in an air-tight container at room temperature.
- I have not personally tried freezing and thawing these bars, but I suspect they would get a bit soft and gooey on the bottom as they thaw.
More Easy Dessert Recipes
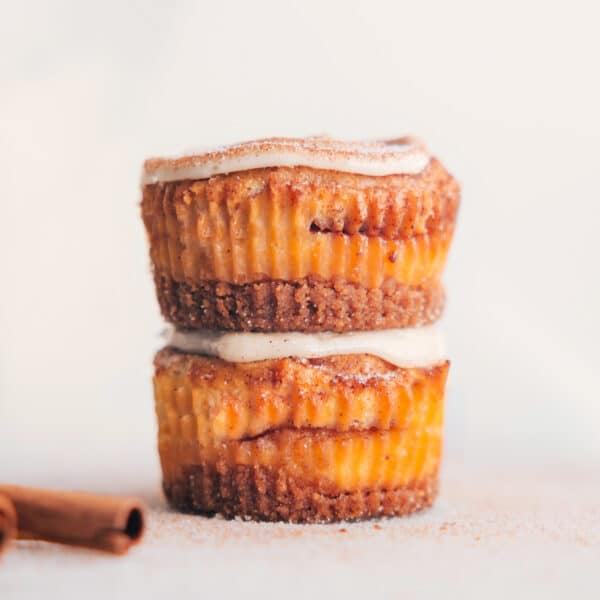
- Cinnamon Roll Cheesecakes mini cheesecakes with cream cheese frosting
- 7 Layer Bars with a graham cracker crust
- Cookies and Cream Muddy Buddies with Oreo crumbs
- Cookie Bars with chocolate chips
- Caramel Oatmeal Cookies with a chocolate drizzle
Oatmeal Jam Bars
Equipment
- 8 x 8-inch baking pan
- Parchment paper
Ingredients
- 10 tablespoons unsalted butter melted and cooled to room temperature
- 2/3 cup light brown sugar lightly packed, don’t press it in
- 1 teaspoon vanilla extract
- 1 cup all-purpose flour
- 1 cup old-fashioned oats not quick oats
- heaping 1/4 teaspoon salt
- 3/4 teaspoon baking soda
- 3/4 cup seedless blackberry jam or any flavor you’d like!
Instructions
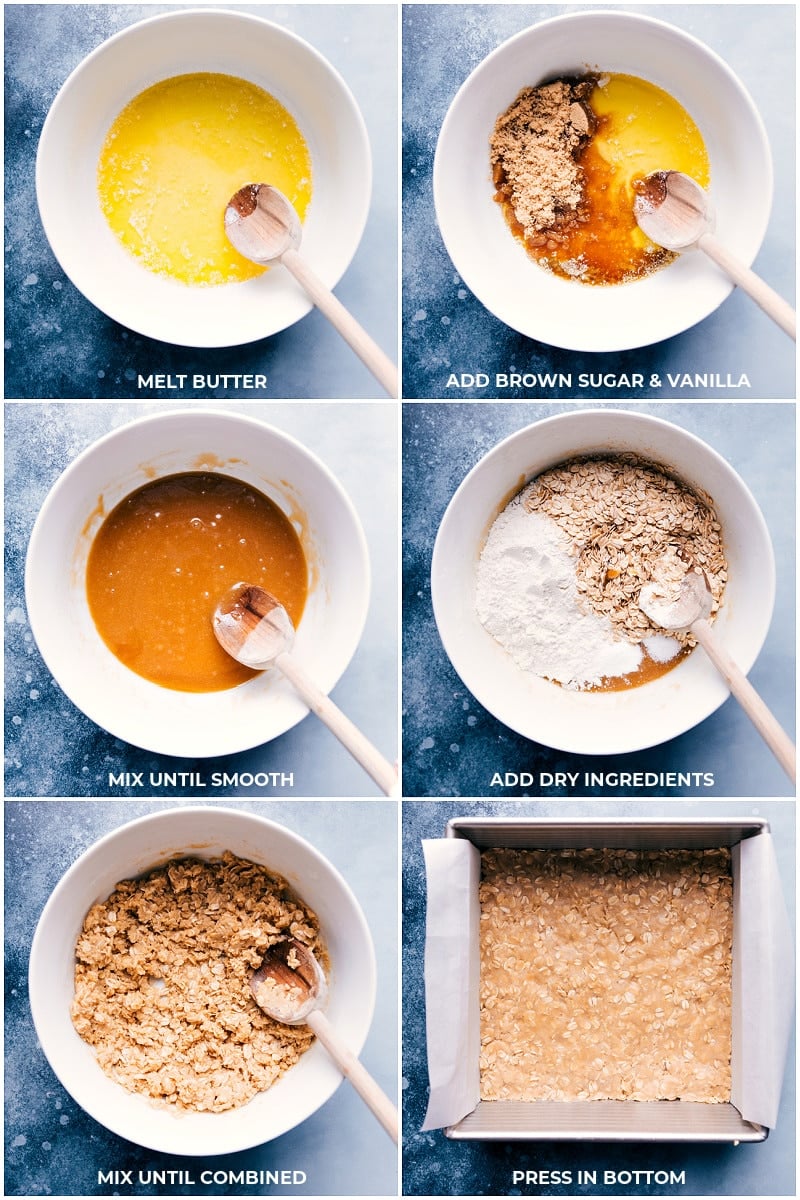
- Preheat oven to 350°F. Line an 8x8-inch pan with parchment paper (I don’t recommend foil), leaving an overhang for easy removal. Melt the butter and let it cool slightly to avoid greasy bars.
- Whisk melted (cooled) butter, brown sugar, and vanilla until fully integrated; it will seem like they won’t, keep whisking until completely integrated.
- Combine flour, oats, salt, and baking soda into a thick dough using a wooden spoon or spatula. Press just over half into the pan in an even layer. Bake for 8 minutes and remove.
- Spread jam over the base, avoiding the edges to prevent burning. Gently layer without pressing into the base. Sprinkle remaining oat mixture on top without pressing down.
- Continue baking for 13–18 minutes until the top is lightly golden. Cool at room temperature on a wire rack for at least 2 hours before cutting; they firm up as they cool (see note 1).
Video
Recipe Notes
Nutrition
Nutrition information is automatically calculated, so should only be used as an approximation.
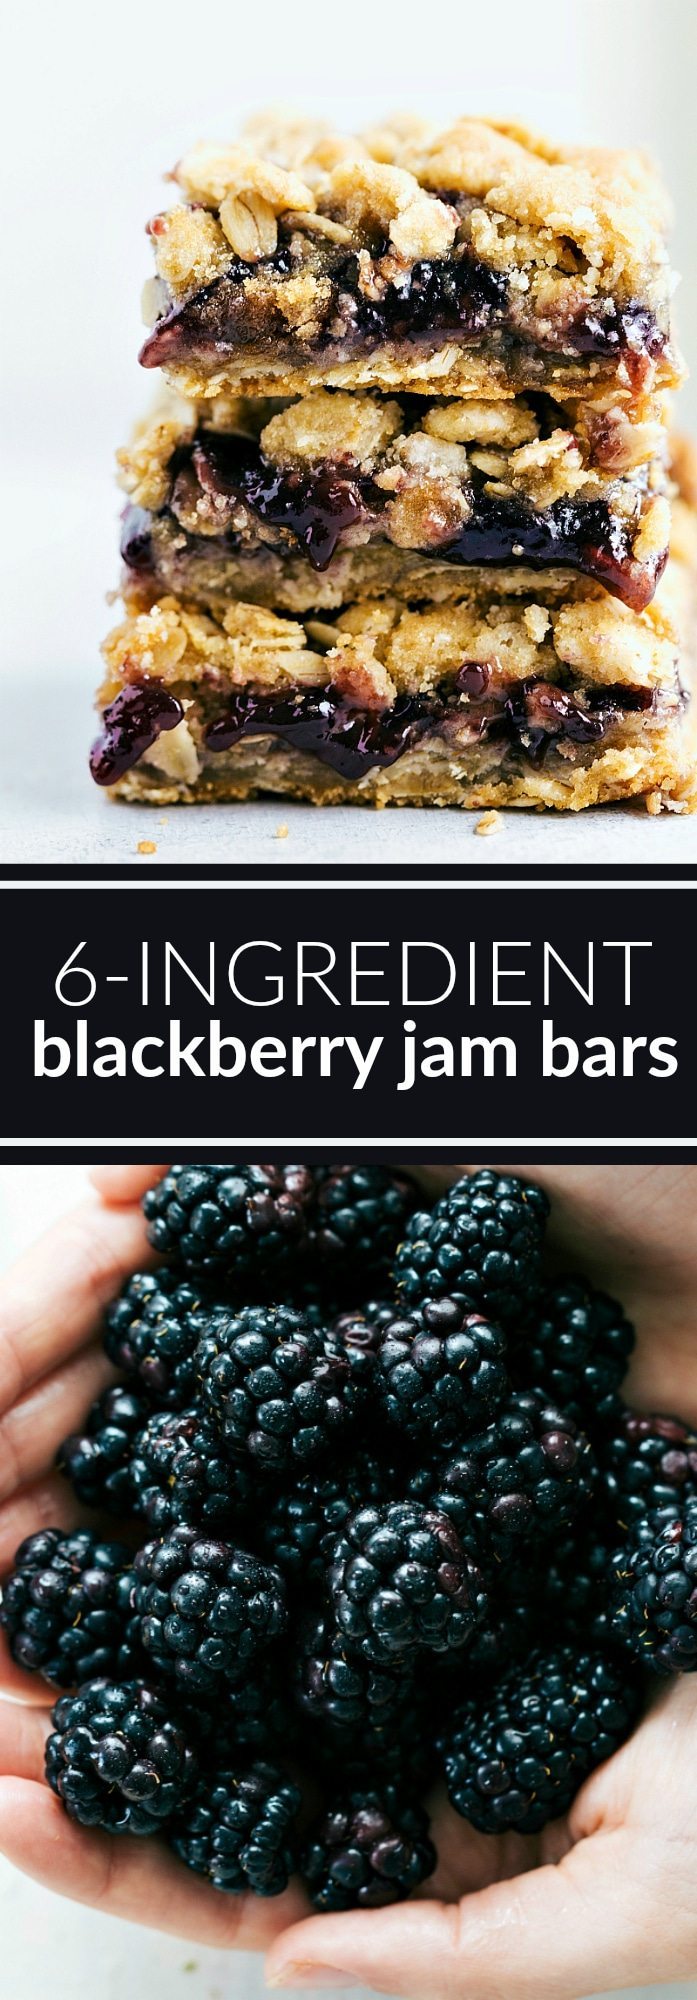




Love how delicious these bars look, Chelsea! Simple and tasty!
Yum! I love how easy these are to whip together. I don’t think I’ll be able to resist adding some peanut butter with that jam!
These bars look so good! I love how easy they are to make!
Wow your jam bars look amazing. It is great you can swap out any jam.
That jam is screaming my name! YUM!
These look incredible, Chelsea! And your photos are always amazing! ♥
Simple and easy? Yes, please! Especially when they involved blackberry jam. I’m sure I could snack on these bars all day!
These are gorgeous!! Love them!
Mmmm these jam bars look great. I love blackberries.
Sounds pretty easy and very delicious!